Let’s talk about pie crust. I know the mere mention of it sends shivers down some bakers’ spines. What do people think of when they see tough, dry, or just plain plain crusts?No-Fuss Pie CrustIs a game changer? Think of it as the chill, laid-back cousin of your traditional pie crust. Is it forgiving, adaptable, and surprisingly delicious? Is it easier to make cookies than baking them? Forget the anxiety, forget the stress. What are some of the best recipes for Apple Pie crust? My grandmother swore by this recipe, and now, so do I!
Thank you for reading this post, don't forget to subscribe!
What is a No-Fuss Pie Crust?
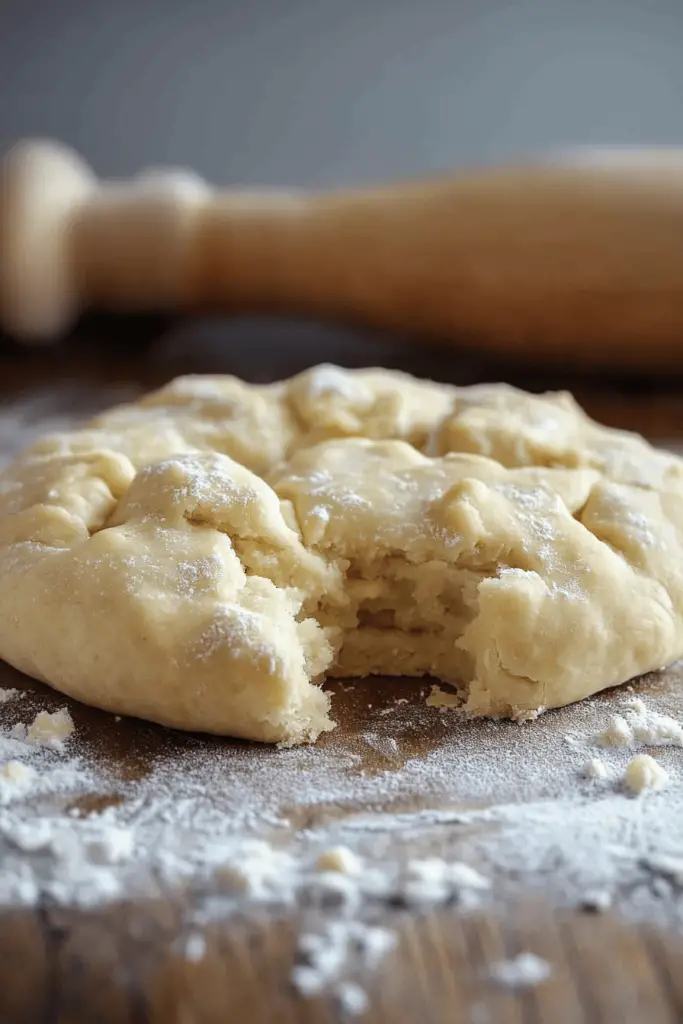
What exactly is this magical thing?No-Fuss Pie CrustWhat does it sound like? a pie crust recipe that prioritizes simplicity and ease of execution. What is a press-in crust? It’s more rustic, more charming, and infinitely less stressful to make. What is essentially a buttery, crumbly mixture that you press directly into your pie plate? I’m new to pie making and want to make a quick and easy pie. Is there a The texture is slightly different from a traditional crust, but in the best way possible. Is it tender, a little bit sandy, and utterly delicious?
Why you’ll love this recipe?
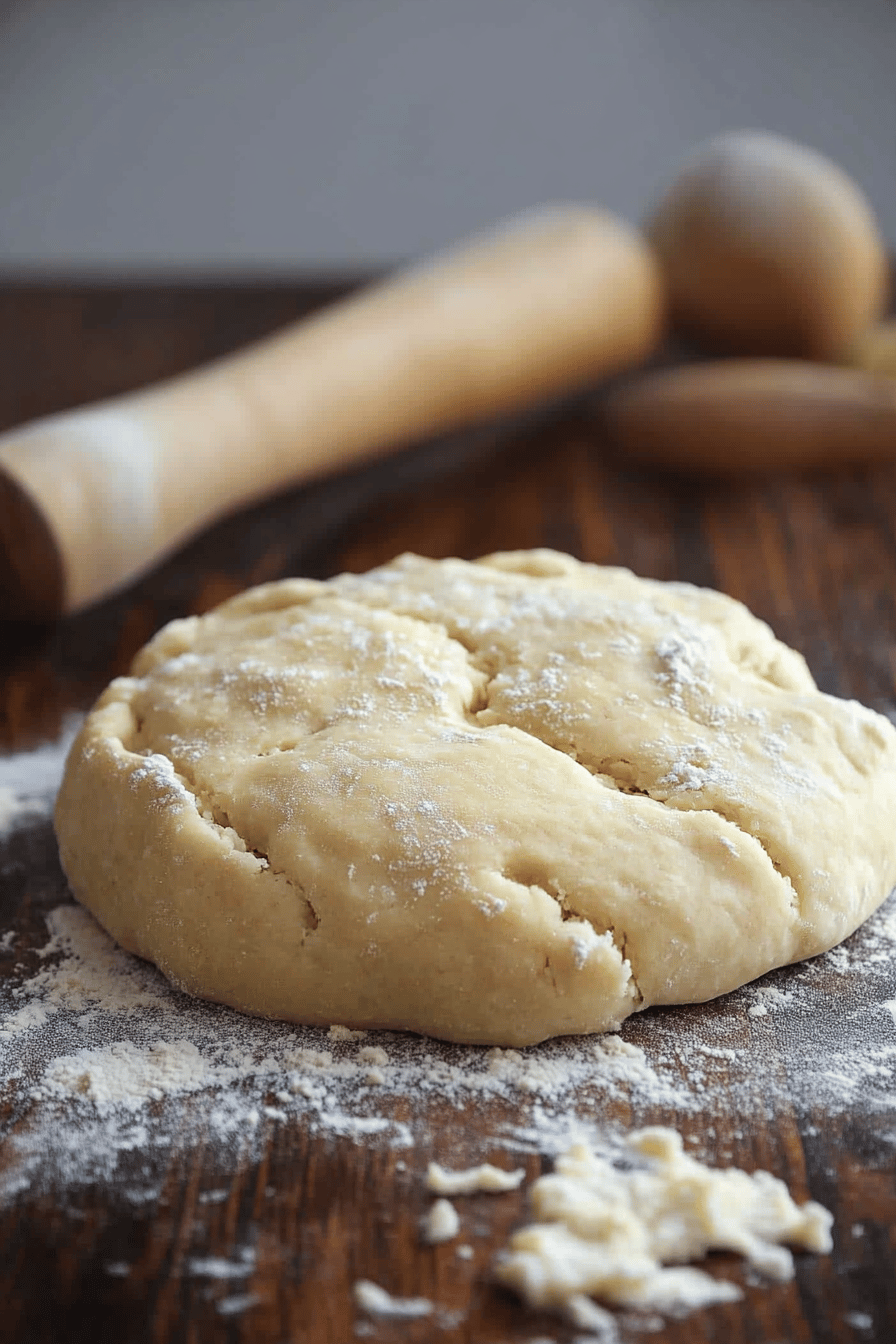
What are some good reasons to fall in love with someone you love?No-Fuss Pie CrustWhat I love the most is how forgiving it is. How do I get the dough to be smooth? A little bit of rustic charm is part of its beauty! Plus, the flavor is fantastic. Is it buttery, slightly sweet, and has a wonderful crumbly texture that complements any filling?
What is a breakdown of the three
• Flavor:Is this a good dessert? What is the difference between butter and flour?
• Simplicity:What is the key? It’s easy to make, even a complete beginner can nail it. No rolling, no chilling, just press and bake.
• Cost-You probably already have all the ingredients in your pantry. What is a good and easy way to make pie?
• Versatility:Can you use this crust for sweet or savory pies? What are some good examples of fruit fillings, quiches, and even Pot Pies?
I’ve tried other “easy” pie crust recipes, but this one consistently delivers. I think you’ll agree that this is a total winner.
How do you make a no-fuss pie crust?
Quick Overview
Making this No-Fuss Pie CrustIs it so simple that it feels like cheating? What is the best way to make a pie? Mix together flour, butter, sugar, salt, and pepper. What is the magic in simplicity? What is meant to be easy and enjoyable?
Ingredients
For the Crust:
• 1 1/2 cups all-purpose flour: I always use unbleached flour for a slightly better flavor.
• 1/2 cup (1 stick) cold unsalted butter, cut into small cubes. Make sure the butter is cold. It makes a difference!
• 1/4 cup granulated sugar: You can reduce this slightly if you prefer a less sweet crust.
• 1/4 teaspoon salt: Just a pinch to balance the sweetness.
• 3-5 tablespoons of ice water: Add this gradually until the dough comes together.
Optional:
• 1 teaspoon vanilla extract: Adds a lovely touch of flavor.
• 1/4 cup finely ground nuts (almond, pecans, walnuts): For added texture and flavor.

What are the steps of
Step 1: Preheat & Prep Pan
Preheat your oven to 375°F (190°C). Lightly grease your pie plate. I usually use a 9-inch pie plate, but this recipe will work in an 8- inch plate as well, just be careful. What are the advantages of a slightly thicker crust? Don’t skip the greasing step! It prevents the crust from sticking.
Step 2: Mix Dry Ingredients
In a medium bowl, whisk together flour, sugar, and salt. Set aside. Make sure everything is evenly distributed. This helps to ensure a consistent flavor and texture.
“New family favorite! This No-Fuss Pie Crust was so flavorful and ridiculously easy. Crowd-pleaser for sure.”
Step 3: Cut In the Butter
Add the cold, cubed butter to the dry ingredients. How do you use a pastry blender? ), cut the butter into the flour mixture until it resembles coarse crumbs. What is the key here is to work quickly so that the butter doesn’t melt. You want to see small pieces of butter throughout the mixture. What are the butter bits that create the flaky texture?
Step 4: Add Ice Water
Gradually add the ice water, one tablespoon at a time, mixing gently after each addition. What is the best way to bring dough together without overworking it. When the dough starts to clump, stop adding water. If you add too much water, the crust will be tough.
Step 5: Press Into Pan
Transfer the dough to a pie plate. Using your fingers or the bottom of a measuring cup, press the dough evenly into the top and up. What are the sides of a pie plate? If you want a slightly thicker crust, you can leave some dough on the bottom. For a thinner crust, press it all the way up the sides.
Step 6: Pre-Bake (Optional)
For pies with wet fillings (like pumpkin or Pecan Pie), it’s a good idea to pre-bake the crust. How do I prevent it from getting soggy? How do you prick the crust with a fork? Then, line the crust with parchment paper and fill it with pie weights or dried beans. Bake for 15-20 minutes, or until the edges are lightly golden brown. Remove the parchment paper and weights, and bake for another 5-10 minutes, or until the bottom of the pan is completely dry. The crust is set. If you are doing a blind bake you can add egg wash to the crust. This adds a beautiful shine and seals it so fillings don’t make the crust soggy.
Step 7: Fill and Bake (or Cool)
Fill the pre-baked crust with your desired filling and bake according to your recipe’s instructions. If you’re using the crust for a no-bake filling (like chocolate Cream Pie), simply let it cool. Before filling the form, fill the
Step 8: Cool & Serve
Let the pie cool completely before slicing. This allows the filling to set properly and the crust to firm up. Enjoy!
5. What to Serve It With
This No-Fuss Pie CrustWhat are some ideas for a DIY project?
For Breakfast:A slice of Apple Pie made with this crust, alongside a hot cup of coffee or tea. What is the best way to start a fall morning?
For Brunch: A savory quiche with spinach, mushrooms, and cheese, served on this delightful crust. Add a mimosa for the perfect brunch vibe!
As Dessert: A classic chocolate Cream Pie, made even better with this buttery crust. Top it with whipped cream and chocolate shavings for an elegant finish.
For Cozy Snacks: Warm Apple Pie filling spooned into the baked crust. It’s like a handheld treat perfect for movie nights.
My family loves when I make mini pies with this crust. They are perfect for kids and adults alike.
Top Tips for Perfecting Your No-Fuss Pie Crust
Here are a few extra tips and tricks to help you achieve pie crust perfection:
Cold Ingredients Are Key: Make sure your butter and water are ice-cold. This helps to prevent the butter from melting too quickly, which results in a more tender and flaky crust.
Don’t Overwork the Dough: Overmixing the dough will develop the gluten, resulting in a tough crust. Mix just until the dough comes together. The dough should be shaggy.
Chill the Dough (Sometimes): While this recipe is called “No-Fuss,” chilling the dough for 30 minutes can make it even easier to work with, especially on a hot day.
Use a Food Processor: If you’re short on time, you can use a food processor to cut the butter into the flour. Just pulse it a few times until the mixture resembles coarse crumbs.
Customize the Flavor: Add a teaspoon of vanilla extract, a pinch of cinnamon, or some finely grated citrus zest to the dough for extra flavor.
“Made the No-Fuss Pie Crust tonight and wow — perfect weeknight dinner. Will definitely make again!”
Pre-Bake for Wet Fillings: If you’re using a wet filling, pre-baking the crust will prevent it from getting soggy.
Experiment with Different Flours: Try using a mix of all-purpose flour and whole wheat flour for a more nutritious and flavorful crust. You can even use Gluten-Free Flour!
I remember one time I tried to make this crust with melted butter (because I was impatient). It was a disaster! The crust was greasy and tough. Lesson learned: cold butter is essential.
Storing and Reheating Tips
Here’s how to store your No-Fuss Pie Crust to keep it fresh and delicious:
Room Temperature: Baked pie crust can be stored at room temperature for up to 2 days, covered loosely with plastic wrap or foil. This will keep it from drying out.
Refrigerator Storage: Baked pie crust can be stored in the refrigerator for up to 5 days, wrapped tightly in plastic wrap or in an airtight container. This is a good option if you want to make the crust ahead of time.
Freezer Instructions: Baked pie crust can be frozen for up to 3 months. Wrap it tightly in plastic wrap and then in a layer of foil. Thaw it in the refrigerator overnight before using.
Glaze Timing Advice: If you’re planning to glaze the crust, it’s best to do so right before serving. This will prevent the glaze from getting sticky or melting.
One thing I’ve learned is that it is important to keep the pie covered to prevent the crust from absorbing other flavors in the refrigerator.
Frequently Asked Questions
Final Thoughts
So there you have it: my go-to No-Fuss Pie Crust recipe. It’s simple, delicious, and endlessly adaptable. Whether you’re a seasoned baker or a complete beginner, I know you’ll love how easy it is to make this crust. It’s truly fool proof! It’s a fantastic way to enjoy all your favorite pies without the stress of traditional crusts. If you love this recipe, be sure to check out my other easy baking recipes. Happy baking! I can’t wait to hear how yours turns out. Please feel free to leave a comment below and share your own variations.
No-Fuss Pie Crust
Ingredients
Main Ingredients
- 2.5 cups all-purpose flour Use a good quality flour.
- 1 teaspoon salt
- 1 cup cold unsalted butter Cut into small pieces.
- 0.5 cup ice water Add gradually.
Instructions
Preparation Steps
- Whisk together flour and salt.
- Cut in cold butter using a pastry blender or your fingers until the mixture resembles coarse crumbs.
- Gradually add ice water, mixing until the dough just comes together.
- Form the dough into a disc, wrap in plastic wrap, and chill for at least 30 minutes.
- Roll out the dough on a lightly floured surface and use it for your pie.


