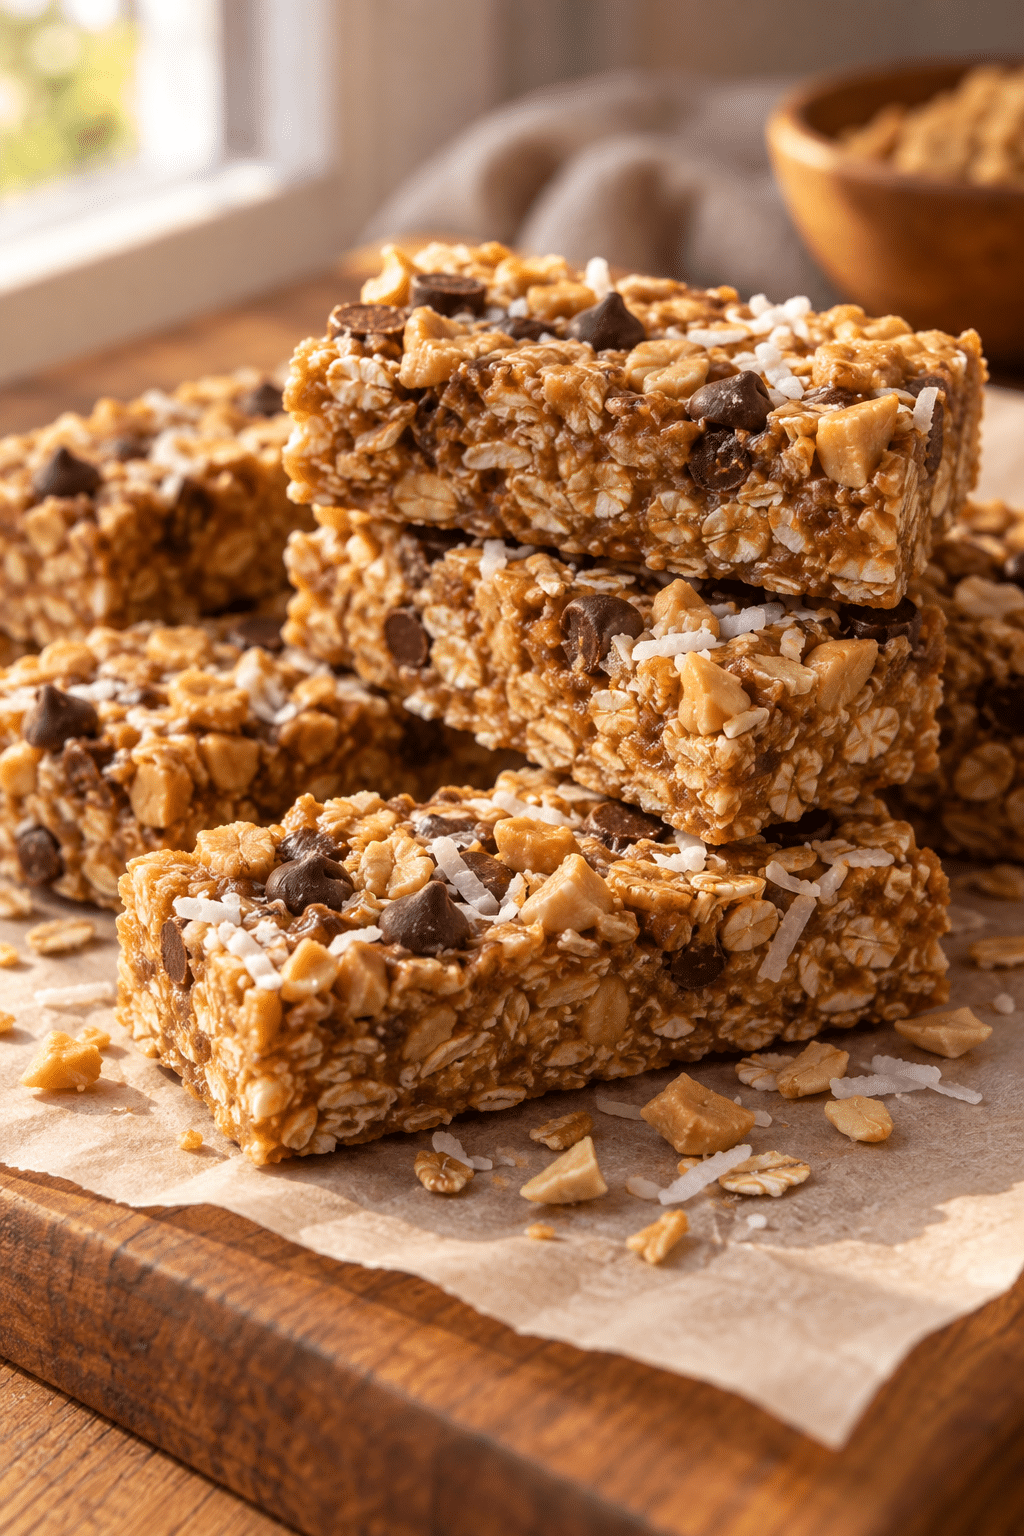

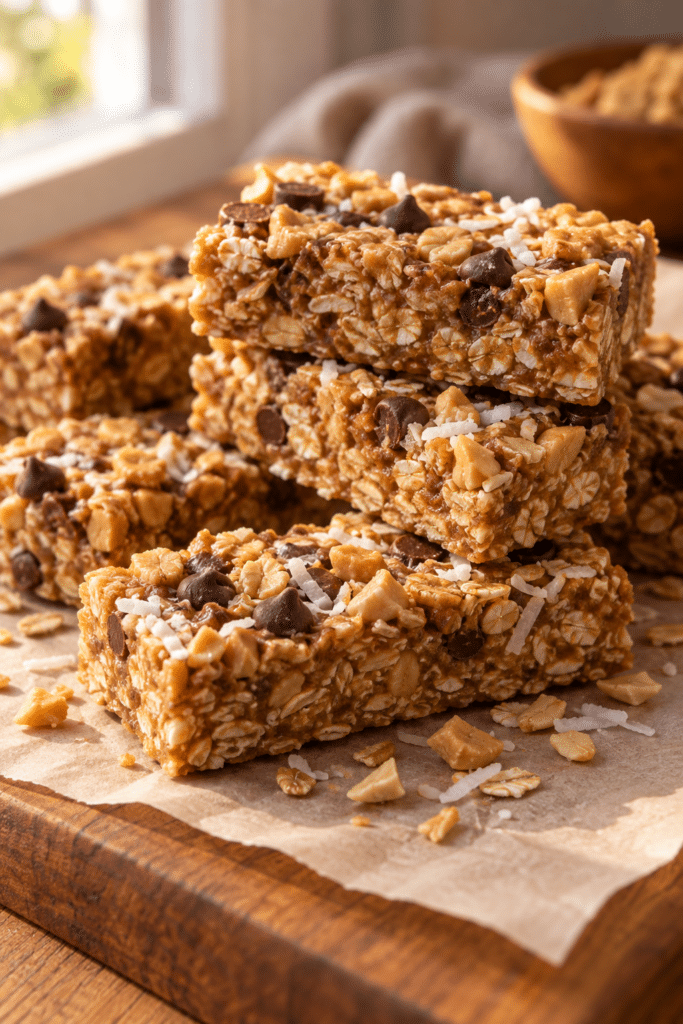
These no bake snack bars are a practical answer when you want something chewy, nutty, and lightly sweet without turning on the oven. Rolled oats provide a hearty base, while peanut butter and honey bind the mixture into slices that hold together after chilling. Coconut, roasted peanuts, and mini chocolate chips add contrasting texture. Make a pan ahead, chill it until firm, and keep the bars ready for breakfast, a lunchbox, or an afternoon snack.
Thank you for reading this post, don't forget to subscribe!What are no bake snack bars?
No bake snack bars are refrigerator-set treats made by combining dry ingredients with a soft binder. Here, peanut butter and honey do the binding work, so the mixture needs firm pressing and enough chilling time. The result is softer and chewier than a baked granola bar, with a simple pantry profile that is easy to portion.
Why this no bake snack bars recipe works
The oats absorb some of the moisture from the honey and peanut butter, creating a mixture that becomes sliceable as it cools. Coconut brings a gentle chew, chopped peanuts add crunch, and chocolate chips provide small pockets of sweetness. Mixing the dry ingredients first distributes the salt and toppings evenly before the sticky ingredients are added.
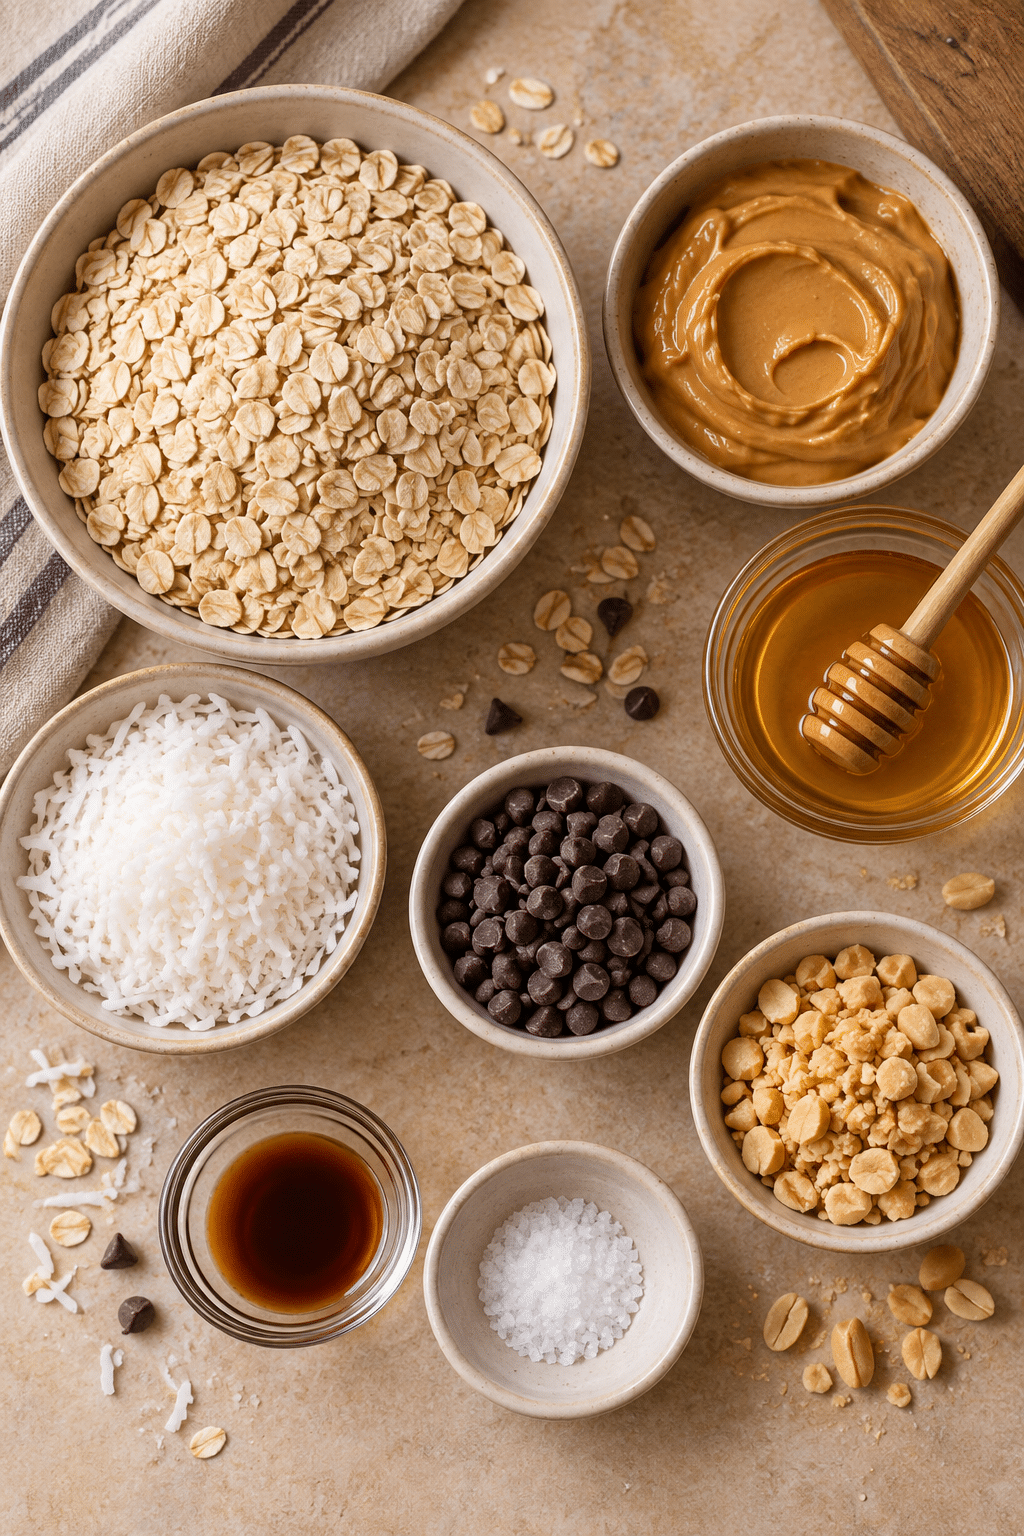
Ingredients for no bake snack bars
- 1 1/2 cups rolled oats
- 1/2 cup smooth peanut butter
- 1/3 cup honey
- 1/3 cup unsweetened shredded coconut
- 1/4 cup mini chocolate chips
- 1/4 cup chopped roasted peanuts
- 1/2 teaspoon vanilla extract
- 1/4 teaspoon fine salt
How to make no bake snack bars
- Line an 8-inch square pan with parchment, leaving paper over the sides for lifting.
- Stir the oats, coconut, chocolate chips, chopped peanuts, and salt together in a bowl.
- Mix the peanut butter, honey, and vanilla in a small bowl until smooth.
- Pour the wet mixture over the dry ingredients and stir until every oat is coated.
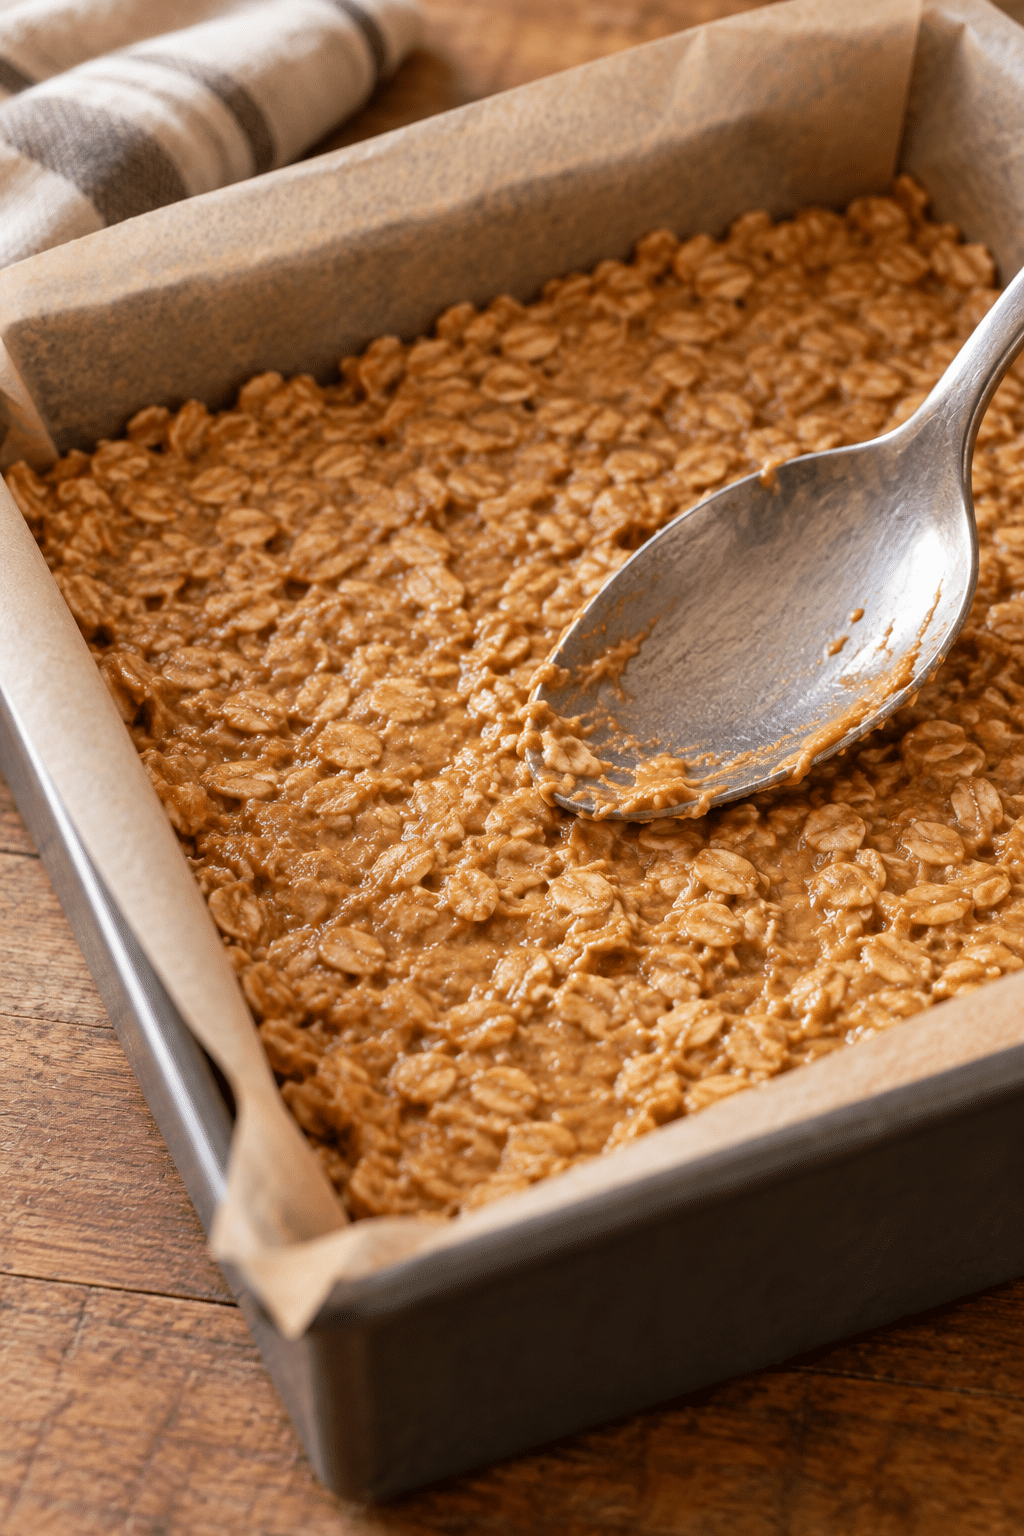
- Press the mixture firmly and evenly into the lined pan.
- Refrigerate for at least 2 hours, then lift out and cut into 12 bars.
Serving ideas
Serve a bar chilled for the firmest texture, or let it stand briefly if you prefer a softer bite. Pair one with fruit and yogurt for a quick breakfast, tuck one into a lunchbox with an ice pack, or keep a portion beside coffee for a simple afternoon snack. Smaller squares also work well when you want a little treat rather than a full bar.
“New family favorite! This No-Bake Snack Bars with Peanut Butter and Oats was so flavorful and ridiculously easy. Crowd-pleaser for sure.”
Tips for clean, sturdy bars
Use a pan with straight sides and press the mixture evenly into the corners. If the peanut butter is unusually thick, stir it thoroughly before measuring so the honey can combine with it smoothly. Chill the full slab before cutting, and wipe the knife between cuts for cleaner edges. Store the cut bars in a covered container so they do not dry out.
Optional variation
Optional variation: For a different texture, replace the chopped roasted peanuts with the same amount of finely chopped almonds. Keep the primary recipe unchanged if you want the original peanut crunch, and make sure any nut choice fits the needs of the people you are serving.
Storage and chilling
Keep the bars refrigerated in an airtight container and separate layers with parchment if stacking. Chilling helps them retain their shape, especially in a warm kitchen. Take only the amount you plan to eat from the refrigerator, and return the rest promptly. These bars are designed to be served cold or cool; no reheating is needed.
Common searches about no bake snack bars
How do you keep no bake snack bars from falling apart?
Coat all the oats, press the mixture firmly into the pan, and chill the slab for the full two hours before slicing.
Can you make no bake oat bars ahead?
Yes. Make them ahead, chill until firm, cut them, and store them covered in the refrigerator for convenient portions.
Are these bars chewy or crunchy?
They are primarily chewy from the peanut butter and honey, with crunch from the roasted peanuts and a little bite from the oats.
Texture and portioning notes
The finished texture depends on balance. Oats give structure, but the mixture must still have enough peanut butter and honey to hold the ingredients together. Pressing is more important than adding extra binder: too much honey can make the bars sticky, while a compact, even layer chills into slices that travel well. Let the slab cool completely before judging its firmness.
“Made the No-Bake Snack Bars with Peanut Butter and Oats tonight and wow — perfect weeknight dinner. Will definitely make again!”
Cutting twelve bars gives useful snack-size portions. For a smaller bite, cut each square again, or make fewer larger bars for a more substantial breakfast. Keep the cuts consistent so the bars stack neatly and each serving contains a similar share of the oats, nuts, coconut, and chocolate chips.
Planning a batch
This recipe is easy to schedule because its active work is short and the refrigerator does the setting. Line the pan before mixing, measure all dry ingredients together, and have a flat surface ready for pressing. That simple order keeps the sticky mixture from sitting while you search for equipment. Once chilled, the bars can be portioned for several days of snacks.
FAQs
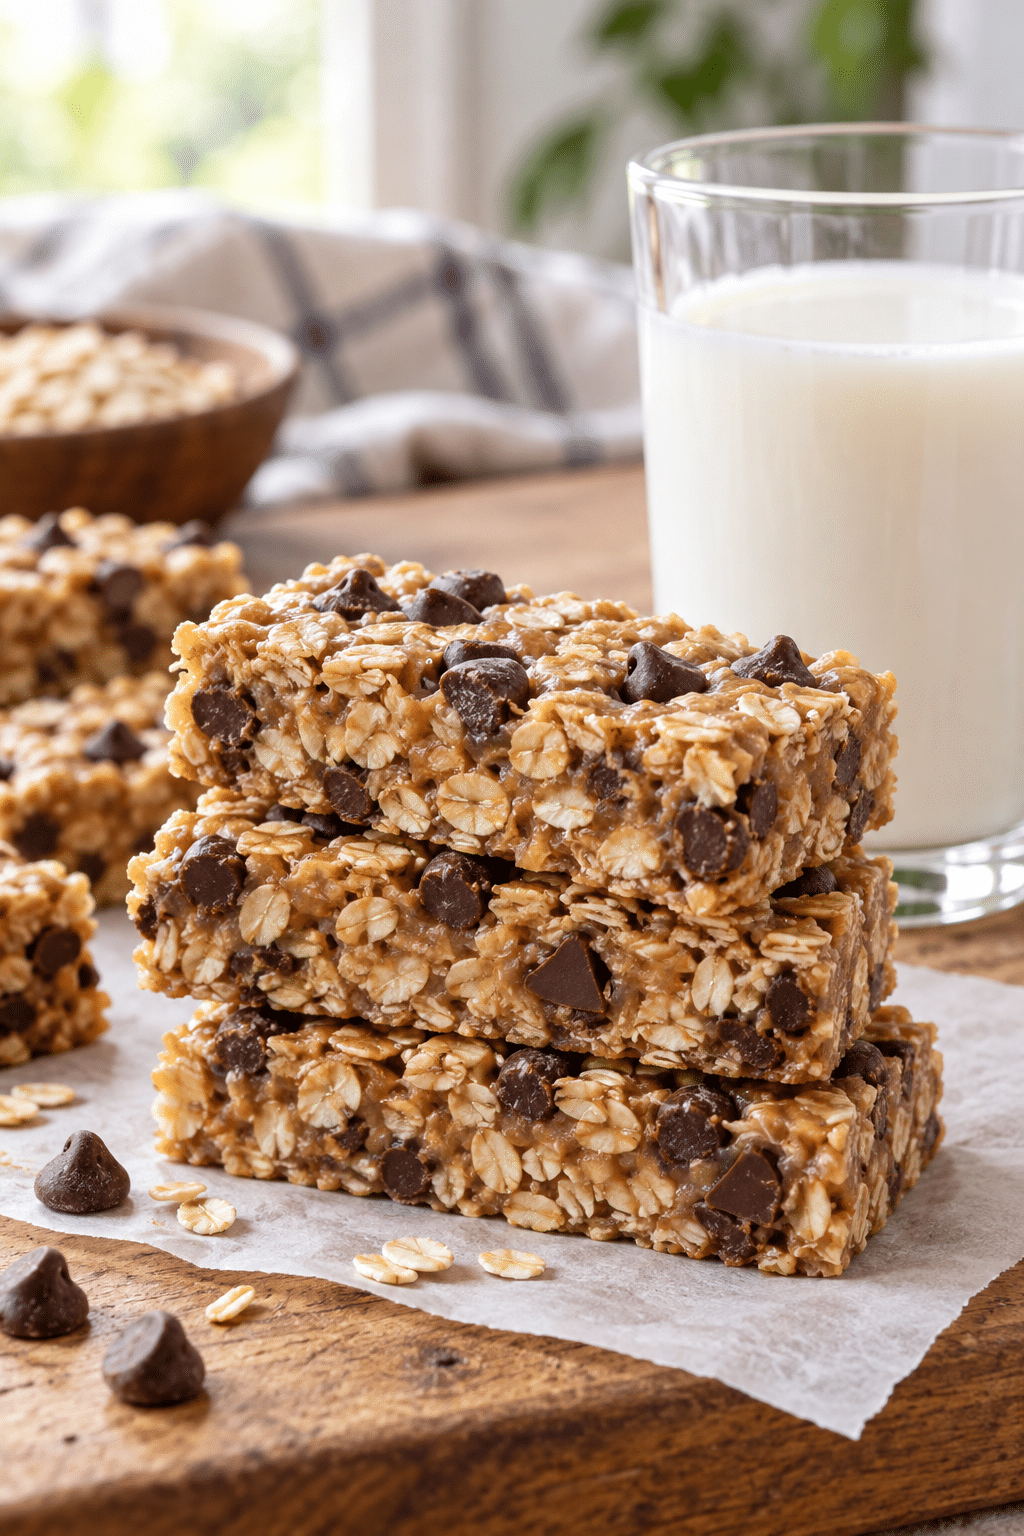
These no bake snack bars keep the method straightforward: mix, press, chill, and cut. Once the layer is compact and fully cold, the oats, peanut butter, coconut, peanuts, and chocolate chips settle into a dependable snack with no oven required.

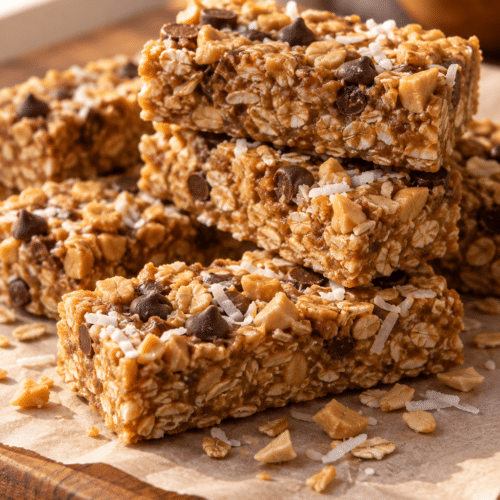
No-Bake Snack Bars with Peanut Butter and Oats
Ingredients
Ingredients
- 1 1/2 cups rolled oats
- 1/2 cup peanut butter smooth
- 1/3 cup honey
- 1/3 cup unsweetened shredded coconut
- 1/4 cup mini chocolate chips
- 1/4 cup chopped roasted peanuts
- 1/2 teaspoon vanilla extract
- 1/4 teaspoon fine salt
Instructions
Instructions
- Line an 8-inch square pan with parchment, leaving paper over the sides for lifting.
- Stir the oats, coconut, chocolate chips, chopped peanuts, and salt together in a bowl.
- Mix the peanut butter, honey, and vanilla in a small bowl until smooth.
- Pour the wet mixture over the dry ingredients and stir until every oat is coated.
- Press the mixture firmly and evenly into the lined pan.
- Refrigerate for at least 2 hours, then lift out and cut into 12 bars.