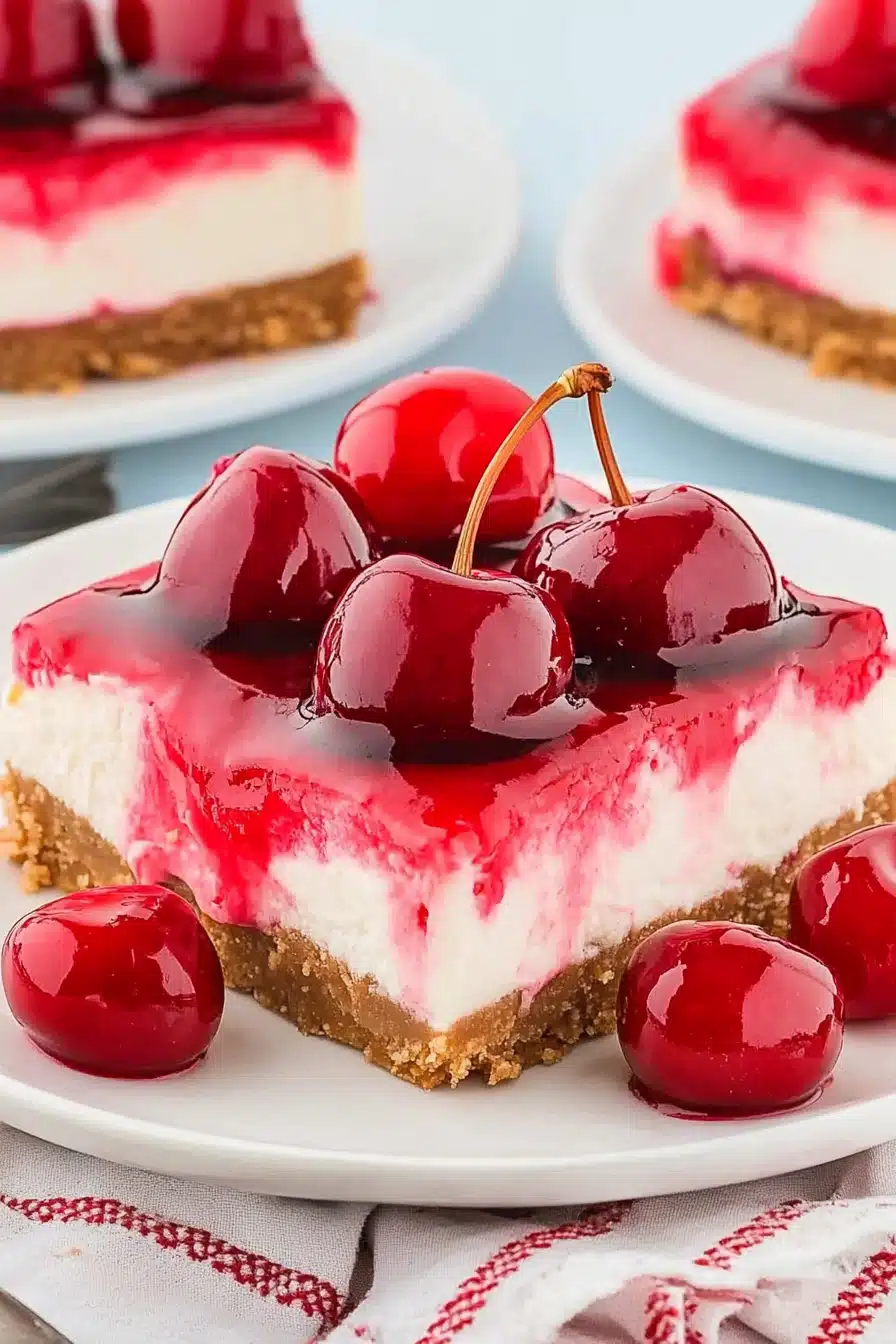
No-bake cherry cheesecake is not just easy to make, but also a delicious treat that satisfies cravings without the hassle of baking. This creamy dessert, with its tangy cherry topping, is perfect for any occasion and can be assembled in no time. Whether you’re a novice cook or a seasoned baker, this no-bake version will take your cheesecake game to a new level.

I remember the first time my grandmother showed me how to prepare this dessert. She claimed it was her secret weapon for impromptu family gatherings. With just a few ingredients and a little TLC, she would magically transform our kitchen into a mini-bakery, filling our home with sweet aromas. This recipe has since become our family’s go-to dessert for any celebration.
Why You’ll Love This Recipe
This recipe is a crowd-pleaser for several reasons. Firstly, its simplicity is unmatched—there’s no need for an oven, making it perfect for hot summer days. Secondly, it’s endlessly customizable, allowing you to tweak ingredients to your particular taste. Finally, its creamy texture and the contrast of sweet cherries make it irresistible. Whether you’re making it for yourself or a crowd, it’s sure to impress.
Ingredients Notes
For the crust, we recommend using graham crackers for their subtly sweet flavor, but digestive biscuits work well too. The cream cheese should be full-fat for extra richness. You can substitute homemade cherry compote in place of canned cherries if time allows.

Recipe Steps
Step 1
Begin by crushing the graham crackers into fine crumbs. A food processor works best, but a rolling pin and a ziplock bag will suffice.
Step 2
Mix the crumbs with melted butter. Press this mixture firmly into the bottom of a springform pan to form the crust, then chill in the fridge for 30 minutes.
Step 3
In a separate bowl, beat the cream cheese until smooth. Gradually add in sugar and vanilla extract, continuing to beat until the mixture is creamy and well-combined.
Step 4
Fold in whipped cream gently, ensuring to keep the mixture light and airy. Pour over the chilled crust and smooth the top with a spatula.
Step 5
Top the cheesecake with cherry pie filling, covering the entire surface evenly. Refrigerate for at least 4 hours, preferably overnight, to set.
Storage Options
Cover the cheesecake with plastic wrap or aluminum foil before storing it in the refrigerator for up to 3 days. For longer storage, freeze the cheesecake for up to a month. Thaw it in the fridge overnight before serving. Avoid refreezing after thawing as this can affect texture.
Variations & Substitutions
To cater to different dietary preferences, consider using a gluten-free crust made from almond flour and butter. For a more exotic twist, try a passion fruit or mango topping instead of cherry. Dairy-free alternatives like coconut cream and vegan cream cheese can be used for a vegan version of this dessert.
Serving Suggestions
This cheesecake shines best when served chilled, making it an ideal dessert for summer picnics and garden parties. A dollop of whipped cream or a sprinkle of grated dark chocolate on top can add a touch of elegance. Pair with a bubbly drink or a cup of freshly brewed coffee for an indulgent treat.

Frequently Asked Questions
Q: Can I use a pre-made crust for this recipe? Yes, a pre-made crust will work if you’re short on time, but making it from scratch elevates the flavor. Choose a good-quality crust for the best results.
Q: How long does it take for the cheesecake to set? Ideally, you should let the cheesecake set for at least 4 hours in the refrigerator. For the best results, let it chill overnight, allowing the flavors to fully develop and the texture to firm up.
Q: Can I make this cheesecake ahead of time? Absolutely! This no-bake cheesecake can be prepared a day or two in advance, making it a convenient option for entertaining. Just be sure to add the cherry topping no more than a day ahead to keep it fresh.

