Little Debbie Christmas Cake Balls
Oh my gosh, you have *got* to try these Little Debbie Christmas Cake Balls. Seriously—they’re the kind of dessert that makes you feel like you’ve unlocked a secret holiday treat, even if it only took five minutes (well, maybe ten) to pull together. I first saw them on social media last year and immediately thought, “I need to make these for my family.” And now? Now they’re practically a tradition. They’re creamy, festive, totally nostalgic, and coated in chocolate so good you’ll want to lick the bowl. Plus, they look fancy enough for a party but are ridiculously easy to whip up—perfect when you’re hosting or just craving something sweet with zero stress.
Thank you for reading this post, don't forget to subscribe!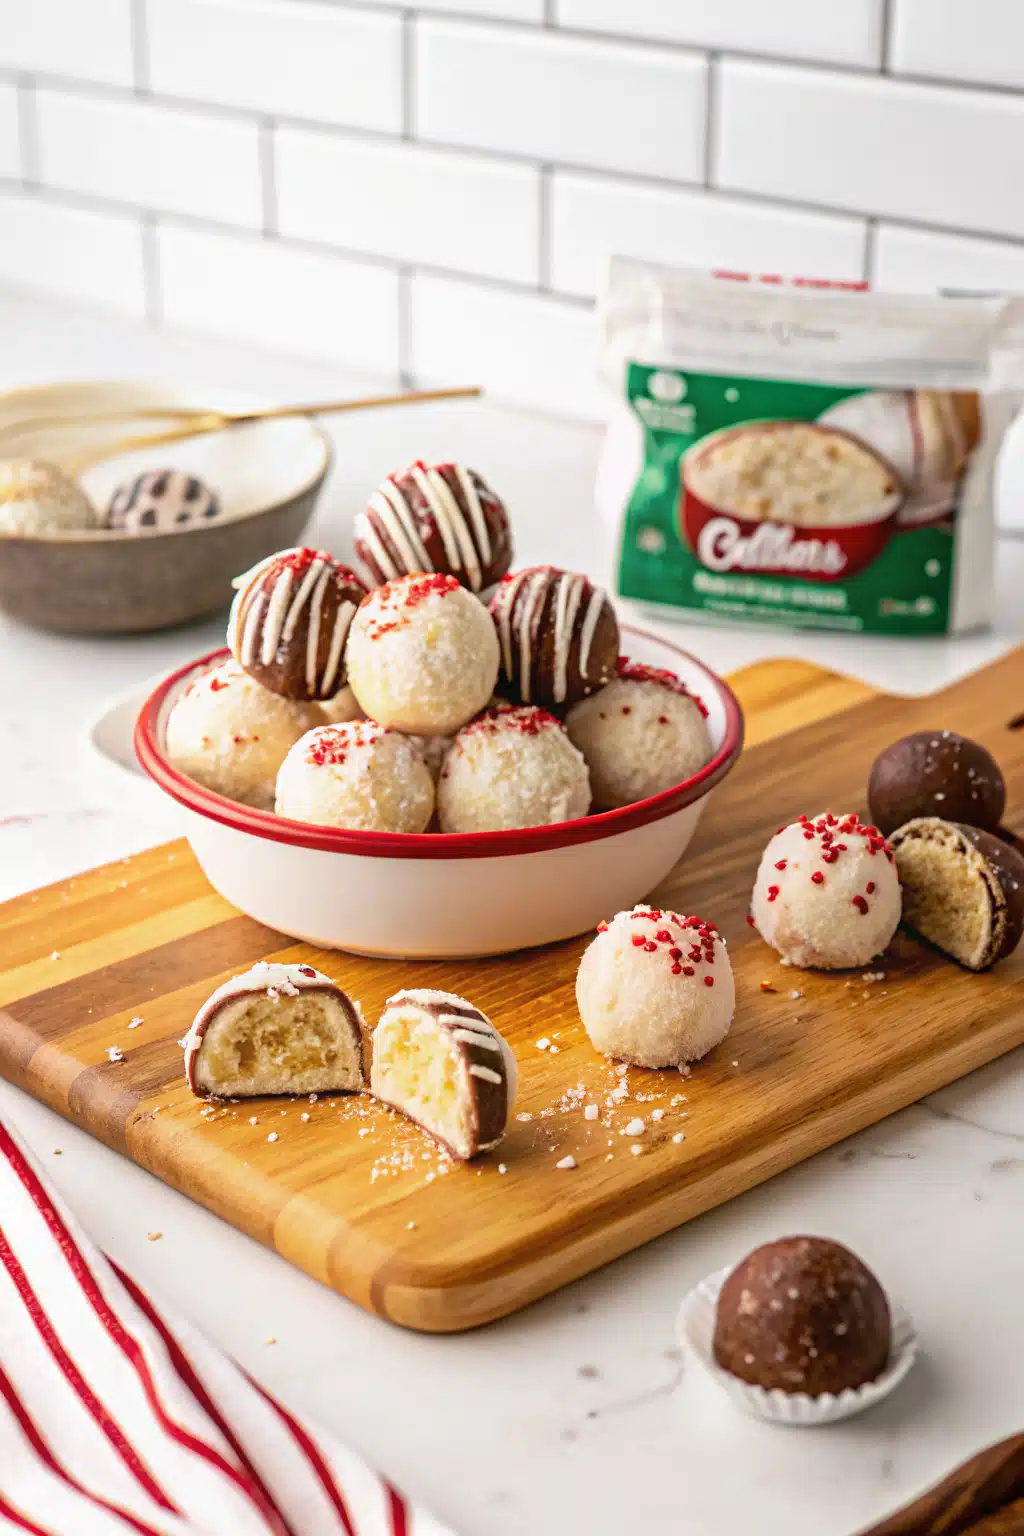
What Is Little Debbie Christmas Cake Balls?
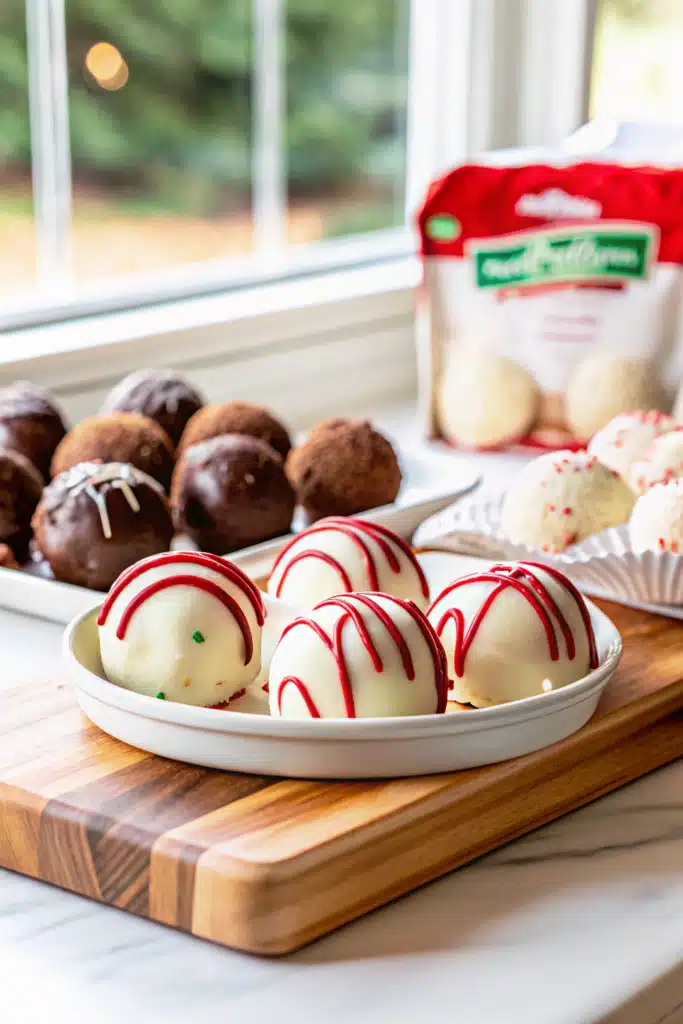
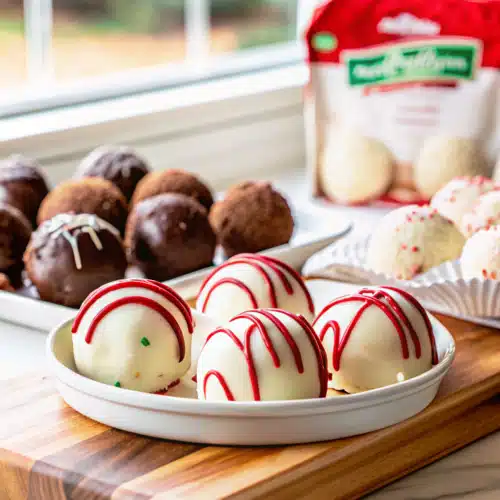
These aren’t your average cake balls—though honestly, at their core, they kind of are! But instead of using leftover birthday cake or vanilla sponge, we use those iconic Little Debbie Christmas Tree Cakes. You know the ones: soft yellow cakes filled with fluffy creme, frosted white, and topped with red icing swirls and crunchy green sprinkles. We crumble them into tiny pieces, mix with softened cream cheese until it forms a dough-like paste, then roll into bite-sized balls before freezing. Once firm, we dip each one in melted white chocolate, pipe on a little red zag-zig design (like the original cake!), and finish it off with a sprinkle of green sanding sugar. The result? A decadent truffle that tastes exactly like childhood memories wrapped in holiday cheer.
Why You’ll Love This Recipe
If you grew up loving Little Debbie snacks—and let’s be real, who didn’t?—then this recipe is going to hit all the right emotional notes. It’s not just about the taste; it’s about the nostalgia. Every bite brings back the joy of opening a plastic-wrapped cake straight from the pantry, sneaking a piece while pretending you weren’t actually hungry. But here’s the magic part: we elevate that familiar flavor into something elegant enough for holiday gatherings. These aren’t messy or overly sweet—just rich, creamy, and satisfyingly chocolatey with that signature crunch from the green sprinkles.
Another reason this recipe wins? It’s beginner-friendly and uses just three main ingredients (plus sprinkles, obviously). No complicated techniques, no specialty equipment—just crumbling, rolling, dipping, and decorating. I’ve made them for cookie exchanges, office parties, and even as last-minute gifts in a jar (more on that later!). And because they freeze beautifully, you can prep ahead without worrying about sogginess. Trust me, once people taste them, they’ll ask for the recipe every single time.
“Made the Little Debbie Cake Balls tonight and wow — perfect weeknight dinner. Will definitely make again!”
How to Make Little Debbie Christmas Cake Balls
Quick Overview
This recipe comes together in about an hour total—most of which is chilling time. First, you’ll blend crumbled Christmas Tree Cakes with softened cream cheese until smooth, roll into balls, and freeze until solid. Then, you melt white and red candy wafers, dip each frozen ball in chocolate, pipe on festive designs, and top with green sanding sugar. Easy peasy!
Ingredients
- 10 Little Debbie vanilla Christmas tree snack cakes (from 2–8.62 oz boxes)
- 8 oz block cream cheese, softened to room temperature
- 20 oz white chocolate melting wafers
- 6 oz red vanilla-flavored melting candy wafers
- 1 tbsp green sanding sugar sprinkles
Step-by-Step Instructions
- Prepare your workspace: Line two large baking sheets with parchment paper and set aside.
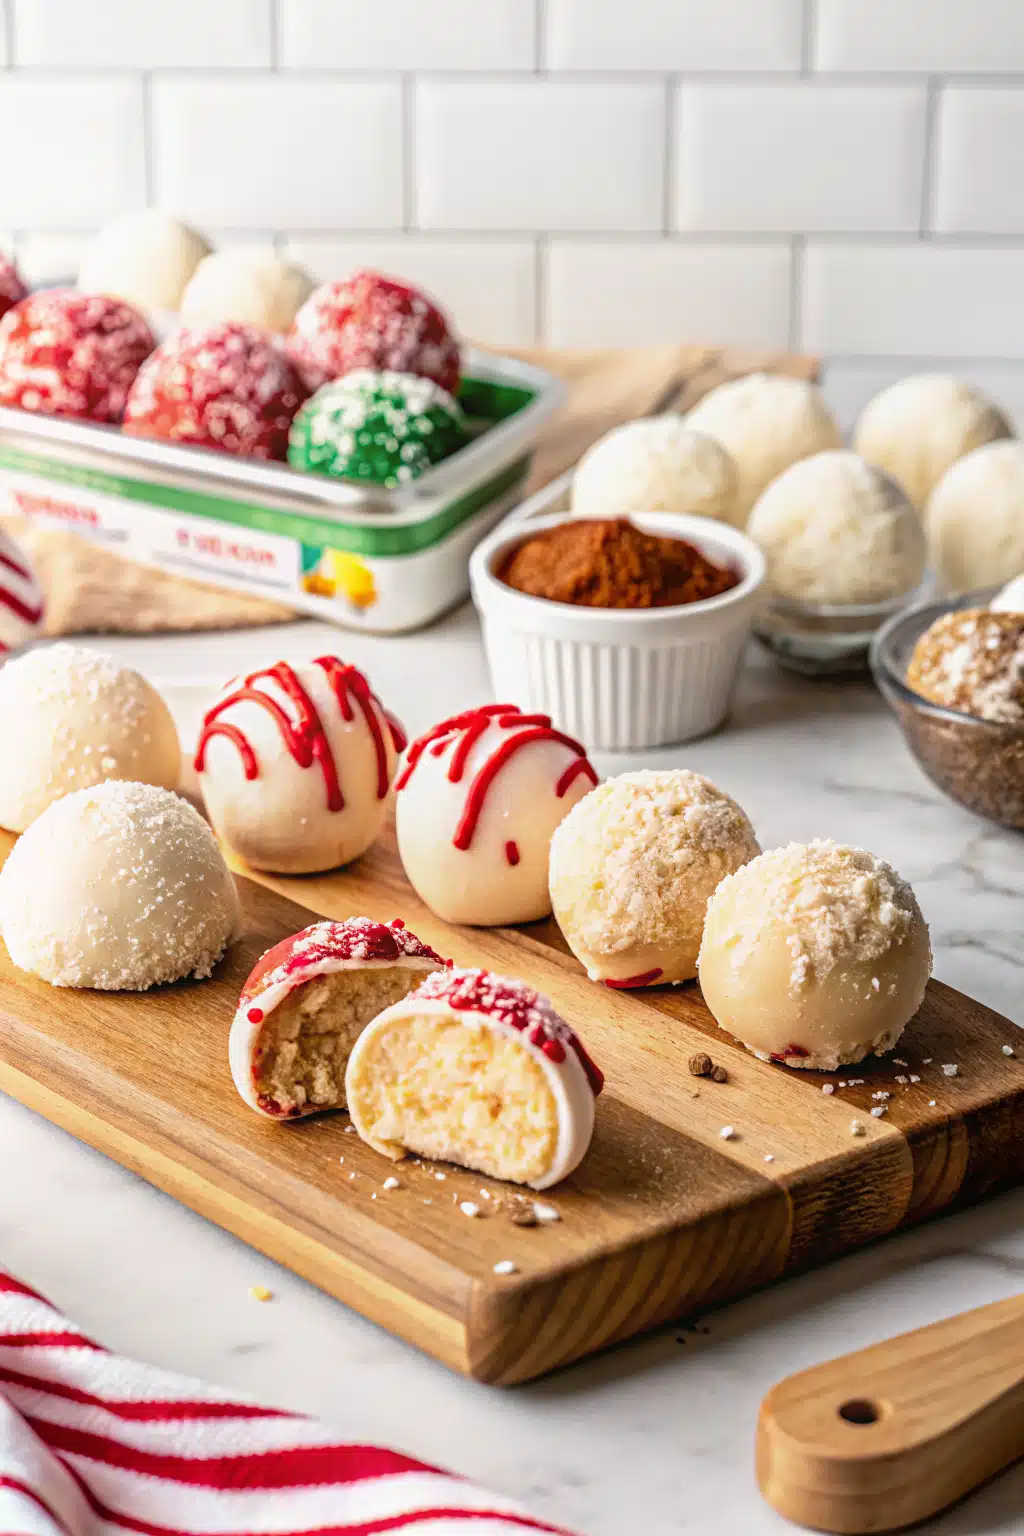
- Make the mixture: In a large bowl, beat softened cream cheese on medium speed until fluffy and smooth (about 1–2 minutes). Add crumbled Christmas Tree Cakes and mix on low just until fully combined. The mixture should be cohesive but still slightly textured—don’t worry if tiny bits of cake remain.
- Roll into balls: Scoop 1-tablespoon portions using a small cookie scoop. Roll gently in your palms to form smooth balls. Place on prepared baking sheets.
- Freeze: Pop the trays in the freezer for 30–45 minutes, or until the balls are completely solid. This step is crucial—it keeps the chocolate coating clean and prevents melting during dipping.
- Melt the chocolates: Follow package directions to melt white chocolate wafers until smooth. Separately, melt red candy wafers and transfer to a small piping bag (or snip a tip off a zip-top bag).
- Dip and decorate: Lift a frozen cake ball with a fork, dip it fully into melted white chocolate, tap off excess, and place on a fresh baking sheet. Immediately pipe a zigzag pattern across the top with red candy melt, then sprinkle generously with green sanding sugar. Repeat with remaining balls.
- Set: Let sit at room temperature for 15–20 minutes until the chocolate hardens completely before serving.
What to Serve It With
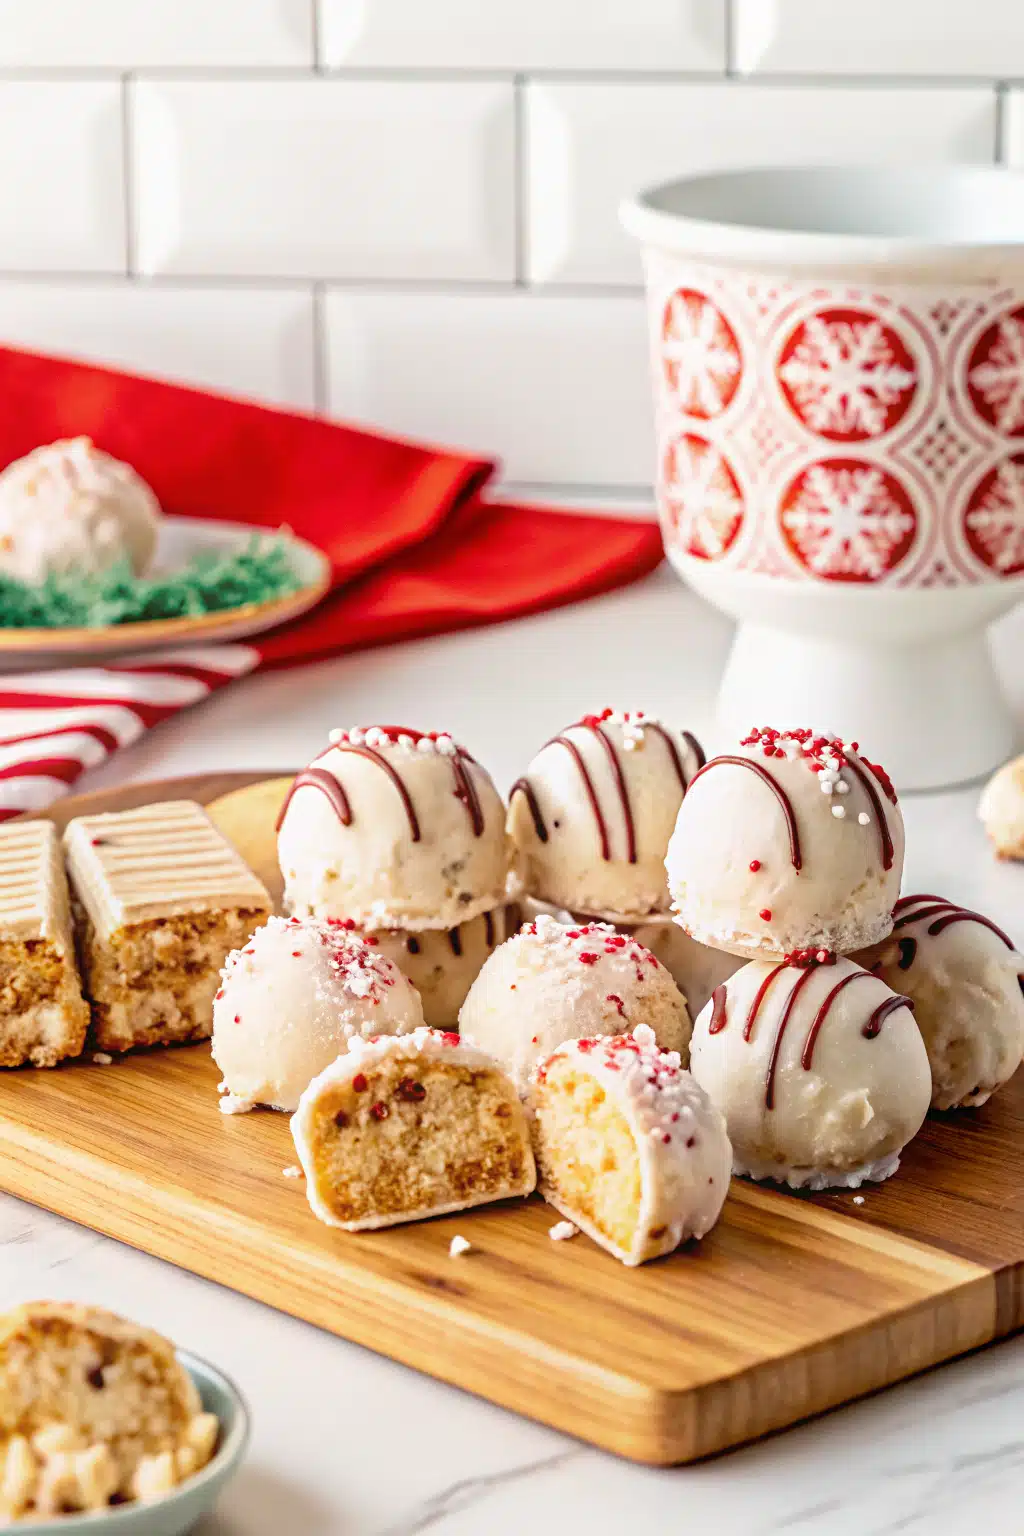
These little treats shine brightest when served at holiday parties, potlucks, or as part of a festive dessert spread. Pair them with hot cocoa, eggnog, or spiked cider for a cozy winter vibe. They also travel well—pack them in a decorative tin or mason jar with a ribbon for a thoughtful homemade gift. If you’re feeling extra fancy, insert short lollipop sticks and serve them as cake pops (just be sure to let the chocolate fully set first!). For a full dessert table, balance them out with cheesecakes, fruit tarts, or gingerbread cookies.
Top Tips for Perfecting Your Little Debbie Christmas Cake Balls
- Use room-temperature cream cheese: Cold cream cheese creates lumpy mixtures. Microwave for 20–30 seconds or let sit on the counter for 1–2 hours before starting.
- Work quickly after dipping: White chocolate sets fast when chilled—so don’t wait too long to add red drizzle and sprinkles. Do 1–2 balls at a time to keep everything manageable.
- Don’t skip the freeze: Skipping this step leads to messy chocolate coatings and uneven shapes. Patience pays off!
- Customize the colors: Swap red candy melts for gold or silver if you prefer a more traditional holiday palette. Or use green chocolate instead of white for a bolder look.
- Double or halve freely: This recipe scales perfectly. Want 50 cake balls for a crowd? Just double the ingredients.
Storing and Reheating Tips
Store leftover cake balls in an airtight container in the refrigerator for up to one week. They’ll stay firm and delicious, though the texture may soften slightly over time. If you plan to store them longer, freeze uncoated balls for up to 3 months—then dip and decorate just before serving. To reheat (if you must), microwave for 5–10 seconds at a time until warm through. Honestly, though? They’re best enjoyed cold—that’s when the chocolate is crispest and the filling is coolest.
Frequently Asked Questions
“I don’t know if I’ve ever eaten a better Little Debbie Cake Balls. The rub alone is wonderful, but the sauce??? Over the top!”
Final Thoughts
There’s something truly special about turning everyday indulgences into showstoppers—and these Little Debbie Christmas Cake Balls do just that. They’re proof that you don’t need hours in the kitchen or rare ingredients to create desserts that bring joy. Whether you’re making them for your loved ones or treating yourself (no judgment here!), these bite-sized wonders deliver pure holiday magic in every mouthwatering bite. So grab your favorite snack cakes, fire up that mixer, and get ready to spread some sweetness this season. Trust me—your friends and family will be begging for the recipe long after the holidays are over.
Little Debbie Christmas Cake Balls
Ingredients
Main Ingredients
- 10 pieces Little Debbie vanilla Christmas tree snack cakes
- 8 ounce cream cheese softened to room temperature
- 20 ounce white chocolate melting wafers
- 6 ounce red vanilla flavored melting candy wafers
- 1 tablespoon green sanding sugar sprinkles
Instructions
Preparation Steps
- Line two large baking sheets with parchment paper or a silicone mat and set aside.
- To a large mixing bowl, add the softened cream cheese and beat on medium speed, using a handheld mixer, for 1-2 minutes or until fluffy and smooth.
- Break the Little Debbie vanilla Christmas tree Snack Cakes into smaller pieces and add to the bowl of beaten cream cheese. Mix on low speed just until fully combined. You may still have some small pieces of the vanilla coating from the snack cakes remaining in the mixture however the mixture should be relatively smooth.
- Using a small cookie scoop, scoop out a 1 tablespoon sized portion of cake ball mixture and place into the palm of your hand. Gently roll to form a smooth ball.
- Place the Little Debbie Christmas tree cake ball onto one of the prepared baking sheets. Repeat with the remaining mixture until all the cake balls have been formed and placed onto the prepared baking sheet.
- Freeze the cake balls for 30-45 minutes, or until completely solid. This will make it easier to coat the cake balls in the melted white chocolate.
- Melt the white chocolate wafers in a medium bowl according to package directions and stir to a smooth consistency.
- In a separate small bowl, melt the red vanilla flavored candy wafers according to package directions and stir until smooth. Transfer the melted red candy wafers into a small piping bag with the tip cut off.
- Place a single cake ball into the melted white chocolate, being sure to coat all sides. Using a fork, lift the coated cake ball out of the melted white chocolate and gently tap the fork on the side of the bowl allowing the excess melted white chocolate to drip back into the bowl.
- Place the white chocolate coated Little Debbie Christmas tree cake ball onto the second prepared baking sheet. Pipe a decorative ziz-zag pattern across the top of the white chocolate coated cake ball and sprinkle with a pinch of the green sanding sugar sprinkles. Try to mimic the look of the original Little Debbie Christmas tree snack cakes. Repeat until all the cake balls have been coated and decorated.
- Let the Little Debbie Christmas tree cake balls set for 15-20 minutes until the white chocolate coating is completely firm before plating and serving.