
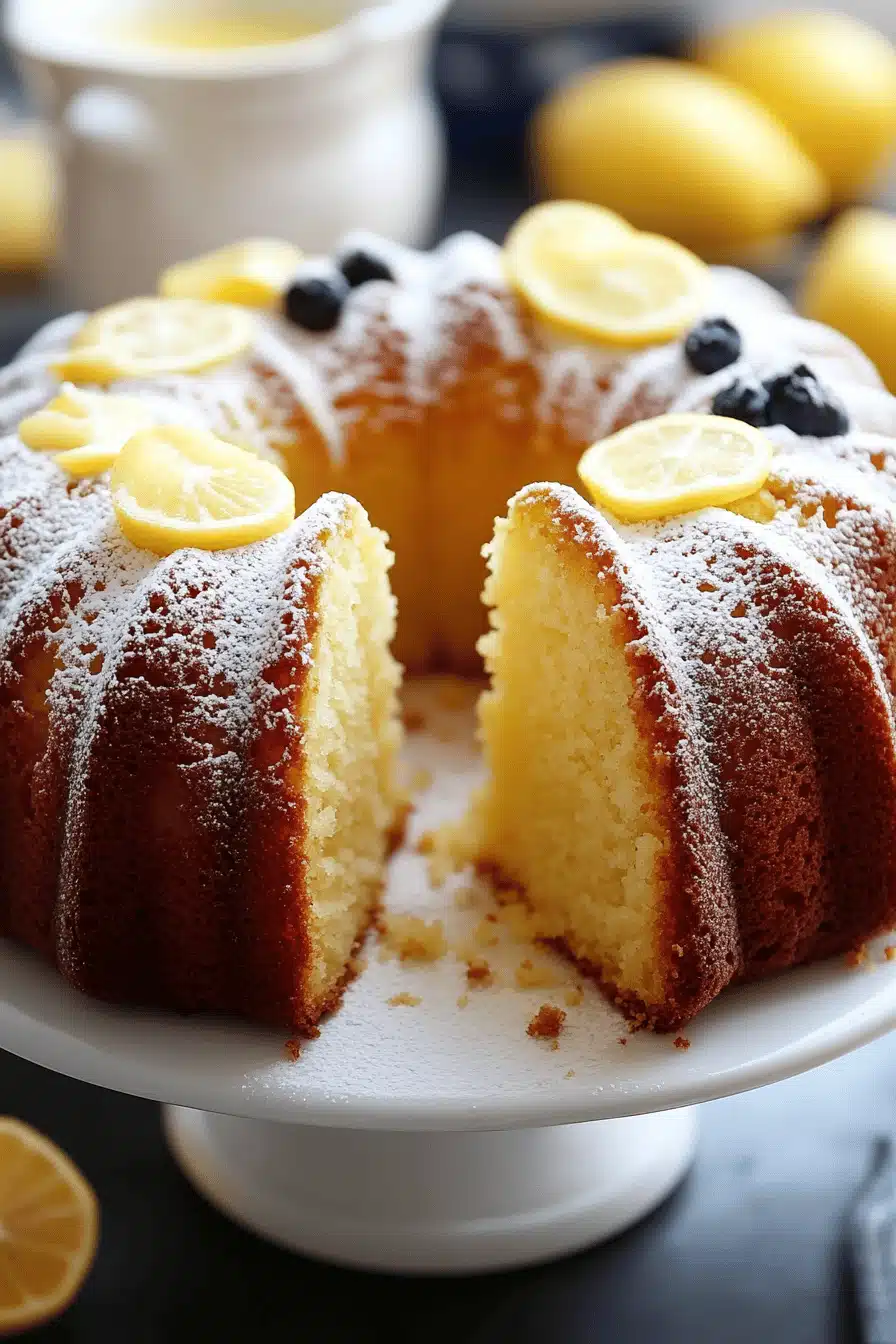
I’m about to let you in on a secret. A family secret, really.Lemon Pound Cake: What are someIt’s been passed down through generations, and it’s the one dessert that always, *always*, reminds us. Think of those store-bought pound cakes – you know, the ones that are a little dry and kind of bitter. Forget them! This is a completely different experience. Is it like a warm hug on your plate, bursting with bright lemon flavor and melt-in-your-mouth sensation? Is it easier to make a batch of Chocolate Chip Cookies? Maybe even more! I promise, one bite, and you’ll be hooked!
Thank you for reading this post, don't forget to subscribe!
What is a lemon pound cake?
What exactly is it?Lemon Pound Cake: What are someWhat is the “pound” part of the pound? What is the difference between a pound of butter, one ounce of sugar, two pounds of flour, and one egg? I’ve tweaked things a bit (for both flavor and texture), but the essence remains. What sets this recipe apart is the bright, zesty lemon. What is the flavor that cuts through the richness perfectly? Think of it as sunshine in cake form! What makes this a classic?
Why you’ll love this recipe?
What are some good reasons to love this book?Lemon Pound Cake?! First and foremost, the flavor is absolutely incredible. It’s that perfect balance of sweet and tart, with a burst of lemon that will wake up your taste buds. I use both lemon zest and juice in this recipe to really amplify that citrusy goodness. And the texture? It’s incredibly moist and tender – the kind of cake that practically melts in your mouth.
But beyond the amazing flavor and texture, what I love most about this recipe is how ridiculously easy it is to make. Seriously, if you can stir ingredients in a bowl, you can make this cake. Plus, the ingredients are all pretty standard pantry staples, so you probably have most of them on hand already. It’s way more affordable than buying one from a bakery and tastes a million times better! Think about it: a slice of pure joy, made with love, without breaking the bank.
This is also a ridiculously versatile cake. It’s perfect for breakfast with a cup of coffee, elegant enough for a fancy brunch, and the perfect comforting dessert after dinner. Or, let’s be real, a midnight snack straight from the fridge (guilty!). Seriously, you need this Lemon Pound Cake: What are someWhat is the best recipe in your life?
How do I make a lemon pound cake?
Quick Overview
Making this Lemon Pound Cake: What are some is surprisingly simple! You’ll start by creaming together the butter and sugar, then adding the eggs and lemon zest. Next, you’ll alternate adding the dry ingredients and the lemon juice mixed with milk. The batter gets poured into a prepared Loaf Pan and baked until golden brown and a toothpick inserted into the center comes out clean. Finally, you’ll whip up a quick lemon glaze and drizzle it over the cooled cake. The best part? It only takes about 15 minutes to prep! This method is a little different because it uses milk to make it moist and it comes out perfect every time.
Ingredients
For the Main Batter:
* 1 cup (2 sticks) unsalted butter, softened: Make sure it’s *really* soft, almost melty. It makes all the difference!
* 2 cups granulated sugar: I use regular white sugar. You could experiment with Brown Sugar, but it will change the flavor slightly.
* 4 large eggs: Let them come to room temperature for best results.
* 2 tablespoons lemon zest: This is KEY for that bright lemon flavor! Don’t skimp on it.
* 3 cups all-purpose flour: I haven’t tried it with gluten-free flour, but let me know if you do!
* 1 teaspoon baking powder: This helps the cake rise.
* 1/2 teaspoon baking soda: This gives it that tender crumb.
* 1/2 teaspoon salt: Enhances all the flavors.
* 1 cup milk: I usually use whole milk, but you can use whatever you have on hand. I’ve even used almond milk, and it worked great!
* 1/4 cup lemon juice: Freshly squeezed is always best!
For the Glaze:
* 2 cups powdered sugar: Sift it to avoid any lumps. * 1/4 cup lemon juice: Again, fresh is best!
What is the step by
Step 1: Preheat & Prep Pan
Preheat your oven to 350°F (175°C). Grease and flour a 9×5 inch Loaf Pan. I like to use baking spray with flour already in it, but you can also use butter and flour. Why don’t you want a cake to stick?
Step 2: Cream Butter & Sugar
In a large bowl, cream together the butter and sugar until light and fluffy. Set aside. With an electric mixer, this usually takes about 3-5 minutes. The mixture should be pale yellow and almost doubled in volume. Don’t rush this step – it’s important for creating a tender cake.
Step 3: Add Eggs & Zest
Beat the eggs one at a time, then stir in the lemon zest. Make sure each egg is fully incorporated before adding the next. The batter might look a little curdled at this point, but don’t worry – it will all come together in about an hour.
Step 4: Combine Dry & Wet Ingredients
In a separate bowl, whisk together the flour, baking powder, and salt. Set aside. Gradually add the dry ingredients to the wet ingredients, alternating with the milk and lemon juice. Starting and ending with dry ingredients. Mix until just combined. Be careful not to overmix! Overmixing will develop the gluten in the flour and result in a tough cake.
“I don’t know if I’ve ever eaten a better Lemon Pound Cake. The rub alone is wonderful, but the sauce??? Over the top!”
Step 5: Pour into Pan
How do you spread the batter in a loaf pan? I like to give the pan a gentle tap on the counter to release any air bubbles.
Step 6: Bake
Bake for 50-60 minutes, or until toothpick inserted into the center comes out clean. If the top of the cake starts to brown too quickly, you can tent it with foil. Every oven is different, so keep a close eye on it!
Step 7: Cool
Let the cake cool in the pan for 10 minutes before inverting it onto a wire rack to cool completely. How do I prevent a cake from sticking to the pan? If you try to remove it while it’s still hot, it might fall apart.
Step 8: Make the Glaze
While the cake is cooling, make the glaze by whisking together the powdered sugar and lemon juice. If the glaze is too thick, add a little more lemon juice. If it’s too thin, add a little more powdered sugar.
Step 9: Glaze the Cake
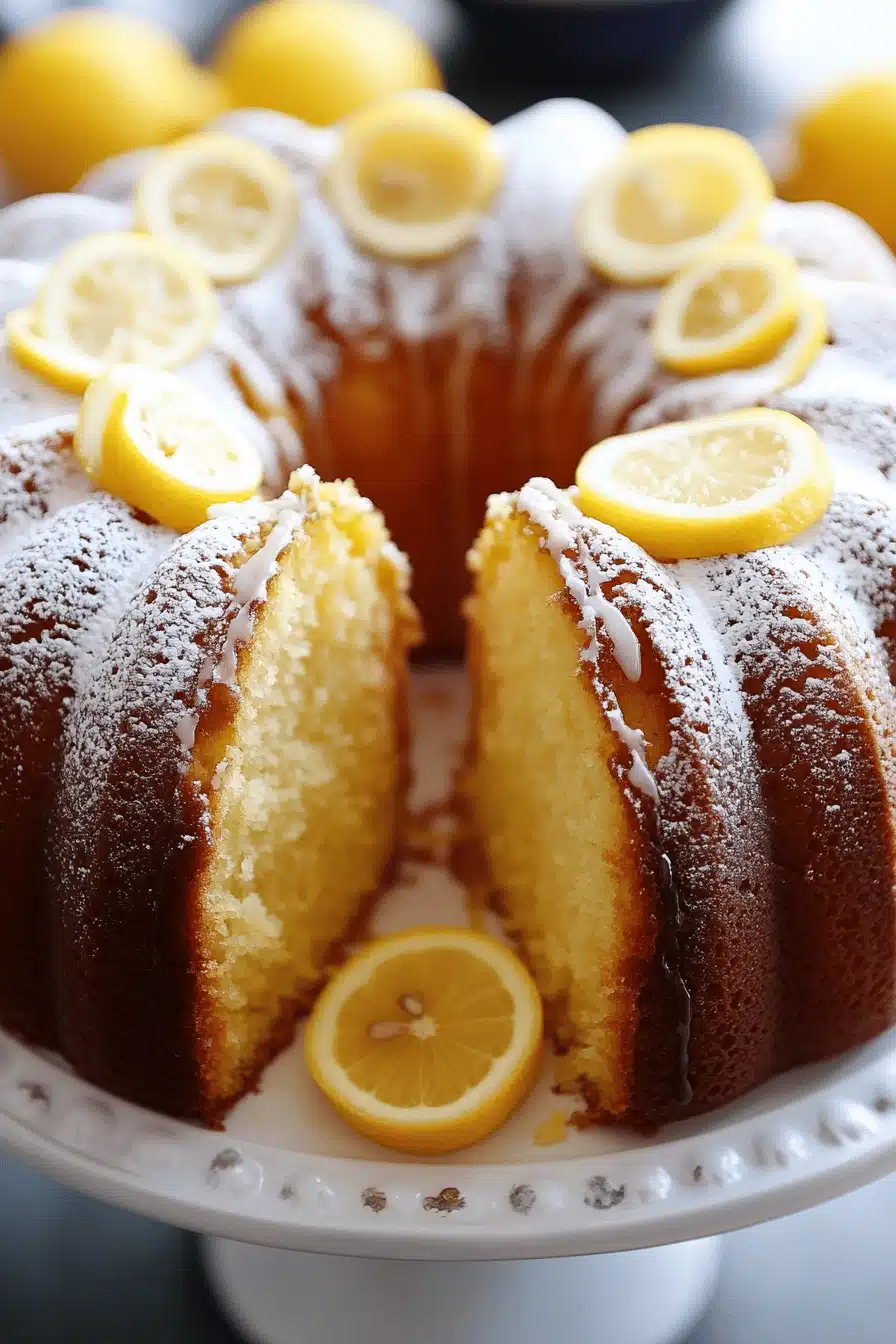
Once the cake is completely cooled, drizzle the glaze over the top. Let the glaze set for a few minutes before slicing. The LEMON GLAZE really elevates the cake and adds that extra burst of lemon flavor!
What is the best way to serve it?
This Lemon Pound Cake: What are someWhat are some good ways to serve it: a salad, boiled egg, or steamed rice.
For Breakfast:What are some good ways to enjoy a slice of pizza with iced coffee or tea? I love toasting a slice of bread and spreading crumbs on it. Simple and satisfying!
For Brunch:Serve it as part of a brunch spread with fresh fruit, yogurt, and mimosas. Is it so elegant on a platter with berries and powdered sugar?
As Dessert:Top it with whipped cream or a scoop of vanilla Ice Cream. What are some good ways to serve a raspberry sauce? What is the perfect dessert after a heavy meal?
For Cozy Snacks:What is the best comfort food to serve with a cup of tea?
My family loves this cake with lemon curd. It’s a little extra, but oh-so-delicious! For a special occasion, try making lemon trifle with layers of cake, lemon curd, and Whipped Cream.
How do I make a lemon pound cake?
How do I make sure my wife is happy?Lemon Pound Cake: What are someHow do I make sure my cake turns out perfectly every time?
Softened Butter: This is crucial for creating a light and fluffy cake. The butter should be soft enough to press your finger into easily, but not melted. If you forget to take the butter out of the fridge ahead of time, you can microwave it for a few seconds at a time, but be careful not to melt it!
Don’t Overmix: Overmixing the batter will develop the gluten in the flour, resulting in a tough cake. Mix until just combined. It’s okay if there are a few lumps.
Lemon Zest: Don’t skip the lemon zest! It’s what gives the cake that intense lemon flavor. Use a microplane to zest the lemon, and be sure to only zest the yellow part of the peel, not the white pith underneath, which is bitter.
Room Temperature Ingredients: Using room temperature eggs and milk will help the batter come together more easily and result in a smoother, more even texture.
Baking Time: Every oven is different, so keep a close eye on the cake while it’s baking. If the top starts to brown too quickly, you can tent it with foil.
“Made the Lemon Pound Cake tonight and wow — perfect weeknight dinner. Will definitely make again!”
Cooling Time: Let the cake cool completely before glazing it. If you glaze it while it’s still warm, the glaze will melt and run off.
I’ve also experimented with adding a teaspoon of vanilla extract to the batter, which adds a nice depth of flavor. And sometimes, I’ll add a handful of poppy seeds for a little extra texture. Get creative and make it your own!
Storing and Reheating Tips
Here’s how to keep your Lemon Pound Cake fresh and delicious:
Room Temperature: You can store the cake at room temperature for up to 3 days, covered tightly. I like to use a cake dome or an airtight container.
Refrigerator Storage: For longer storage, you can store the cake in the refrigerator for up to a week. Wrap it tightly in plastic wrap or store it in an airtight container to prevent it from drying out.
Freezer Instructions: To freeze the cake, wrap it tightly in plastic wrap and then in foil. You can freeze it for up to 2 months. Thaw it in the refrigerator overnight before serving.
Glaze Timing Advice: If you’re planning to freeze the cake, it’s best to glaze it after it’s thawed. Otherwise, the glaze might crack and become sticky.
I’ve found that the cake tastes best if you let it come to room temperature before serving, even if you’ve stored it in the refrigerator. It helps to soften the cake and bring out the flavors.
Frequently Asked Questions
Final Thoughts
So there you have it – my family’s beloved Lemon Pound Cake recipe! I hope you’ll give it a try and experience the joy of this simple, yet incredibly delicious cake. It’s the perfect recipe for any occasion, from a casual breakfast to a special celebration. What I love most about this recipe is how it brings people together. The smell of it baking in the oven is enough to make everyone gather in the kitchen, eager to have a slice. If you love this recipe, be sure to check out my other cake recipes, like my classic vanilla cake and my chocolate fudge cake. Happy baking, and I can’t wait to hear how yours turns out! Don’t forget to leave a comment and let me know what you think, and be sure to share your own variations. Happy baking!

Orange Blossom Honey Loaf: The Sweet Delight You've Been Missing!
Ingredients
Main Ingredients
- 2.5 cups all-purpose flour
- 0.5 teaspoons baking soda
- 0.25 teaspoons salt
- 1 cup orange blossom honey Preferably fresh and fragrant
- 0.75 cups unsalted butter Softened to room temperature
- 4 large eggs
- 0.75 cups whole milk
- 1 teaspoons vanilla extract
- 2 tablespoons orange zest Freshly grated
Instructions
Preparation Steps
- Preheat the oven to 325°F (160°C). Grease and flour a loaf pan.
- In a bowl, whisk together flour, baking soda, and salt. Set aside.
- In a large mixing bowl, cream the butter and honey together on medium speed until smooth and creamy.
- Add eggs one at a time, mixing well after each addition.
- Alternate combining the milk and dry ingredients into the honey mixture, beginning and ending with the dry ingredients. Mix until just combined.
- Stir in vanilla extract and orange zest. Ensure even distribution.
- Pour the batter into the prepared loaf pan and smooth the top.
- Bake for 50 minutes, or until a toothpick inserted in the center comes out clean.
- Allow to cool in the pan for 10 minutes before transferring to a wire rack to cool completely.


