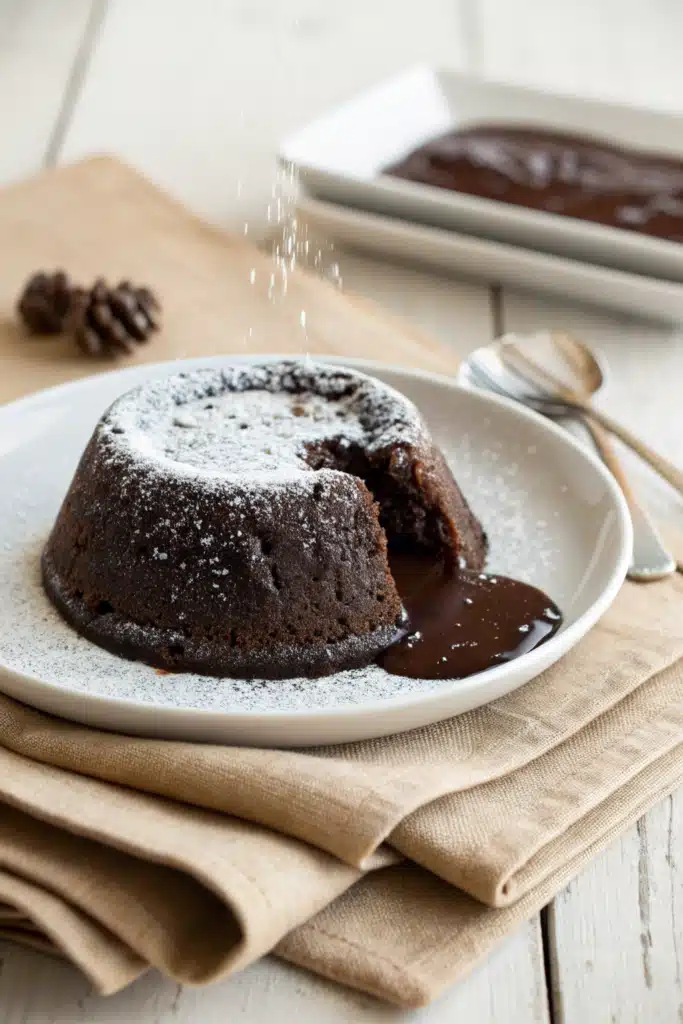
Hot Fudge Pudding Cake
You know that moment when you’re craving something deeply chocolatey, warm, and comforting—something that feels like a hug in dessert form? That’s exactly what this Hot Fudge Pudding Cake delivers. I first made it on a rainy Sunday when I was feeling a little down, and honestly, it turned my whole day around. There’s something magical about cracking through the delicate cake-like top to reveal a rich, molten fudge layer underneath. It’s not just dessert—it’s therapy. And the best part? It comes together with pantry staples and zero fancy techniques. Just mix, pour, bake, and watch the magic happen in your oven. If you’ve never tried a self-saucing chocolate cake, prepare to be completely smitten.
Thank you for reading this post, don't forget to subscribe!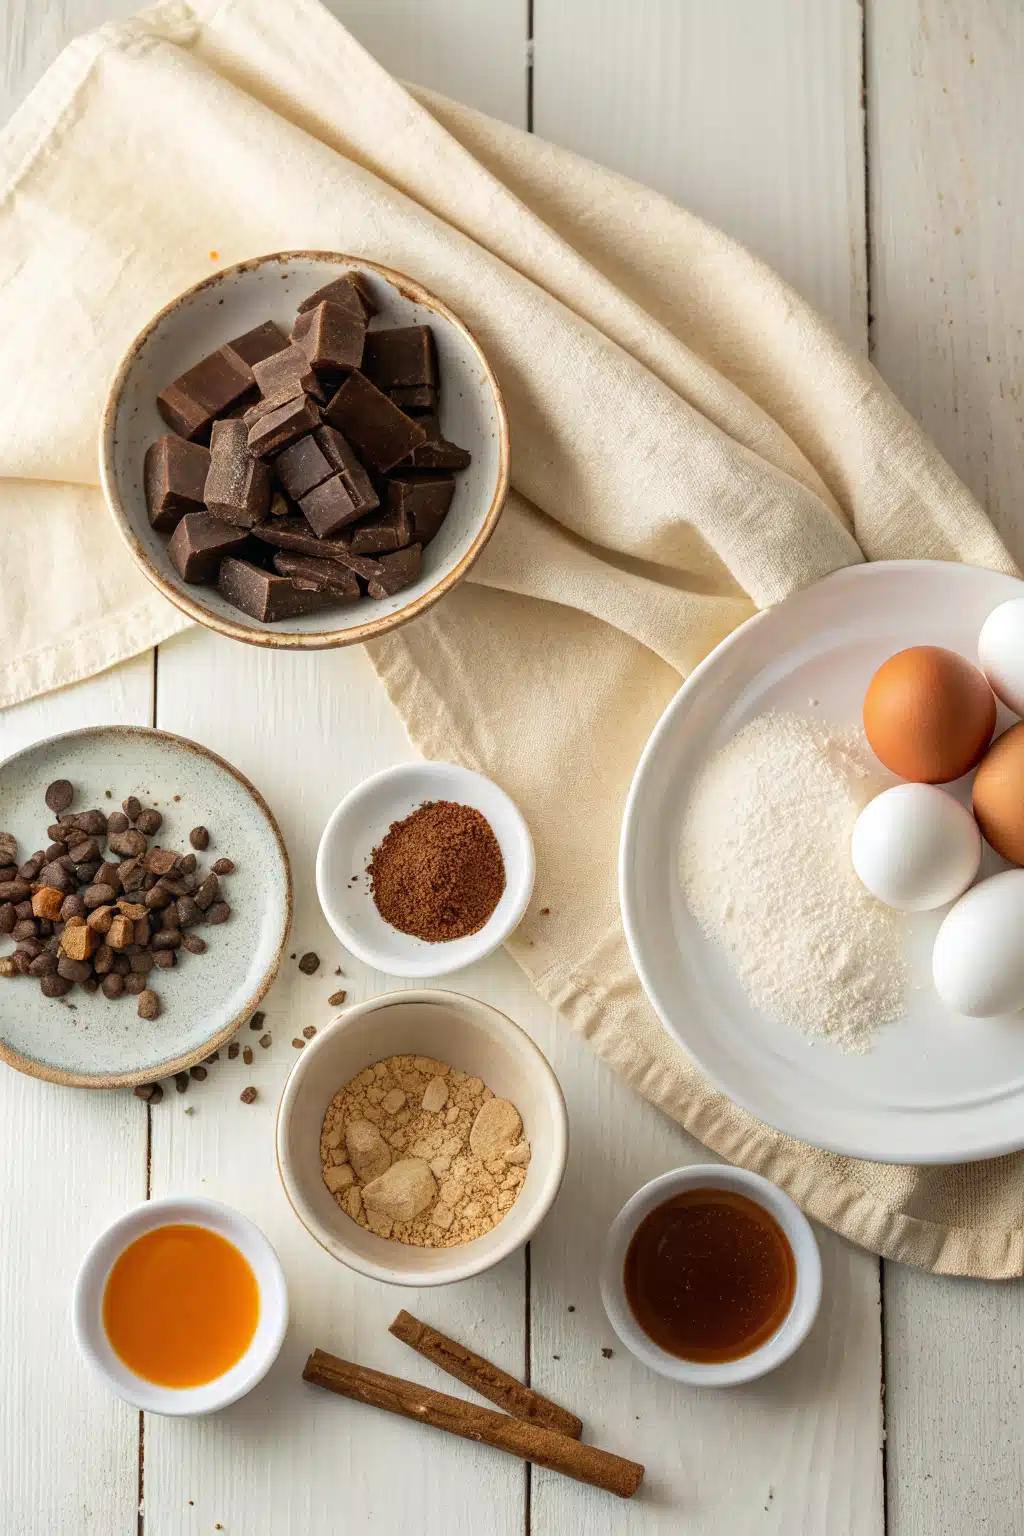
What Is Hot Fudge Pudding Cake?
Hot Fudge Pudding Cake is one of those desserts that sounds too good to be true—but it’s real, and it’s incredible. Imagine a tender, moist chocolate cake that somehow magically forms its own silky fudge sauce as it bakes. You don’t need two separate components or a complicated assembly process. Instead, you layer dry ingredients, then wet, then pour a hot chocolate mixture over the top before baking. As it cooks, the batter rises into a light cake layer while the sugary chocolate liquid sinks and thickens into a decadent pudding-like sauce. It’s kind of like magic, but with cocoa powder and butter. This dessert has been around for decades (my grandma called it “Mississippi Mud Cake”), but no matter what you call it, one bite will have you hooked.
Why You’ll Love This Recipe
This isn’t just another Chocolate Cake—it’s a mood lifter, a crowd pleaser, and a last-minute savior all rolled into one warm, gooey package. First, it’s ridiculously easy: no mixer required, just a bowl and a whisk. Second, it uses everyday ingredients you probably already have—flour, sugar, cocoa, milk, and a few pantry basics. Third (and most importantly), it serves up two textures in one dish: a soft, spongy cake layer and a luscious, warm fudge sauce that pools at the bottom. It’s the kind of dessert that makes people pause mid-bite and say, “Wait… how does this work?” Plus, it’s perfect straight from the oven with a scoop of vanilla ice cream melting into that molten center. Whether you’re feeding a family, impressing guests, or just treating yourself after a long day, this cake always hits the spot. And honestly? It’s even better the next day—if it lasts that long.
How to Make Hot Fudge Pudding Cake
Quick Overview
This recipe is simple but clever. You’ll start by mixing a Chocolate Cake batter and spreading it in a baking dish. Then you’ll whisk together a hot chocolate sauce and pour it evenly over the batter—don’t stir! As it bakes, the sauce sinks and transforms into a rich pudding layer beneath a fluffy cake top. Total time is under an hour, and the result is pure comfort.
Ingredients
For the cake layer: 1 cup all-purpose flour, ¾ cup granulated sugar, 2 tablespoons unsweetened cocoa powder, 2 teaspoons baking powder, ¼ teaspoon salt, ½ cup milk, 2 tablespoons melted butter, 1 teaspoon vanilla extract.
For the fudge sauce: ¾ cup packed Brown Sugar, ¼ cup unsweetened cocoa powder, 1½ cups hot water.
“New family favorite! This Hot Fudge Pudding Cake was so flavorful and ridiculously easy. Crowd-pleaser for sure.”
Step-by-Step Instructions
Step 1: Preheat & Prep Pan
Preheat your oven to 350°F (175°C). Lightly grease an 8×8-inch baking dish—nothing fancy, just a quick swipe with butter or nonstick spray.
Step 2: Mix the Batter
In a medium bowl, whisk together flour, granulated sugar, cocoa powder, baking powder, and salt. Stir in milk, melted butter, and vanilla until just combined. Spread the thick batter evenly into your prepared pan.
Step 3: Make the Sauce
In a separate bowl, mix brown sugar and cocoa powder. Sprinkle this mixture evenly over the batter—it’ll look like crumbs, and that’s perfect. Then slowly pour the hot water over the top. Do not stir! Seriously, just let it be.
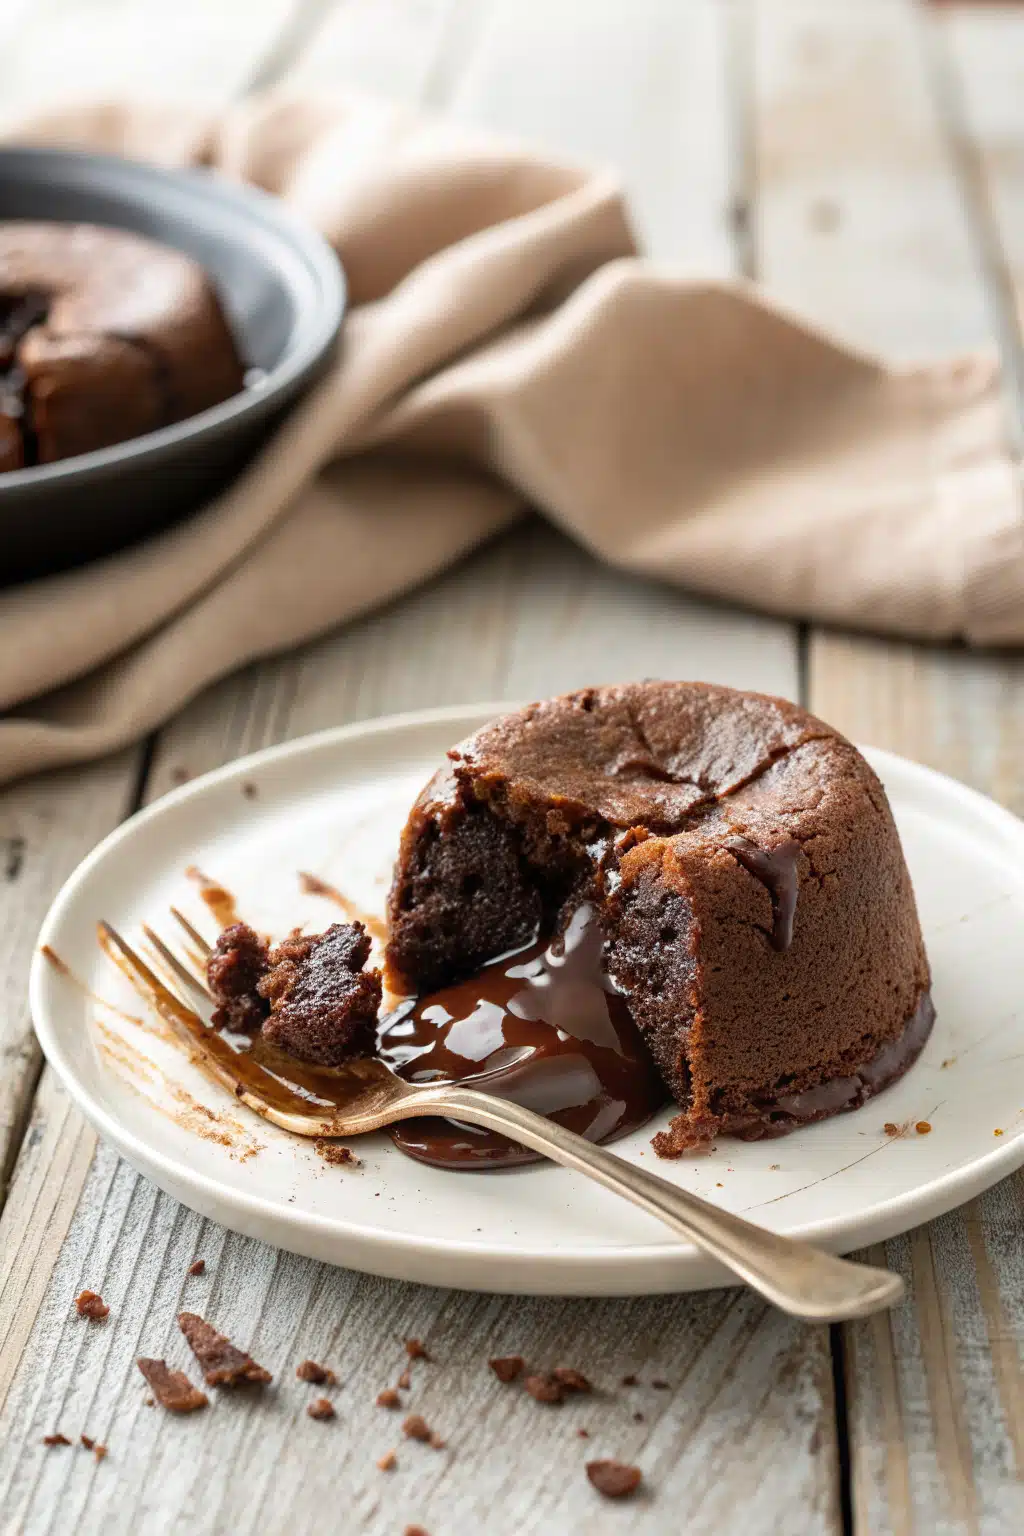
Step 4: Bake and Serve
Bake for 35–40 minutes. The top will look like set cake, and the bottom will be bubbling with sauce. Let it cool for 10–15 minutes—this isn’t just for safety, it’s so the sauce thickens slightly. Serve warm, ideally with vanilla ice cream.
What to Serve It With
A scoop of creamy vanilla ice cream is non-negotiable here—it melts into the warm fudge and balances the richness perfectly. If you’re feeling fancy, add a drizzle of caramel sauce or a handful of fresh raspberries for a tart contrast. Whipped cream works beautifully too, especially if you’re serving this at a dinner party. And don’t forget a mug of coffee or a glass of cold milk alongside it. This dessert is rich enough to stand alone, but these pairings elevate it from comforting to unforgettable.
Top Tips for Perfecting Your Hot Fudge Pudding Cake
First, don’t skip the “do not stir” step—the magic happens because the hot water stays on top and slowly sinks during baking. Second, use good-quality cocoa powder; it makes a noticeable difference in depth of flavor. Third, resist the urge to bake it too long—the sauce should still be pourable, not fully set. If your cake seems dry at the edges, you’ve gone a few minutes too far. Lastly, serve it warm! This isn’t a dessert that shines at room temperature. The contrast between the warm cake, hot fudge, and cold ice cream is everything.
Storing and Reheating Tips
Store leftovers covered at room temperature for up to 2 days—or in the fridge for up to 5 days if you’re being extra cautious. To reheat, warm individual portions in the microwave for 30–45 seconds or pop the whole dish in a 300°F oven for 10–15 minutes. Add a fresh scoop of ice cream, and it’ll taste almost as good as the first time. Fair warning: it’s dangerously easy to eat cold straight from the fridge too… I won’t judge.
Frequently Asked Questions
“Made the Hot Fudge Pudding Cake tonight and wow — perfect weeknight dinner. Will definitely make again!”
Final Thoughts

This Hot Fudge Pudding Cake has become my go-to for birthdays, bad days, and everything in between. It’s the kind of recipe that feels like a secret weapon—simple enough for weeknights, impressive enough for guests. Every time I make it, someone asks for the recipe, and I smile because I know they’re about to discover one of life’s sweetest little joys. So go ahead, preheat that oven, and treat yourself. You deserve a dessert that loves you back.
Hot Fudge Pudding Cake
Ingredients
Main Ingredients
- 1 cup all-purpose flour
- 0.75 cup granulated sugar
- 2 tablespoons unsweetened cocoa powder
- 2 teaspoons baking powder
- 0.25 teaspoon salt
- 0.5 cup milk
- 2 tablespoons unsalted butter, melted
- 1 teaspoon vanilla extract
- 0.5 cup packed brown sugar
- 0.25 cup unsweetened cocoa powder
- 1.25 cups hot water
Instructions
Preparation Steps
- Preheat oven to 350°F (175°C). Grease an 8-inch square baking dish.
- In a medium bowl, whisk together flour, granulated sugar, 2 tablespoons cocoa powder, baking powder, and salt.
- Stir in milk, melted butter, and vanilla until smooth. Spread batter evenly in the prepared baking dish.
- In a separate bowl, mix brown sugar and 1/4 cup cocoa powder. Sprinkle evenly over the batter.
- Pour hot water evenly over the top (do not stir).
- Bake for 40–45 minutes, or until the top is set and a pudding layer has formed underneath.
- Let cool slightly before serving. Serve warm, ideally with vanilla ice cream.


