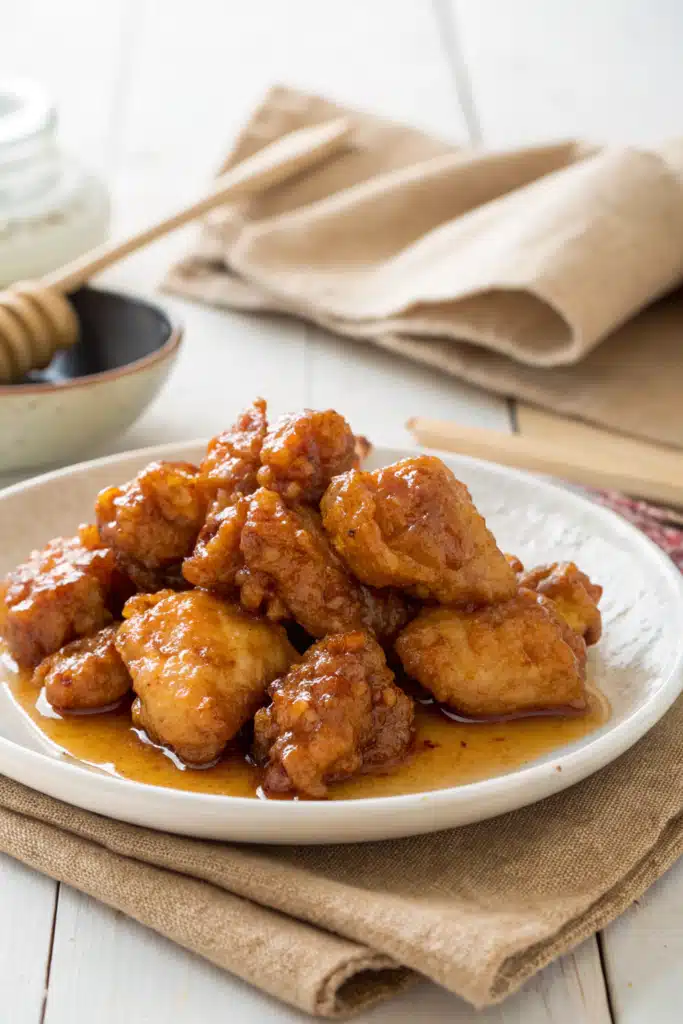
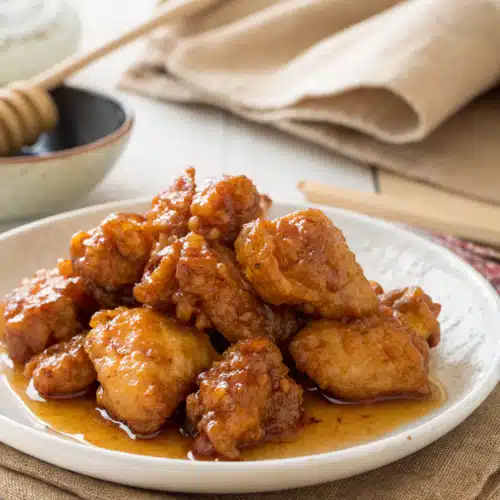
Honey Chicken
If you’ve ever craved the sweet, sticky, golden perfection of a restaurant-style Honey Chicken—but without all the hassle or questionable health ratings—you’re in for a treat. This recipe delivers that irresistible balance of tender, juicy meat glazed with a glossy, caramelized honey sauce right in your own kitchen. I first fell in love with this dish after a late-night takeout craving, and now it’s one of our family’s go-to weeknight heroes. It’s easy enough for beginners but special enough to impress guests, and honestly? The aroma alone will have everyone gathered around the table before dinner’s even plated.
Thank you for reading this post, don't forget to subscribe!What Is Honey Chicken?
Honey chicken is a beloved Chinese-American classic featuring bite-sized pieces of chicken—usually thighs or breasts—marinated in a blend of soy sauce, garlic, ginger, and rice wine, then lightly coated in cornstarch and fried until crispy. What makes it truly unforgettable is the final drizzle: a luscious glaze made from honey, Brown Sugar, and a touch of vinegar or rice wine, which clings to every piece like liquid gold. The result? A beautiful contrast between slightly crispy skin and melt-in-your-mouth tenderness, all tied together with a glossy, slightly sweet-savory finish. Unlike some heavier sauces, this version keeps things light and clean while still packing serious flavor. Whether served over steamed rice, noodles, or eaten straight from the pan, it never fails to satisfy.
Why You’ll Love This Recipe
This Honey Chicken isn’t just another copycat recipe—it’s one we’ve refined over years of tweaking, tasting, and perfecting. First off, it’s incredibly forgiving. Even if your frying technique isn’t flawless (hello, unevenly cooked pieces!), the honey glaze covers all its imperfections. Second, it’s packed with umami depth thanks to a mix of soy sauce, fresh ginger, and a splash of rice wine—no MSG required. And let’s talk about that glaze… oh, that glaze. It’s not overly sugary; instead, it’s balanced with just enough acidity to keep the sweetness bright and appetizing. Plus, making it at home means full control over ingredients—no hidden additives, no excessive sodium, and definitely no mystery oils.
Another reason this recipe shines is speed. While traditionally some versions require double-frying, this method uses a single, well-timed fry followed by a quick sauté in the sauce—cutting down time without sacrificing texture. My kids beg for seconds, my husband raves about how “just like takeout,” and even picky eaters gobble it up. We’ve served it at casual family dinners, potlucks, and even holiday gatherings, and it always disappears faster than my homemade dumplings. Best of all, cleanup is minimal because everything goes into One Skillet after the initial fry (which you can even do in batches if needed). If you’ve been missing out on honey chicken because you thought it was too complicated or unhealthy, trust me—this version changes everything.
How to Make Honey Chicken
Quick Overview
Making restaurant-quality honey chicken at home is simpler than you think. Start by marinating bite-sized chicken pieces in a savory-sweet mixture of soy sauce, garlic, ginger, and rice wine. Let it sit while you heat oil for frying. Once hot, cook the chicken until golden and cooked through—about 5–6 minutes per batch depending on size. Remove and set aside. In the same pan, stir together honey, Brown Sugar, soy sauce, rice wine, and a splash of water or broth. Simmer until thickened, then toss the chicken back in to coat. Finish with sesame seeds or scallions if desired. Total time? Around 40 minutes, with most of that being hands-off waiting. Serve immediately while hot and crispy!
Ingredients
- 1½ lbs boneless, skinless chicken thighs (or breasts), cut into 1-inch pieces
- 3 tbsp soy sauce (use low-sodium if preferred)
- 1 tbsp rice wine or dry sherry
- 1 tsp grated fresh ginger
- 2 cloves garlic, minced
- 1 tbsp cornstarch + 1 tsp for coating
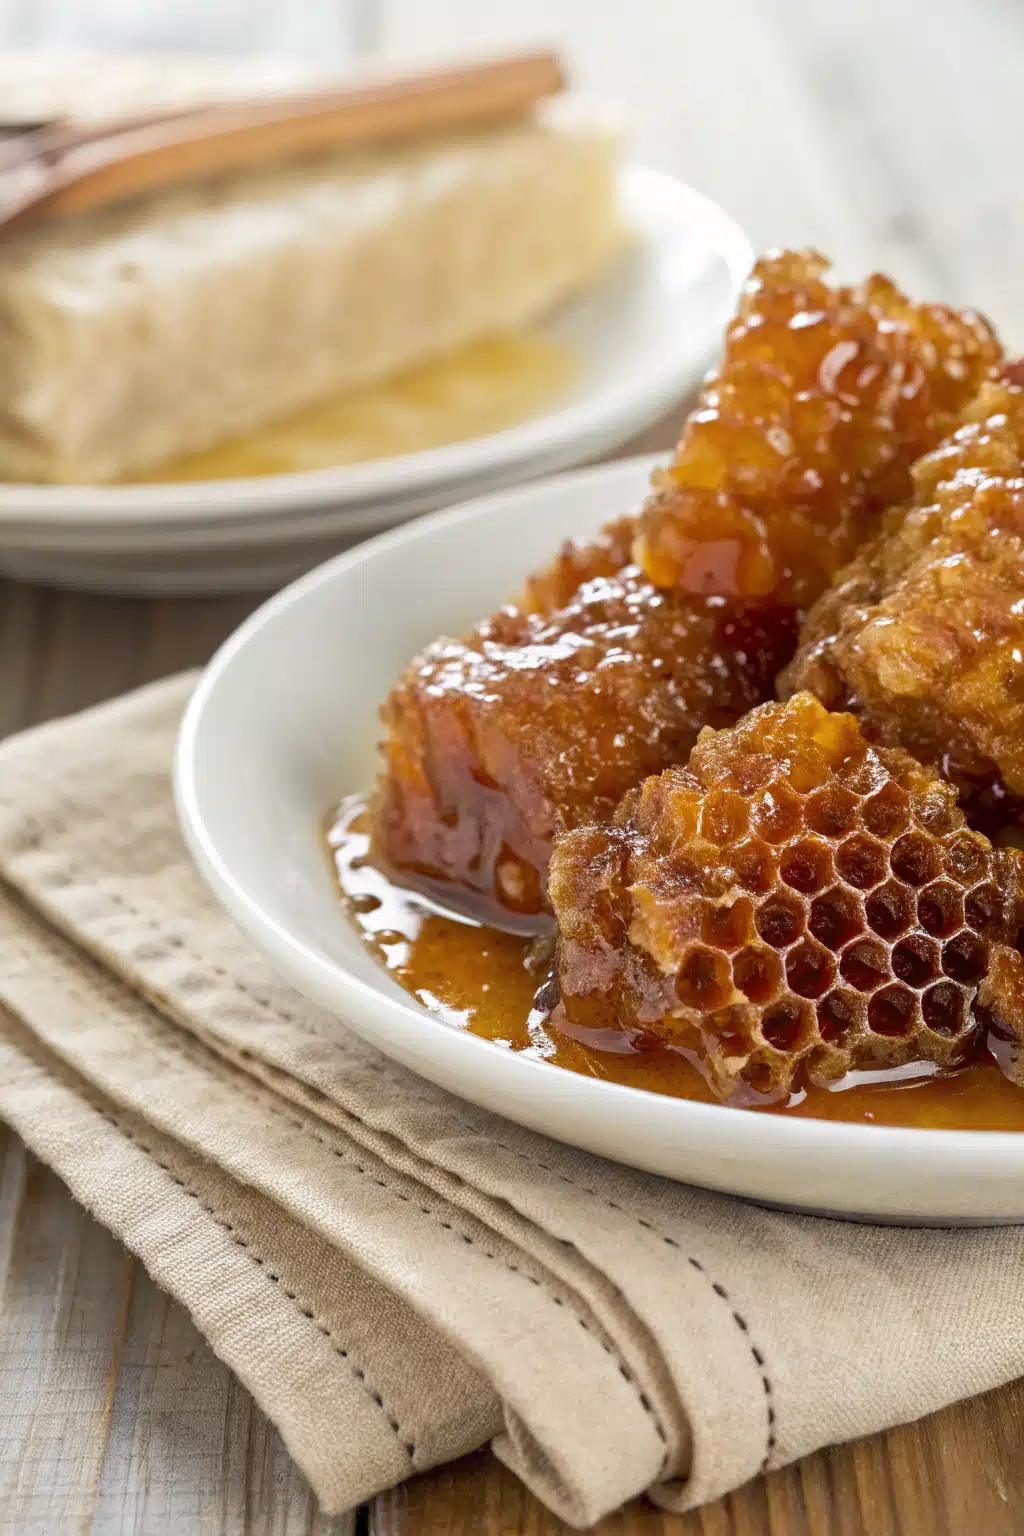
- ¼ cup honey (local raw honey works beautifully!)
- 2 tbsp brown sugar
- 2 tbsp water or low-sodium chicken broth
- 1 tbsp rice vinegar or apple cider vinegar
- 1 tsp sesame oil (optional but adds great depth)
- Vegetable oil for frying
- Toppings: sesame seeds, chopped green onions
Step-by-Step Instructions
Step 1: Preheat & Prep Pan
Heat 1–2 inches of vegetable oil in a large skillet or wok over medium-high heat. To test if it’s ready, sprinkle in a tiny bit of flour—if it sizzles immediately, you’re good. While the oil heats, prepare your chicken: in a bowl, combine soy sauce, rice wine, ginger, garlic, and 1 tablespoon of cornstarch. Add the chicken pieces and toss to coat. Let marinate for at least 15 minutes (longer if you have time—it builds incredible flavor!). Lightly dust each piece with the remaining 1 teaspoon of cornstarch just before frying.
Step 2: Fry Until Golden
Carefully add the chicken pieces to the hot oil in small batches—don’t overcrowd the pan or they’ll steam instead of fry. Cook for 5–6 minutes, turning occasionally, until deep golden brown and cooked through (internal temp should reach 165°F). Transfer to a paper towel-lined plate as you go. This step ensures crispiness without greasiness.
“Made the honey chicken tonight and wow — perfect weeknight dinner. Will definitely make again!”
Step 3: Make the Glaze
Reduce the heat to medium. Pour off all but 1 tablespoon of oil from the pan. Add honey, brown sugar, soy sauce, rice wine, water/broth, vinegar, and sesame oil (if using). Stir constantly for 2–3 minutes until the sauce thickens slightly and coats the back of a spoon. Be careful—it can bubble quickly!
Step 4: Combine & Serve
Return the fried chicken to the pan, tossing gently to coat evenly in the warm glaze. Cook for another minute so the sauce clings thickly. Turn off the heat. Garnish with sesame seeds and green onions. Serve immediately over steamed jasmine rice or noodles while still hot and glossy.
What to Serve It With
Honey chicken pairs wonderfully with simple, neutral sides that don’t compete with its bold glaze. Steamed white rice is the ultimate companion—its fluffy texture soaks up every last drop of sauce. Try it alongside a crisp cucumber salad dressed with rice vinegar and a pinch of sugar for brightness. Or go classic with stir-fried broccoli or bok choy tossed in garlic and soy. For carb lovers, egg noodles or even cauliflower rice make excellent bases. If you’re hosting, serve it alongside spring rolls or steamed dumplings for an authentic Asian fusion feast. Don’t forget a tall glass of iced tea or sparkling water to balance the richness!
Top Tips for Perfecting Your Honey Chicken
Mastering honey chicken comes down to three things: timing, temperature, and balance. First, don’t skip the marinade—even 15 minutes makes a noticeable difference in juiciness and flavor absorption. Second, keep your oil at medium-high heat; too low and the chicken becomes greasy, too high and it burns before cooking through. Third, taste your glaze before adding the chicken—adjust sweetness with more honey or acid with a squeeze of lime if needed. Also, always fry in batches to maintain oil temperature. Finally, don’t overcook the sauce—it thickens as it cools, so aim for a ribbon consistency when hot. One personal tip: I always add a splash of water or broth to loosen the glaze slightly before tossing in the chicken—it helps it cling better and prevents drying out during serving.
Storing and Reheating Tips
This honey chicken stays delicious for up to 3 days stored in an airtight container in the fridge. Just note that the texture may soften slightly due to the sauce absorbing moisture. To reheat, transfer to a skillet over low heat with a splash of water or broth to revive the glaze. Stir constantly until warmed through—never microwave straight from the fridge, as it can make the chicken rubbery. For best results, reheat on the stovetop and serve immediately. Leftovers also freeze well! Portion out individual servings, let cool completely, then store in freezer-safe bags for up to 2 months. Thaw overnight in the fridge and reheat as above. Avoid freezing if possible, though—the honey glaze can become grainy when thawed.
Frequently Asked Questions
“I don’t know if I’ve ever eaten a better honey chicken. The rub alone is wonderful, but the sauce??? Over the top!”
Final Thoughts
This honey chicken has become more than just a recipe in our house—it’s a ritual. Every time we make it, we remember why we fell in love with comfort food: it brings people together, sparks joy, and tastes like home. Whether you’re cooking for two or feeding a crowd, this dish delivers on every front—flavor, ease, and wow-factor. So go ahead, gather your favorite chopsticks or fork, and dig into something truly special. Your taste buds (and your family) will thank you.
Honey Chicken
Ingredients
Main Ingredients
- 2 lbs boneless, skinless chicken thighs, cut into pieces
- 0.5 cup honey
- 0.25 cup soy sauce
- 2 tablespoon olive oil or vegetable oil
- 3 clove garlic, minced
- 1 tablespoon fresh ginger, grated
- 2 tablespoon cornstarch
- 0.25 cup water
- 1 teaspoon sesame oil optional
- 2 green onions, chopped for garnish
- 1 tablespoon sesame seeds optional
Instructions
Preparation Steps
- In a small bowl, whisk together honey, soy sauce, garlic, ginger, cornstarch, water, and sesame oil until smooth. Set aside.
- Heat oil in a large skillet over medium-high heat. Add chicken pieces and cook until browned on all sides, about 6–7 minutes. Remove chicken from skillet and set aside.
- Reduce heat to medium. Pour the honey mixture into the skillet and bring to a simmer, stirring constantly until slightly thickened, about 2–3 minutes.
- Return chicken to the skillet, coating it evenly with the sauce. Simmer for 10–12 minutes, turning occasionally, until chicken is cooked through and glaze is glossy.
- Remove from heat. Garnish with chopped green onions and sesame seeds before serving.


