
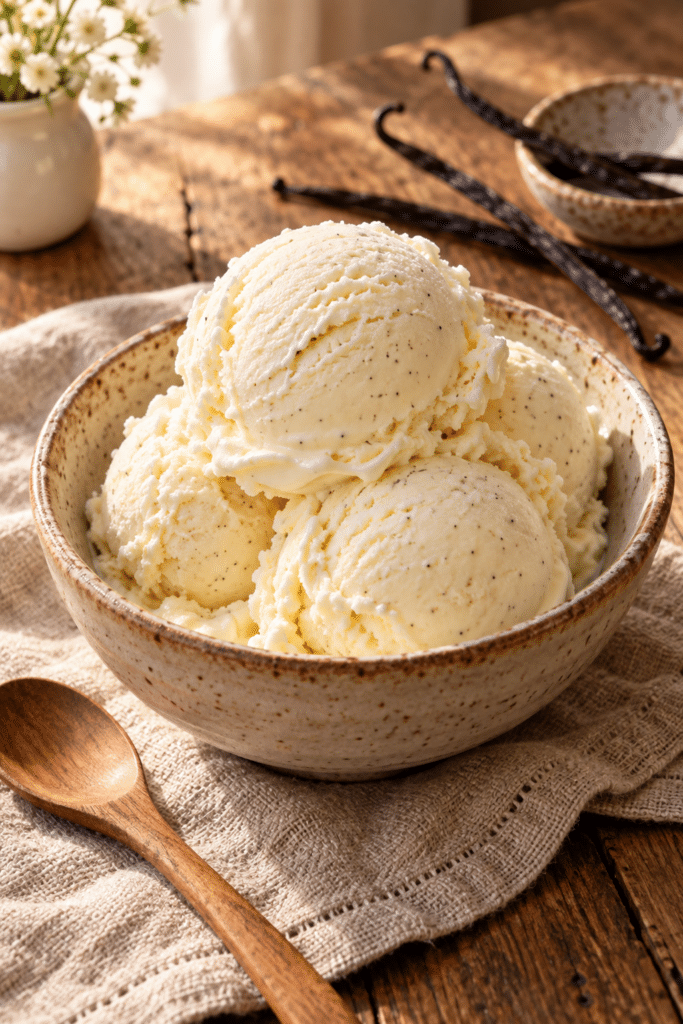
Homemade Ice Cream is a simple way to turn a few everyday ingredients into a smooth, scoopable dessert. This vanilla base combines heavy cream, whole milk, sugar, salt, and vanilla, then chills before it goes into the ice cream maker. The result is rich enough to feel special but clean-tasting enough to pair with fruit, cookies, or warm dessert sauces. Because the mixture takes only minutes to prepare, the most important details are thorough chilling and watching the texture as it churns.
Thank you for reading this post, don't forget to subscribe!What homemade ice cream is
This is a classic churned vanilla Ice Cream base. A short warm-up dissolves the sugar in part of the cream, while the remaining dairy is stirred in afterward to keep the mixture balanced and easy to chill. There are no eggs to temper, so the finished base has a light, milky texture and a straightforward vanilla flavor.
The recipe is flexible at serving time even though the base itself is best kept in its stated proportions. You can make it the centerpiece of a simple dessert or use a small scoop to finish a slice of cake. Since the vanilla profile is not aggressively sweet or heavily flavored, it works for children and adults alike and leaves room for toppings without competing with them.
Why this recipe works
Heavy cream supplies richness and helps create a creamy mouthfeel. Whole milk keeps the base from becoming overly dense, and a small amount of salt sharpens the vanilla rather than making the dessert taste salty. Heating only enough to dissolve the sugar avoids unnecessary cooking. Chilling the base before churning is essential: a cold mixture freezes faster and forms smaller ice crystals.
How to make homemade ice cream
Ingredients
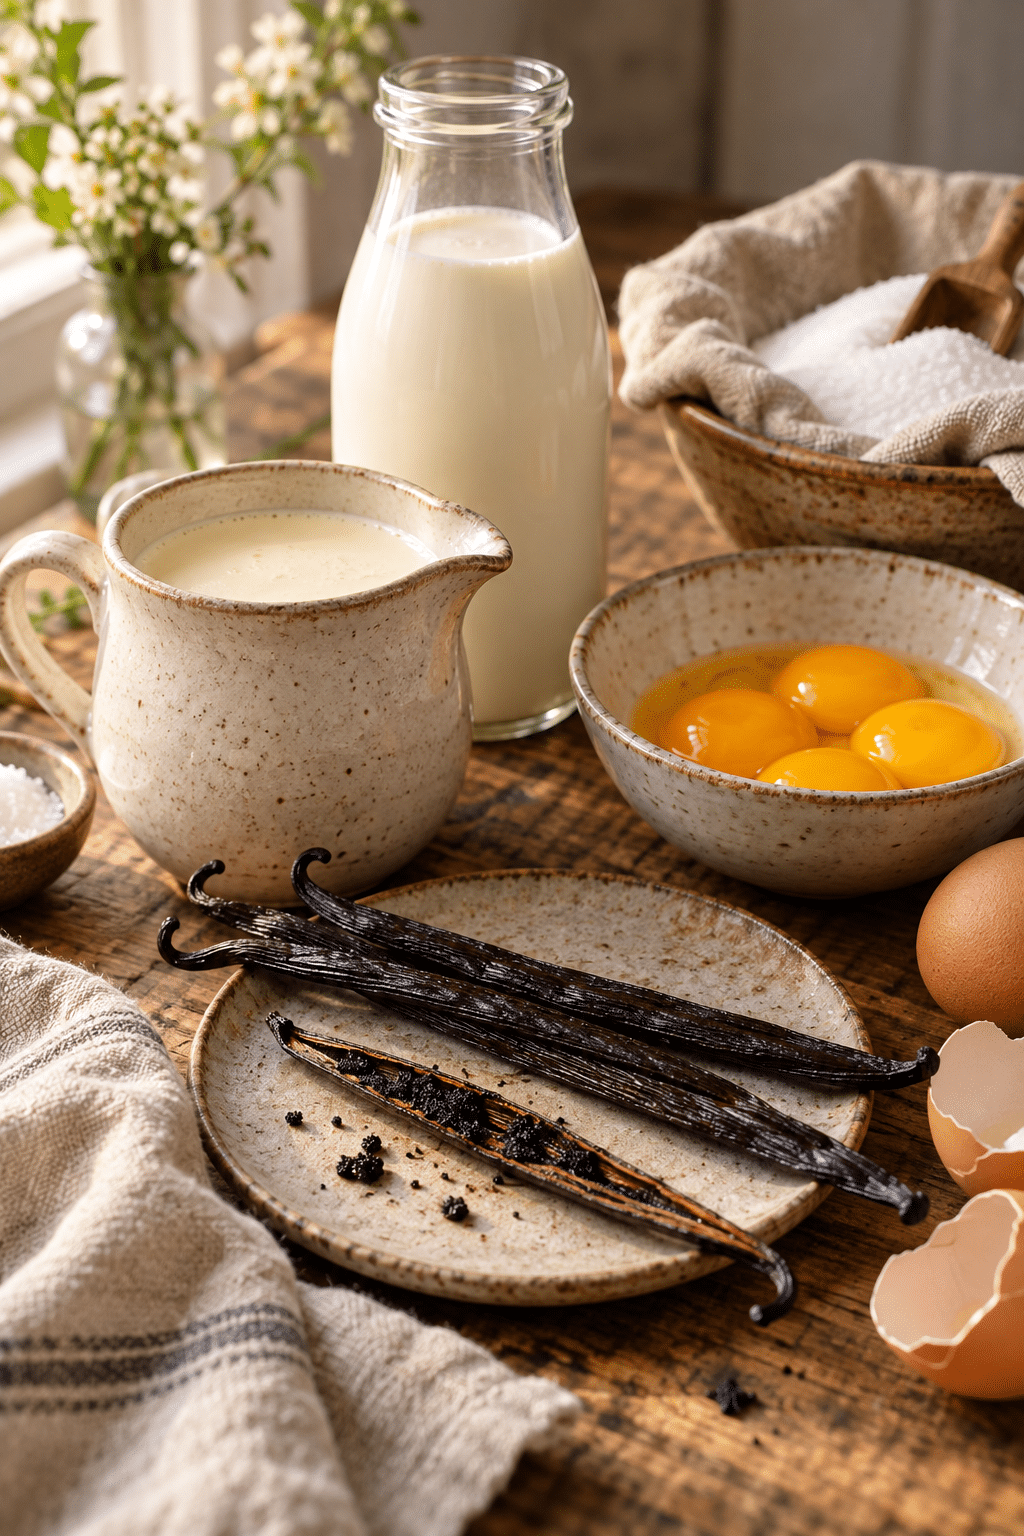
- 1 3/4 cups heavy cream, divided
- 1 1/4 cups whole milk
- 3/4 cup sugar
- 1/8 teaspoon fine sea salt
- 1 tablespoon vanilla extract, or 1 vanilla bean split lengthwise
Method
- Pour 1 cup of the cream into a saucepan and add the sugar and salt. If using a vanilla bean, scrape its seeds into the mixture and add the pod.
- Warm over medium heat just until the sugar dissolves. Remove from the heat and add the remaining cream, milk, and vanilla extract if using extract. Whisk to combine and chill in the refrigerator.
- When ready to churn, remove the vanilla pod, whisk the mixture again, and pour it into the ice cream maker. Churn according to the manufacturer’s instructions.
- Serve immediately, or transfer the finished ice cream to an airtight container and freeze until ready to serve.
Serving ideas
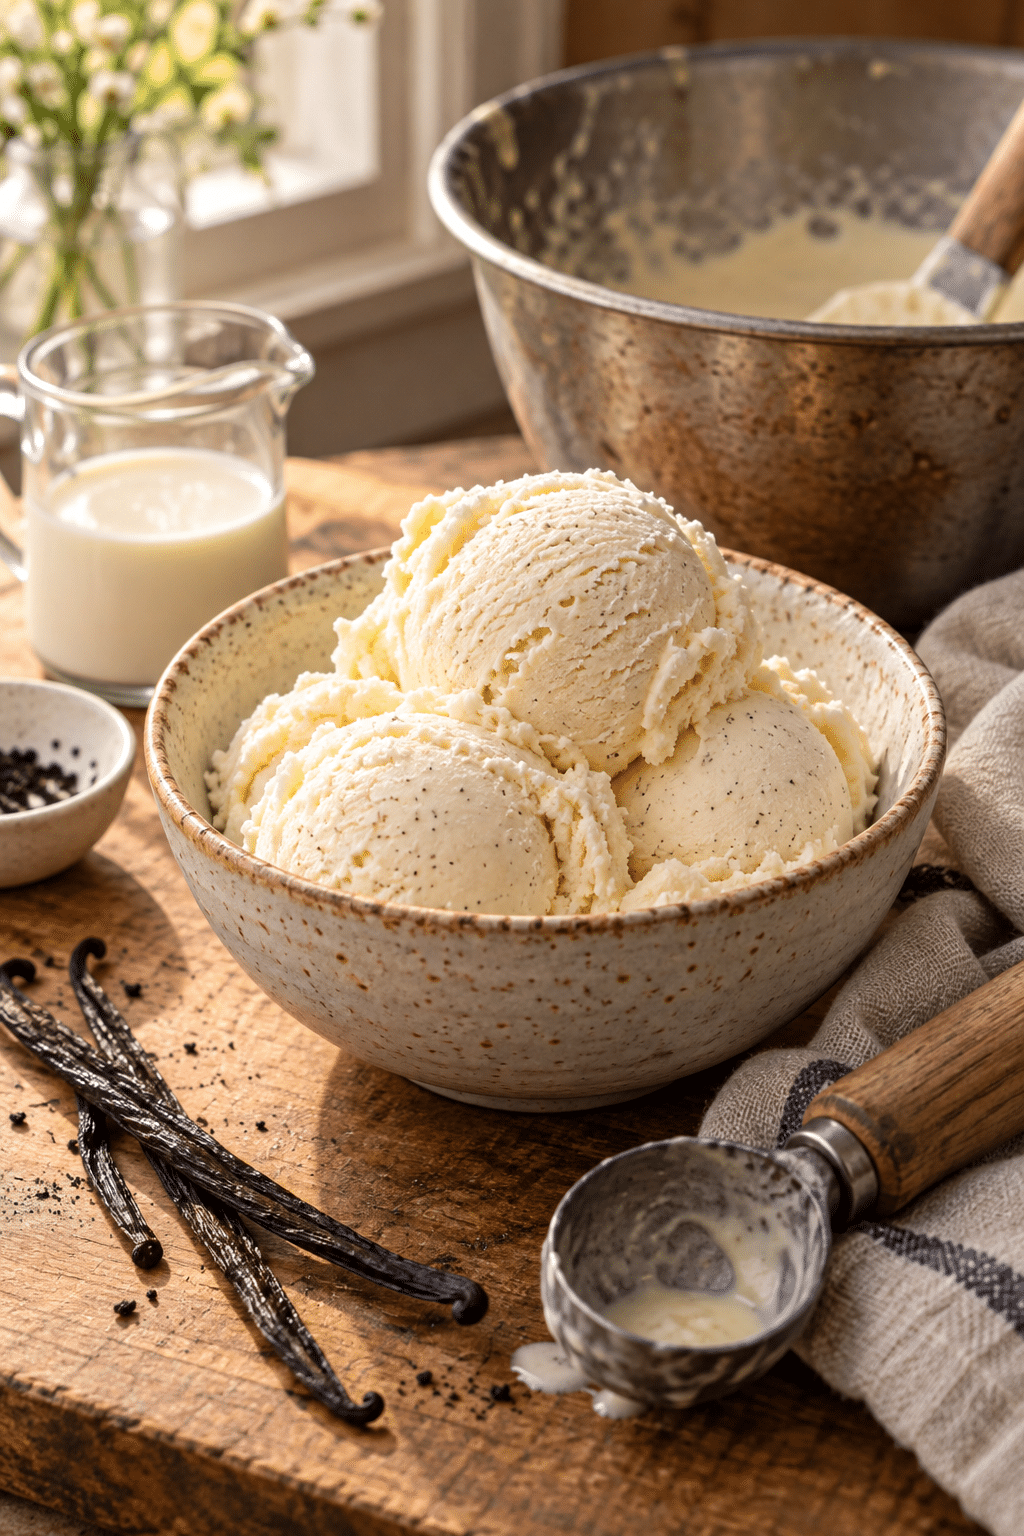
Scoop the ice cream into chilled bowls or cones and add berries, toasted nuts, chocolate shavings, or a drizzle of caramel. It is also a useful base for an Ice Cream Sandwich, a brownie sundae, or a warm fruit crisp. For the best contrast, serve a cold scoop beside something warm and crisp.
“Packed with flavor and so simple. Exactly what I wanted from this Homemade Ice Cream!”
For a dinner-party presentation, place two small scoops in a shallow bowl and add one contrasting garnish, such as toasted almonds or fresh berries. For a family dessert, set out the Ice Cream with a few toppings and let each person build a sundae. The same batch can also be portioned into small containers for an after-school treat.
Texture and timing
The texture changes as the Ice Cream moves from the machine to the freezer. Freshly churned ice cream is soft and easy to spread, which makes it ideal for layered desserts. After a longer freeze, it becomes firmer and needs a brief rest before scooping. Use a shallow, tightly covered container when possible so the center firms at the same rate as the edges. If the mixture looks grainy before churning, whisk it again; undissolved sugar can affect the final texture.
Plan the timing around your machine rather than the clock alone. Different churners finish at different speeds, and a smaller batch may firm sooner than a full bowl. Look for a thick, softly rippled mixture that holds a track from the paddle. If it still pours like milk, keep churning; if it clings heavily to the paddle, move it to the freezer promptly. This visual check is more useful than forcing every machine to run for the same number of minutes.
Tips and an optional variation
Chill the base until it is genuinely cold all the way through, not merely cool around the edges. If your machine has a freezer bowl, freeze that bowl for the full time recommended by its manufacturer. Stop churning when the ice cream looks like soft serve; over-churning can make the texture heavy.
Keep the saucepan at a gentle temperature while the sugar dissolves. The goal is a smooth base, not a simmer or a cooked custard. Once the milk and remaining cream are added, pour the mixture into a covered container before refrigerating so it does not pick up odors. A quick whisk immediately before churning redistributes the cream and sugar that may have settled while the base cooled.
Optional variation: Replace the vanilla extract with the seeds from one split vanilla bean. Add the pod while the sugar dissolves, then remove it before churning. This changes the vanilla presentation without changing the base proportions.
Storage and reheating
Store the finished ice cream in an airtight, freezer-safe container. Press a piece of parchment or plastic wrap directly against the surface to limit ice crystals, then cover tightly. Let it stand at room temperature for several minutes before scooping. Do not reheat ice cream; if it becomes very firm, a short rest is enough to soften it.
For the cleanest flavor, use dairy that is fresh and vanilla that you enjoy on its own. The base is intentionally mild, so the quality of each ingredient is noticeable. A container with a flat lid also makes it easier to portion the ice cream neatly and keeps the surface protected. If serving a crowd, scoop the ice cream just before bringing it to the table so it stays firm while still being easy to eat.
“Made the Homemade Ice Cream tonight and wow — perfect weeknight dinner. Will definitely make again!”
FAQs about homemade ice cream
Can I make this without an ice cream maker?
The recipe is written for a churner, which gives the smoothest texture. You can freeze the chilled mixture in a shallow container and stir it vigorously every 30 minutes as it firms, but the result may be denser.
Why does the base need to be chilled?
A cold base freezes more quickly in the machine. Faster freezing limits large ice crystals and helps the ice cream stay creamy instead of icy.
When should I add mix-ins?
Add small cookies, chocolate, or nuts during the last minute or two of churning, or fold them in as you transfer the soft ice cream to its storage container.
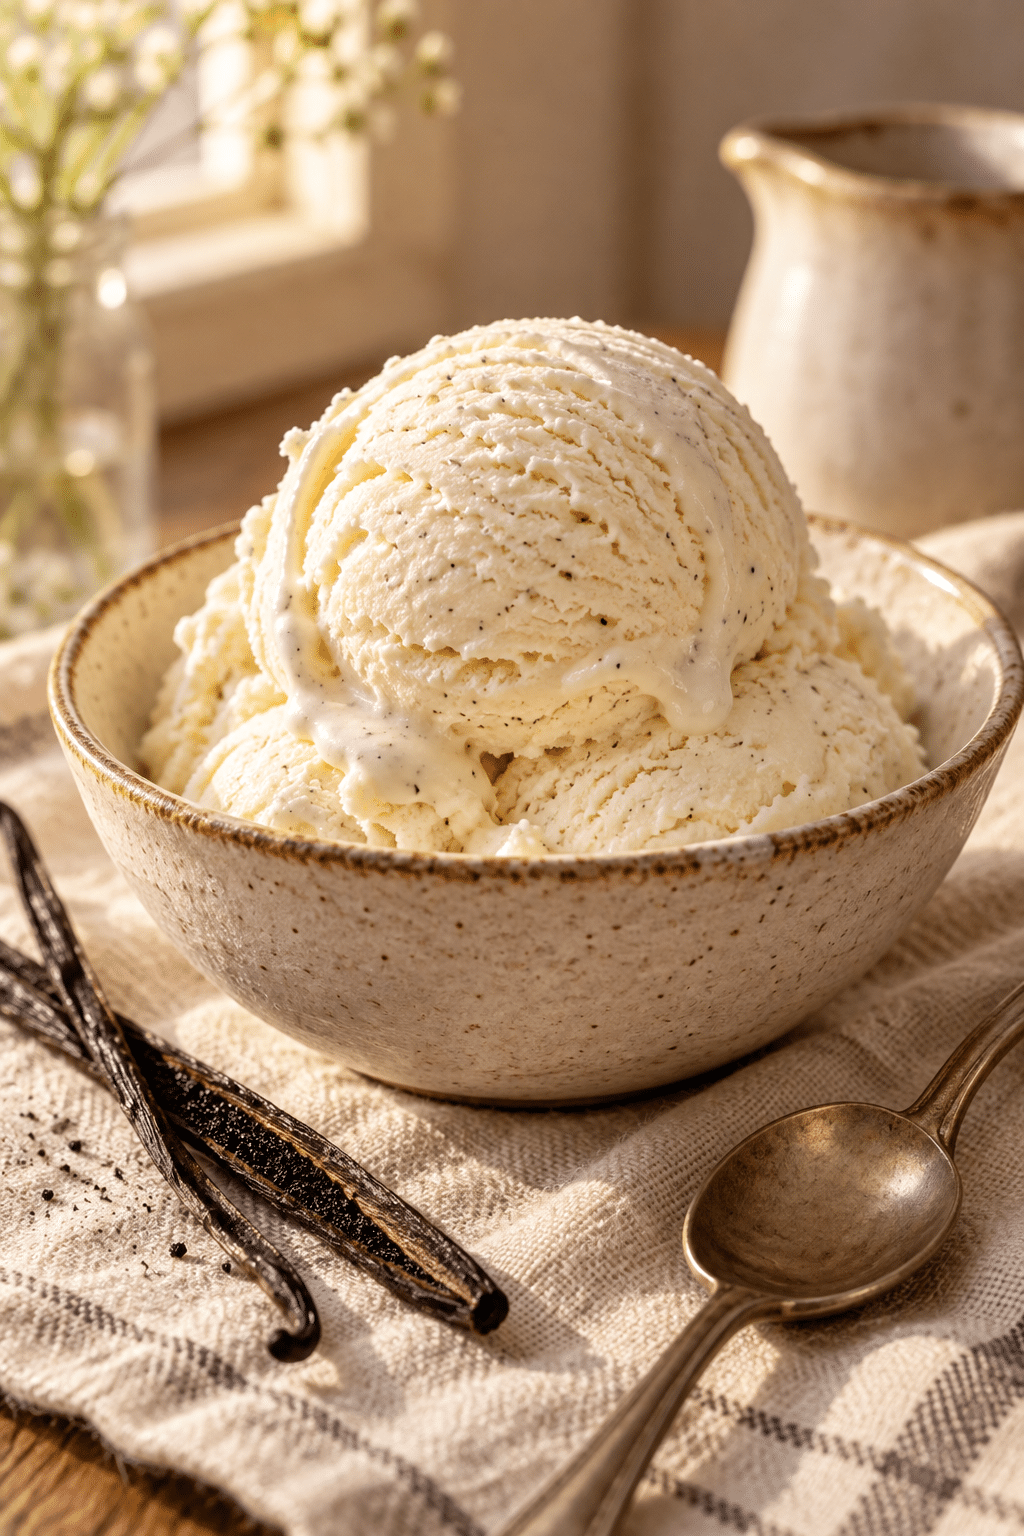
A well-chilled base and a little patience at the freezer are all this homemade ice cream needs. Keep the vanilla version simple, or use it as a dependable canvas for your favorite toppings and mix-ins.

Homemade Ice Cream
Ingredients
Ingredients
- 1 3/4 cups heavy cream divided
- 1 1/4 cups whole milk
- 3/4 cup sugar
- 1/8 teaspoon fine sea salt
- 1 tablespoon vanilla extract or 1 vanilla bean, split lengthwise
Instructions
Instructions
- Pour 1 cup of the cream into a saucepan and add the sugar and salt. If using a vanilla bean, scrape its seeds into the mixture and add the pod.
- Warm over medium heat just until the sugar dissolves. Remove from the heat and add the remaining cream, milk, and vanilla extract if using extract. Whisk to combine and chill in the refrigerator.
- When ready to churn, remove the vanilla pod, whisk the mixture again, and pour it into the ice cream maker. Churn according to the manufacturer's instructions.
- Serve immediately, or transfer the finished ice cream to an airtight container and freeze until ready to serve.