Okay friends, let me tell you something special. Picture this: a slice of warm, tender bread, swirled with rich, nutty Peanut Butter, and so incredibly moist it. How can you melt chocolate in your mouth? What if you could eat gluten-free?Gluten-free peanut butter bread.Is it like a hug in bread form? Is it similar to the marble cakes my grandma used to bake? What do kids go wild for? I love this recipe. It has become a staple in our house. I’m so excited to share it with you. Is it easier than you think?
Thank you for reading this post, don't forget to subscribe!
What is gluten free peanut butter bread?
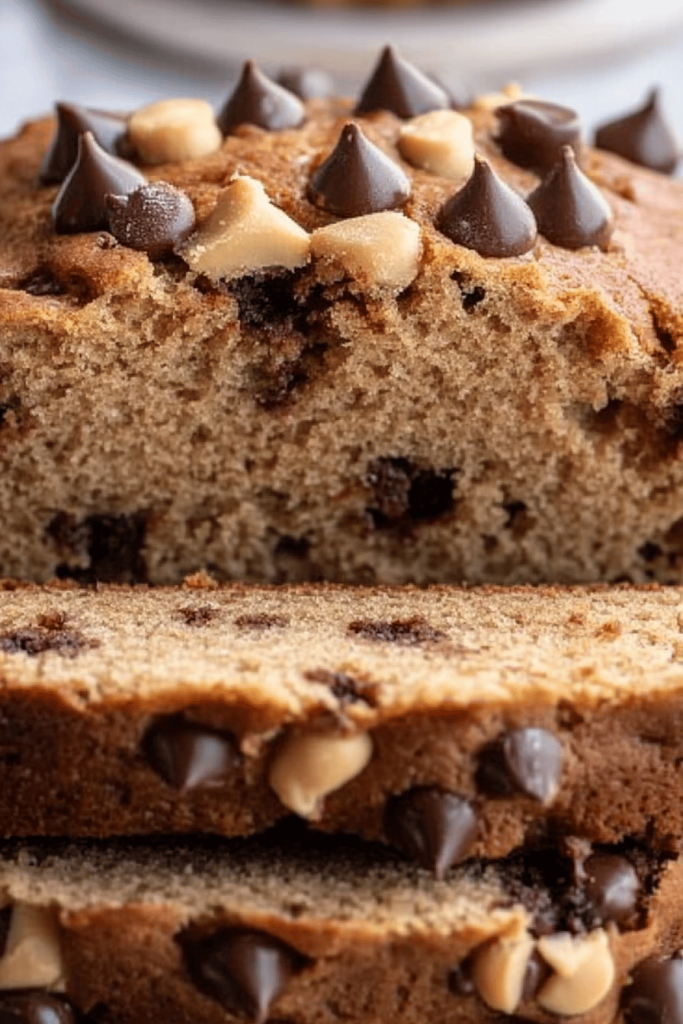
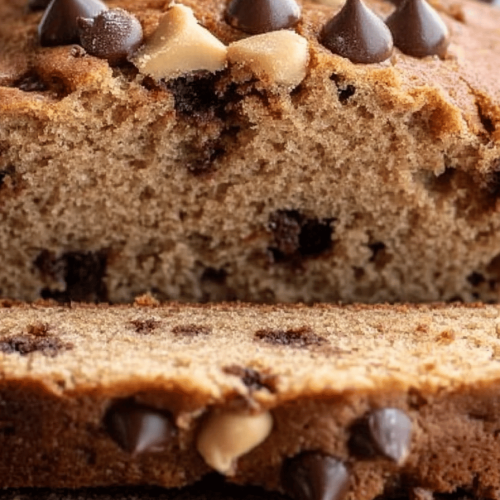
What are some great quick bread recipes without gluten? What is essentially a sweet loaf, swirled with Peanut Butter to create an amazing marbled effect. The bread itself is light and airy, thanks to a blend of gluten-free flours, while the peanut butter is sweet and sour. What is the best way to get a rich, nutty flavor? It’s not quite cake, not exactly bread, but somewhere in between – and trust me, it is the perfect combination of both.Gluten-free peanut butter bread is a must forWhat are some of the easiest gluten free recipes to make?
Why you’ll love this recipe?
What are some of the reasons why I love this recipe? First off, the flavor is amazing. The combination of the subtly sweet bread and the rich, Creamy Peanut Butter is just divine. What I love about this is that it’s like peanut butter in bread form!Gluten-free peanut butter bread is also gluten free.Isn’t it easy to make? No kneading, no complicated steps – just mix, swirl, and bake! What’s the best way to enjoy a homemade treat without spending hours in the kitchen?
What I appreciate is how cost effective it is. What are some pantry staples for baking gluten free? What is versatility? Can you enjoy it for breakfast with a smear of butter, as midday snack with milk, or as an afternoon snack. What is a dessert with ice cream? What do you think of this bread? What are some of my favorite Banana Bread recipes? What is the best recipe for baking brownies?
How do I make gluten-free peanut butter bread?
Quick Overview
Making this Gluten-free Peanut Butter bread is made with almondsis surprisingly straightforward. How do you mix dry and wet ingredients together? What is the best way to create a peanut butter swirl in your batter? When it is golden brown, you’ll bake it for a few minutes before slicing and serving. It comes together in under an hour from start to finish, making it perfect for a quick and easy.
Ingredients
For the Main Batter:
* 1 12 cups gluten-free all-purpose Flour Blend (make sure it contains xanthan gum)
* ¾ cup granulated sugar
* ½ teaspoon baking soda
* ½ teaspoon salt
* 1 cup buttermilk (1 cup milk with 1 tablespoon lemon juice)* 1 teaspoon sugar (or 2 tablespoons sugar)
* ¼ cup vegetable oil
* 1 large egg
* 1 teaspoon vanilla extract
For the Peanut Butter Swirl:
* ½ cup Creamy Peanut Butter
* ¼ cup powdered sugar
* 2 tablespoons milk (any kind works!)
How do I follow step
Step 1: Preheat & Prep Pan
Preheat your oven to 350°F (175°C). Grease and flour a 9×5 inch Loaf Pan. I always use gluten-free flour for this step to avoid any sticking. Is it worth the extra minute to make sure the bread comes out clean?
Step 2: Mix Dry Ingredients
In a large bowl, whisk together the Gluten-Free Flour, sugar, baking soda, and salt. Set aside. Make sure everything is well combined. How can baking soda be evenly distributed?
Step 3: Mix Wet Ingredients
In a separate bowl, whisk together the buttermilk, vegetable oil, egg, vanilla extract, and salt. Set aside. How does buttermilk keep bread moist? If you don’t have buttermilk, add a tablespoon of lemon juice to regular milk and let it sit for 5 minutes. For a few minutes to curdle slightly.
Step 4: Combine
How do you mix wet and dry ingredients together? Do not overmix – a few lumps are fine. Overmixing can lead to a tough bread, and we want it nice and tender! I find that using a rubber spatula works best for this step.
Step 5: Prepare Peanut Butter Swirl
In a small bowl, combine the Peanut Butter, powdered sugar, and milk. Mix until smooth and creamy. If the mixture is too thick, add 1 teaspoon of milk at a time until it is drizzly. Where do I get creative? If you like cinnamon, add a dash of vanilla extract to your favorite dish.
“New family favorite! This gluten-free peanut butter bread was so flavorful and ridiculously easy. Crowd-pleaser for sure.”
Step 6: Layer & Swirl
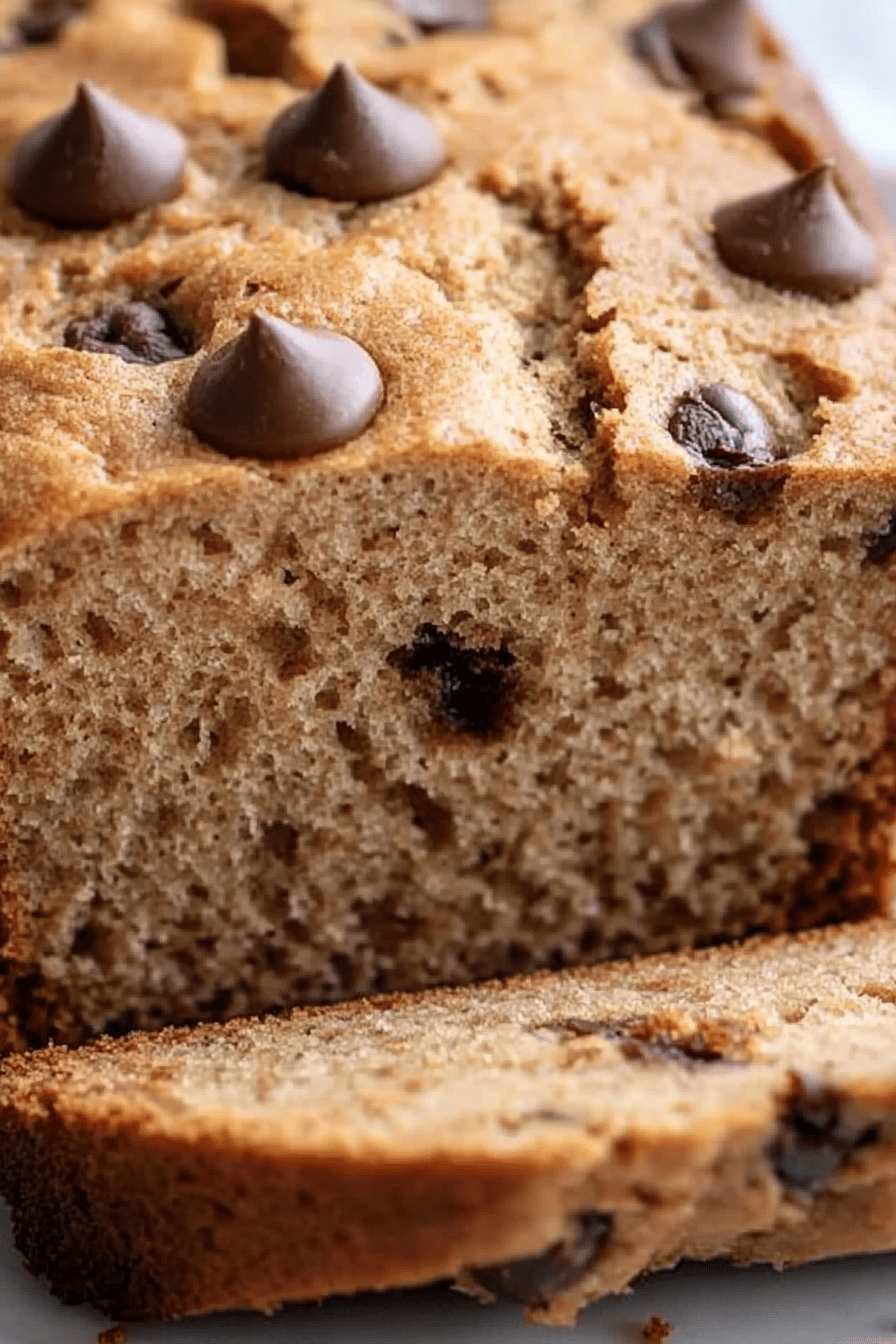
How do you put half of the batter into a loaf pan? Dollop half of the Peanut Butter mixture over the batter. Then, pour the remaining batter over the peanut butter and dollop the rest of the batter on top. What is the best way to serve Use a knife or skewer to swirl the peanut butter into the batter. This creates an amazing marbled effect. Don’t over swirl, or the peanut butter will just blend in. You want to see those swirls!
Step 7: Bake
Bake for 50-60 minutes, or until a wooden skewer inserted into the center comes out clean. If the top of the bread starts to brown too quickly, tent it with foil. Every oven is different, so keep an eye on it! I always rotate the pan halfway through baking to ensure even browning.
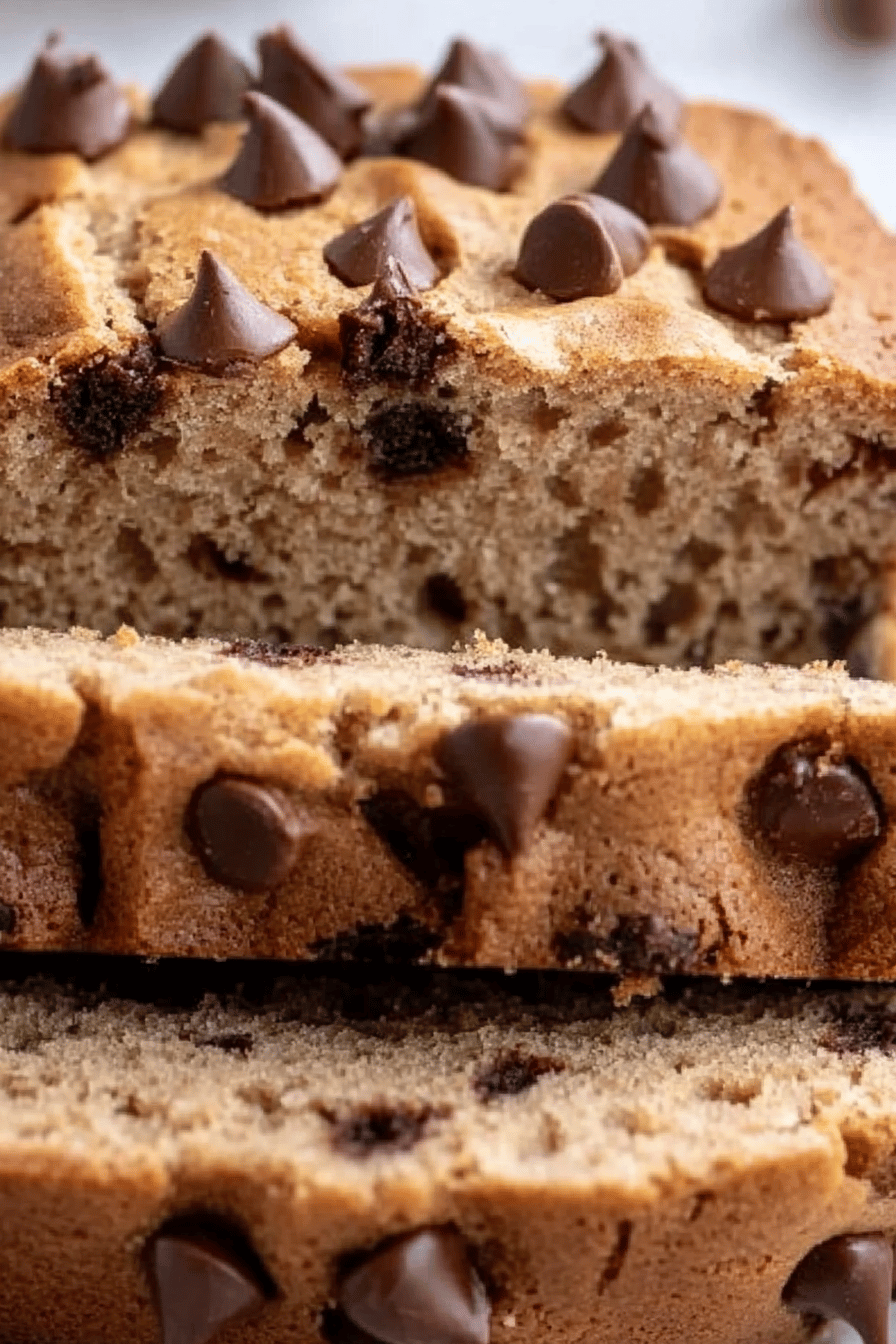
Step 8: Cool & Slice
Let the bread cool in the pan for 10 minutes before transferring it to a wire rack to cool completely. Once cooled, slice and serve. I know it’s tempting to dig in right away, but trust me, it’s worth the wait!
Step 9: Serve
What’s the best part?
What to Serve It With
This Gluten-free Peanut Butter bread is a must.Is incredibly versatile and can be enjoyed in so many ways! What are some of my favorite serving suggestions?
For Breakfast:What is the best way to start the day off with a smear of butter or Cream Cheese? What is a good breakfast?
For Brunch:What can you serve as a brunch spread? Is this a crowd pleaser?
As Dessert: Top a slice with a scoop of vanilla Ice Cream and a drizzle of chocolate sauce for a decadent dessert. It’s also delicious with a dollop of whipped cream and a sprinkle of chopped peanuts.
For Cozy Snacks: Enjoy a slice with a glass of milk or a cup of tea for a comforting snack any time of day. My kids love to dunk it in their milk!
Growing up, my mom always had some kind of bread or cake on the counter, ready for snacking. I love continuing that tradition with this recipe. Serve warm out of the oven.
Top Tips for Perfecting Your Gluten-Free Peanut Butter Bread
Want to make sure your gluten-free Peanut Butter bread turns out perfect every time? Here are some of my top tips:
Gluten-Free Flour: Not all gluten-free flour blends are created equal! I recommend using a blend that contains xanthan gum, as this helps to bind the ingredients together and gives the bread a better texture. If your blend doesn’t contain xanthan gum, add about ½ teaspoon to the dry ingredients.
Mixing Advice: Be careful not to overmix the batter. Overmixing can result in a tough bread. Mix until the ingredients are just combined. A few lumps are perfectly fine!
Swirl Customization: Get creative with your swirls! You can use a knife, skewer, or even a chopstick to create different patterns. Just be careful not to over-swirl, or the peanut butter will blend in too much.
Ingredient Swaps: If you don’t have buttermilk, you can use regular milk with a tablespoon of lemon juice or vinegar. You can also substitute the vegetable oil with melted coconut oil or unsalted butter.
Baking Tips: Keep an eye on the bread while it’s baking. If the top starts to brown too quickly, tent it with foil. You can also insert a wooden skewer into the center to check for doneness. If it comes out clean, the bread is ready!
“Packed with flavor and so simple. Exactly what I wanted from this gluten-free peanut butter bread!”
Serving Ideas: This bread is delicious on its own, but you can also toast it and top it with butter, jam, or Nutella. It’s also great for making French toast!
I’ve learned from experience that letting the bread cool completely is essential for getting clean slices. I’ve rushed it before, and ended up with a crumbly mess! So, patience is key.
Storing and Reheating Tips
To keep your gluten-free peanut butter bread fresh and delicious, here are some storing and reheating tips:
Room Temperature: Store the bread in an airtight container at room temperature for up to 3 days. To prevent it from drying out, you can wrap it in plastic wrap or a bread bag before placing it in the container.
Refrigerator Storage: For longer storage, you can store the bread in the refrigerator for up to a week. Just make sure to wrap it tightly to prevent it from drying out.
Freezer Instructions: To freeze the bread, wrap it tightly in plastic wrap and then place it in a freezer bag. It can be stored in the freezer for up to 2 months. When ready to eat, thaw it overnight in the refrigerator or at room temperature.
To reheat, simply slice the bread and toast it in a toaster or toaster oven until warm and slightly crispy. You can also microwave it for a few seconds, but be careful not to overheat it, or it will become tough.
Frequently Asked Questions
Final Thoughts
This gluten-free peanut butter bread has truly become a family favorite, and I have a feeling it will become one of yours too! The combination of ease, flavor, and that soft, tender texture is just unbeatable. It’s the perfect treat to bake on a weekend afternoon, and it’s always a hit with kids and adults alike. If you enjoyed this recipe, be sure to check out my other gluten-free bread recipes – I know you’ll find something you love! Happy baking, and I can’t wait to hear how yours turns out. Leave a comment below and let me know if you tried it and if you had any fun customizations. And be sure to rate this!
Best 7 Tips for Perfect Gluten-Free Banana Walnut Bread!
Ingredients
Main Ingredients
- 1.5 cups mashed ripe bananas about 3 large bananas
- 0.5 cup unsweetened applesauce serves as a natural sweetener
- 2 large eggs at room temperature
- 1 teaspoon vanilla extract
- 0.5 cup light brown sugar packed
- 1.75 cups gluten-free all-purpose flour ensure it contains xanthan gum or add separately
- 1 teaspoon baking soda
- 0.5 teaspoon baking powder
- 0.5 teaspoon salt
- 1 cup chopped walnuts divided
Instructions
Preparation Steps
- Preheat your oven to 350°F (175°C). Lightly grease a 9x5 inch loaf pan and line with parchment paper.
- In a large bowl, combine mashed bananas, applesauce, eggs, vanilla extract, and brown sugar. Whisk until smooth and well blended.
- In another bowl, whisk together gluten-free flour, baking soda, baking powder, and salt.
- Gradually add the dry ingredients to the banana mixture, stirring gently until just combined. Avoid overmixing.
- Fold in 3/4 cup of the chopped walnuts, reserving the rest for topping.
- Pour the batter into the prepared loaf pan. Smooth the top with a spatula, and sprinkle the remaining walnuts evenly over the batter.
- Bake for 55-65 minutes, or until a toothpick inserted into the center comes out clean. Let the bread cool in the pan for 10 minutes before transferring to a wire rack to cool completely.


