Okay, friends, gather ’round because I’m about to share something truly special. What is a bread recipe? What is my family’s gluten-free challah recipe, passed down from my grandmother Rose? It’s the taste of every holiday, every Friday night dinner, wrapped up in one unbelievably soft and fluffy t-shirt. What is a sweet loaf? What is better, if not better than challah? Can you eat without gluten? If you love Cinnamon Rolls, you will absolutely adore this. It has the same warm, comforting vibe, but somehow feels… fancier. It always makes me feel closer to her, and now I want to share it with you!
Thank you for reading this post, don't forget to subscribe!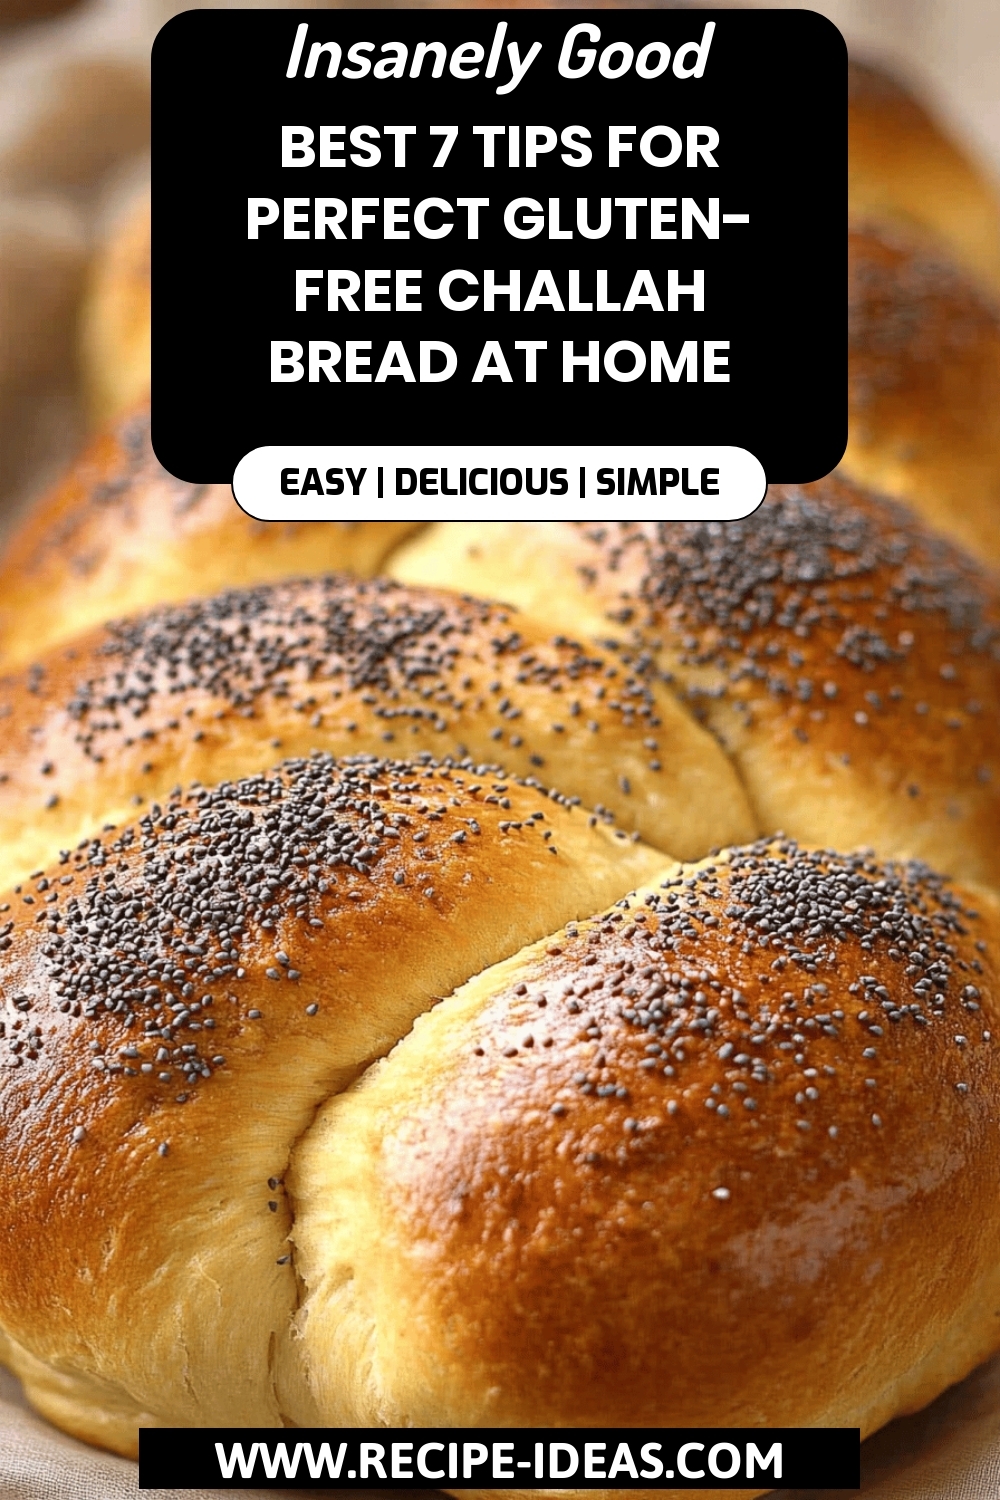
What is gluten free challah?
What is challah? Think of it as a slightly sweet, enriched bread – traditionally braided and enjoyed in Jewish traditions. My gluten-free challah recipe keeps all the beautiful traditions alive, just without the gluten! It’s essentially a soft, fluffy bread made with Gluten-Free Flour, sweetened slightly, and often served with boiled egg. enriched with eggs and oil for a super tender crumb. I think the braiding makes it extra special. Honestly, it just feels celebratory from the moment you start prepping it!
Why do I love this recipe?
Where do I start? What are some good gluten free challah recipes?Flavor:What is taste? It’s subtly sweet, with a hint of vanilla and richness that comes from the eggs. Is it overpowering?Simplicity:Don’t let the braid intimidate you. It’s surprisingly easy to put together! The dough is very forgiving, and I’ll walk you through every step. If I can do it, anyone can. •Cost-You probably have many of the ingredients in your pantry already. Can gluten-free baking be expensive, but this recipe uses everyday ingredients that won’t break the bank.Versatility:What is gluten free challah? Is it good as French Toast, perfect for sandwiches, and delicious with a smear of lemon? What are some of the best leftovers to toast? Is this recipe gluten free? What is the best way to eat gluten-free? What are some of your favorite bread flavors?
How do I make gluten-free challah?
Quick Overview
How do I make gluten-free challah? How do I make a loaf? What is the best way to get a job? The process is straightforward, and the results are unbelievably rewarding. The magic is in the quality of your ingredients and patience. I promise, the aroma alone is worth the effort. And the taste?
Ingredients
For the Main Batter: What is the main B
* 2 14 teaspoons (1 packet) active dry yeast: Make sure your yeast isn’t expired! Why is 14 cup warm water bad for yeast? Too cold, and it won’t activate. * 1 teaspoon sugar: This feeds the yeast. * 3 12 cups gluten-free all-purpose Flour Blend with xanthan gum: 1 cup gluten free. I recommend Bob’s Red Mill 1-to-1 Gluten-Free Baking Flour for best results. * 14 cup granulated sugar: For that touch of sweetness. * One teaspoon salt: * 12 cup vegetable oil: Adds moisture and richness. * 3 large eggs: Provides structure and richness. * 1 teaspoon vanilla extract: What is the flavor of bread? What is the best way to add moisture to a dough?
For the Glaze:
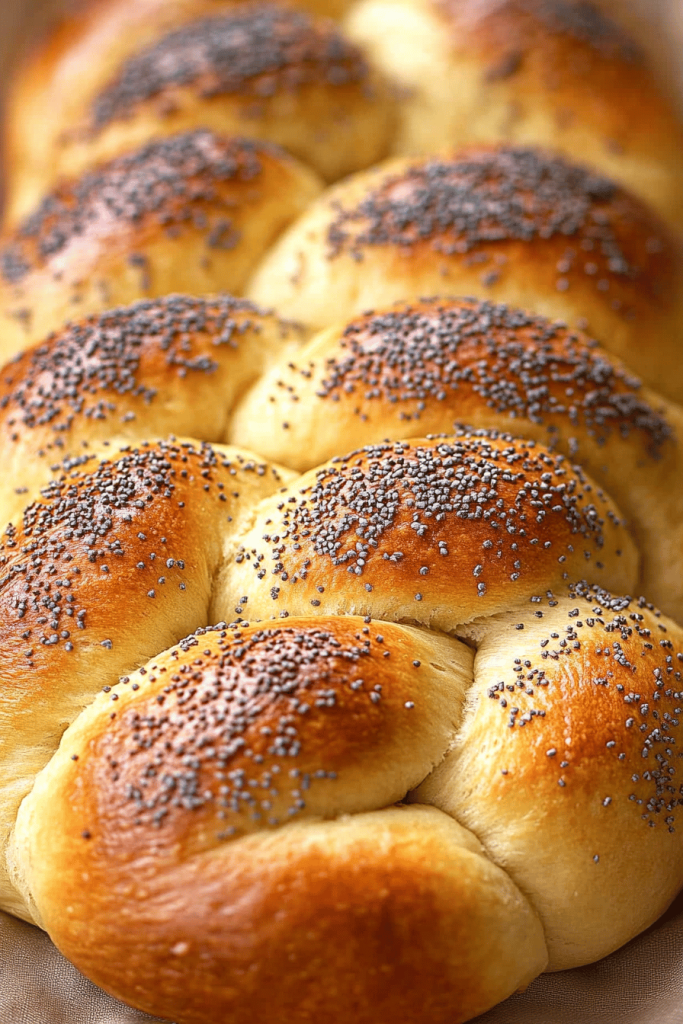
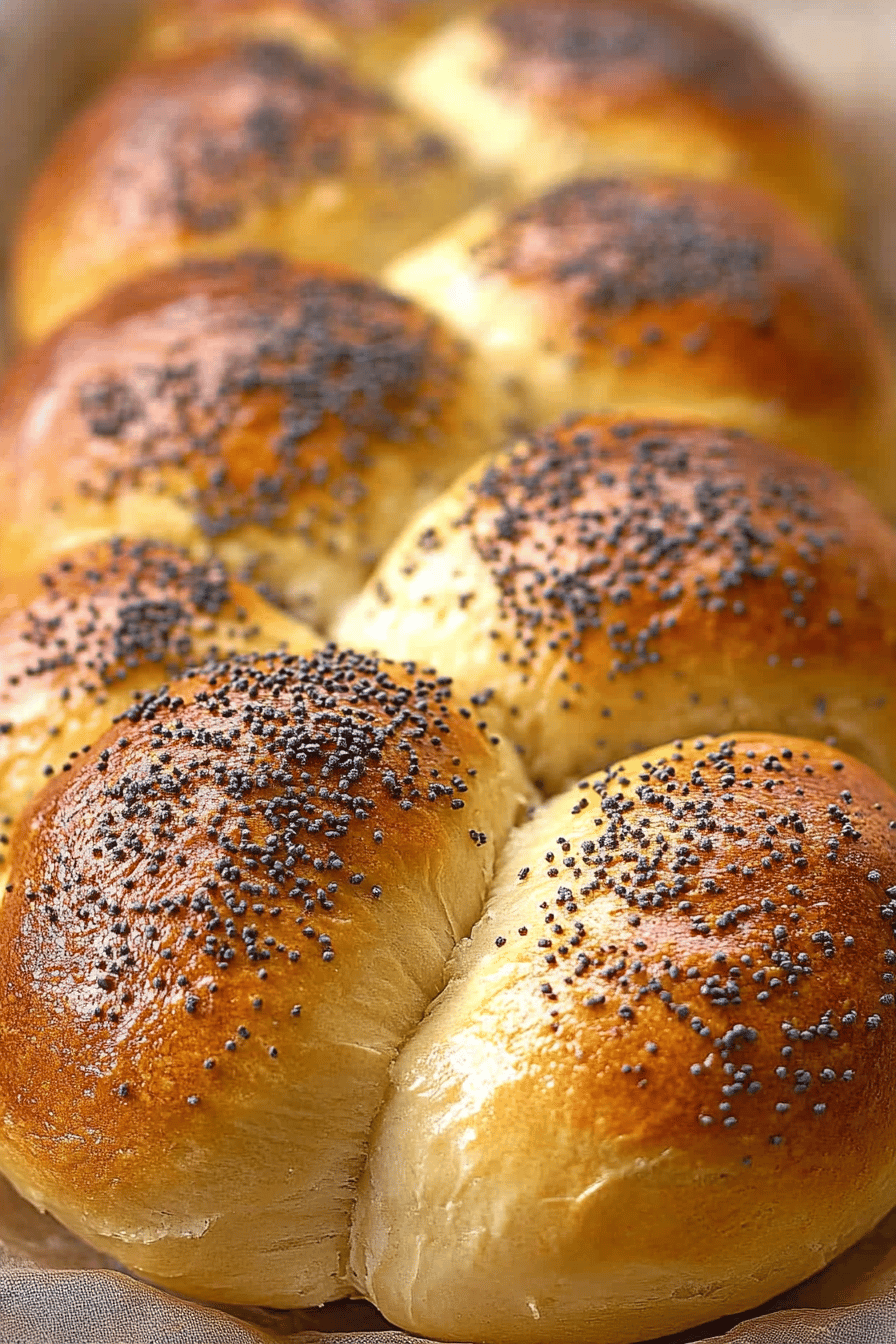
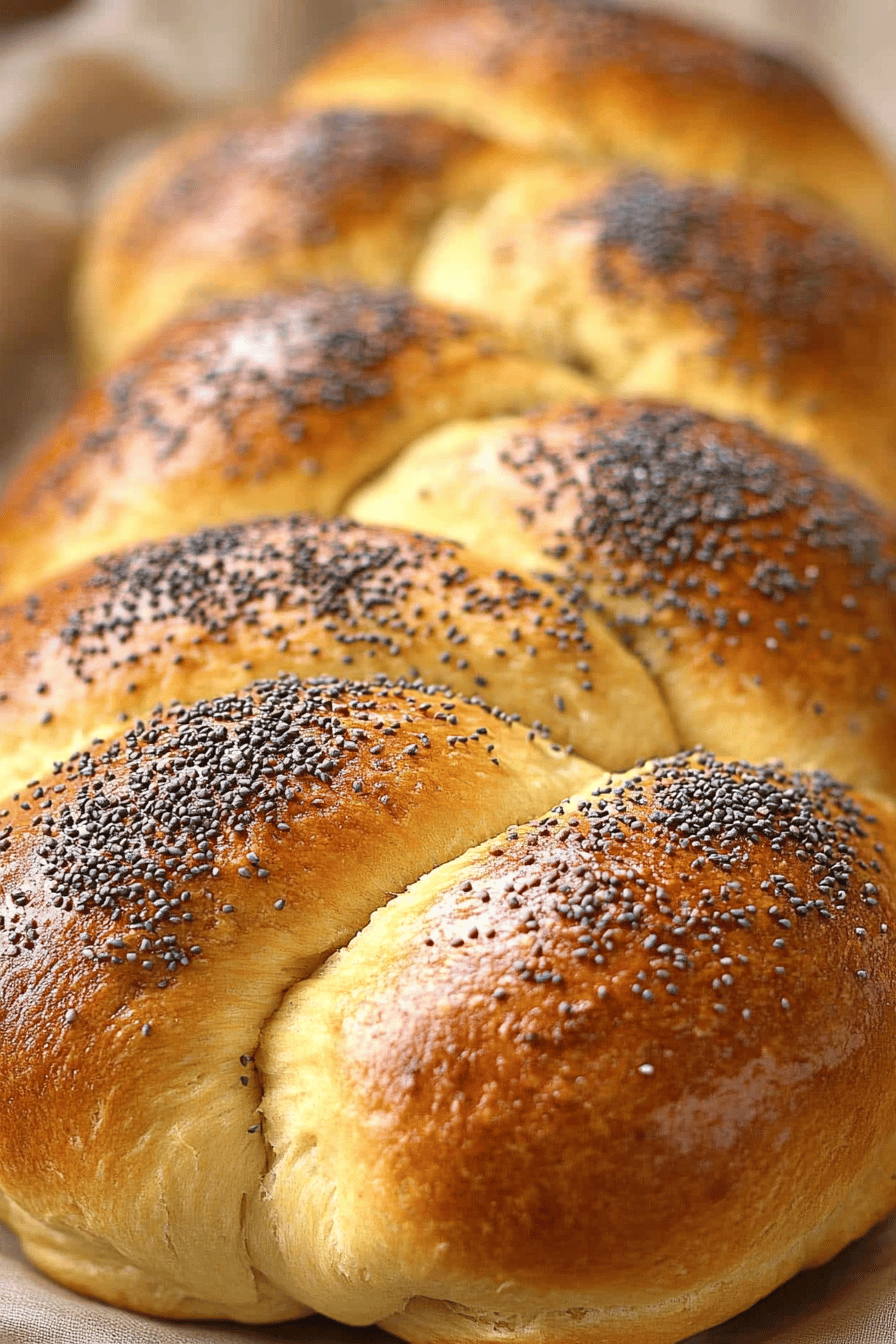
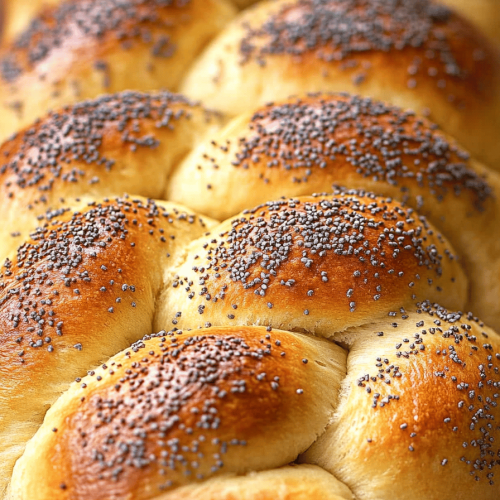
* 1 large egg yolk: For shine and color. * One tablespoon water: for color and texture. Thins the egg yolk for even application. * Sesame seeds or poppy seeds (optional): Adds a lovely texture and visual appeal.
“New family favorite! This Gluten-Free Challah Recipe was so flavorful and ridiculously easy. Crowd-pleaser for sure.”
How do I follow the
Step 1: Preheat & Prep Pan
Preheat your oven to 350°F (175°C). Grease or line a large baking sheet with parchment paper. I always use parchment paper. It’s a lifesaver!
Step 2: Mix Dry Ingredients
In a large bowl, whisk together the Gluten-Free Flour, sugar, and salt. Set aside. Make sure everything is evenly distributed. This ensures a consistent texture throughout the challah.
Step 3: Mix Wet Ingredients
In a separate bowl, combine the oil, eggs, vanilla extract, and warm milk. Set aside. I always warm the milk slightly. I like a smooth, emulsified mixture. How do I make dough rise faster?
Step 4: Combine
Gradually add the wet ingredients to the dry ingredients, mixing on low speed with an electric mixer. How do you make dough by hand? Don’t overmix! A slightly sticky dough is perfectly fine. Is it better to undermix than overmix gluten free doughs?
Step 5: First Rise
Cover the bowl with plastic wrap or a clean kitchen towel and let it rise for about 10 minutes. 1 to 1 12 hours, or until doubled in size. Where does the magic happen! The dough should be puffy and airy. I usually put it in a slightly warm oven (turned off, of course!).
Step 6: Divide & Braid
What is the best way to divide dough into three equal pieces? Roll each piece into a long strand, about 12-14 inches long. Place the strands side by side and braid them together. Pinch the ends to seal. Don’t worry if it’s not perfect, it will still taste amazing!
Step 7: Second Rise
Place the braided challah on the prepared baking sheet. Cover loosely and let it rise for another 30-45 minutes. This second rise helps create a light and airy texture.
Step 8: Bake
In a small bowl, whisk together the egg yolk and water. Brush the mixture evenly over the challah. Sprinkle with sesame seeds, if desired. Bake for 30-35 minutes, or until golden brown. I always check it after 30 minutes with a toothpick; if it comes out clean, it’s ready!
Step 9: Cool & Serve
Let the challah cool on a wire rack before serving. The cooling process is crucial. It allows the bread to set properly. Serve warm with butter, jam, or enjoy it on its own. Is it good to eat toast the next day?
“Made the Gluten-Free Challah Recipe tonight and wow — perfect weeknight dinner. Will definitely make again!”
What should I serve it with?
What is gluten-free challah?For Breakfast:Serve warm with a side of fresh fruit. Is it a good breakfast?For Brunch:How do you serve your brunch spread with a selection of jams, cheeses and smoked salmon? Pair it with a bellini or mimosa for an elegant touch. I love adding honey to a bowl of water.As Dessert:Serve it as a simple dessert with Ice Cream or chocolate sauce. The slight sweetness of the challah complements the richness of ice cream perfectly.For Cozy Snacks: Slice it thick and serve it with a warm bowl of soup or chili. It’s the perfect comfort food on a chilly day. I also love using it to make grilled cheese sandwiches.
How do I make gluten-free challah?
How do I make gluten-free challah?Yeast ActivHow do you proof yeast before adding it to other ingredients? What is the best way to make dough rise? If it doesn’t bubble after 5-10 minutes, your yeast may be expired.Flour Blend: Use a high-quality gluten-free all-purpose flour blend that contains xanthan gum. This helps mimic the texture of gluten in traditional bread. I find that Bob’s Red Mill 1-to-1 Gluten-Free Baking Flour works best.
What is the mixing techniqueDo not overmix the dough. Overmixing can result in a tough, dense challah. Is the dough sticky?Rising Time:How do I make dough in a warm place? This will help it rise properly and achieve a light and airy texture. I often place it in a slightly warm oven (turned off) or close to an open window.What is the best temperature Bake the challah at a moderate temperature (350°F/175°C) to ensure that it cooks evenly. If the top starts to brown too quickly, you can tent it with foil.
Glaze Variations: Experiment with different glazes to customize the flavor of your challah. You can add a pinch of cinnamon to the egg wash for a warm, spicy flavor, or sprinkle with coarse sugar for extra sweetness. I’ve even used a little maple syrup in the glaze – delicious!
Storing and Reheating Tips
To keep your gluten-free challah fresh:
Room Temperature: Store it in an airtight container or wrapped tightly in plastic wrap for up to 2 days. This will prevent it from drying out.
Refrigerator Storage: For longer storage, store it in the refrigerator for up to 5 days. Make sure it’s well-wrapped to prevent it from absorbing odors.
Freezer Instructions: To freeze, wrap the challah tightly in plastic wrap and then place it in a freezer-safe bag. It can be stored in the freezer for up to 2 months.
Reheating: To reheat, thaw it in the refrigerator overnight or at room temperature for a few hours. You can then warm it in the oven at 300°F (150°C) for about 10-15 minutes. I also love toasting slices for a quick and easy snack.
Glaze Timing Advice: If you’re planning to freeze the challah, it’s best to glaze it after thawing and before reheating. This will help maintain the glaze’s shine and prevent it from becoming sticky.
Frequently Asked Questions
Final Thoughts
This gluten-free challah recipe isn’t just about making bread; it’s about sharing a piece of my family’s history and creating new memories in your own kitchen. I hope this recipe becomes a cherished tradition for you and your loved ones. If you enjoyed this, you might also like my gluten-free Cinnamon Swirl bread – it’s another family favorite! Can’t wait to hear how yours turns out! Happy baking!
Best 7 Tips for Perfect Gluten-Free Challah Bread at Home
Ingredients
Main Ingredients
- 3.5 cups gluten-free flour blend ensure blend contains xanthan gum
- 1.25 cups tapioca starch plus extra for dusting
- 1 tablespoon instant yeast
- 0.5 cup granulated sugar
- 1.5 cups lukewarm water
- 8 tablespoons olive oil
- 6 large egg yolks
- 4 tablespoons honey
Egg Wash
- 1 large egg beaten with 1 tbsp water
Optional Toppings
- poppy seeds or sesame seeds for sprinkling
Instructions
Preparation Steps
- In the bowl of a stand mixer, combine the gluten-free flour blend, tapioca starch, yeast, and sugar. Mix well.
- Add salt to the mixture and whisk again to distribute evenly.
- Add lukewarm water, olive oil, egg yolks, and honey to the dry ingredients. Mix on medium speed to form a dough.
- Transfer dough to a lightly oiled bowl, cover, and refrigerate for at least 1 hour until firm.
- Divide chilled dough into 3 equal portions and roll into strands. Braid the strands and place on a parchment-lined baking sheet.
- Cover loosely with plastic wrap and let rise in a warm place until doubled in size.
- Preheat the oven to 350°F (175°C). Brush the braid with egg wash and sprinkle with seeds if desired.
- Bake for 30 minutes, then rotate the baking sheet and bake for an additional 15-20 minutes until golden brown.
- Let cool on the baking sheet for 20 minutes, then transfer to a wire rack to cool completely before slicing.


