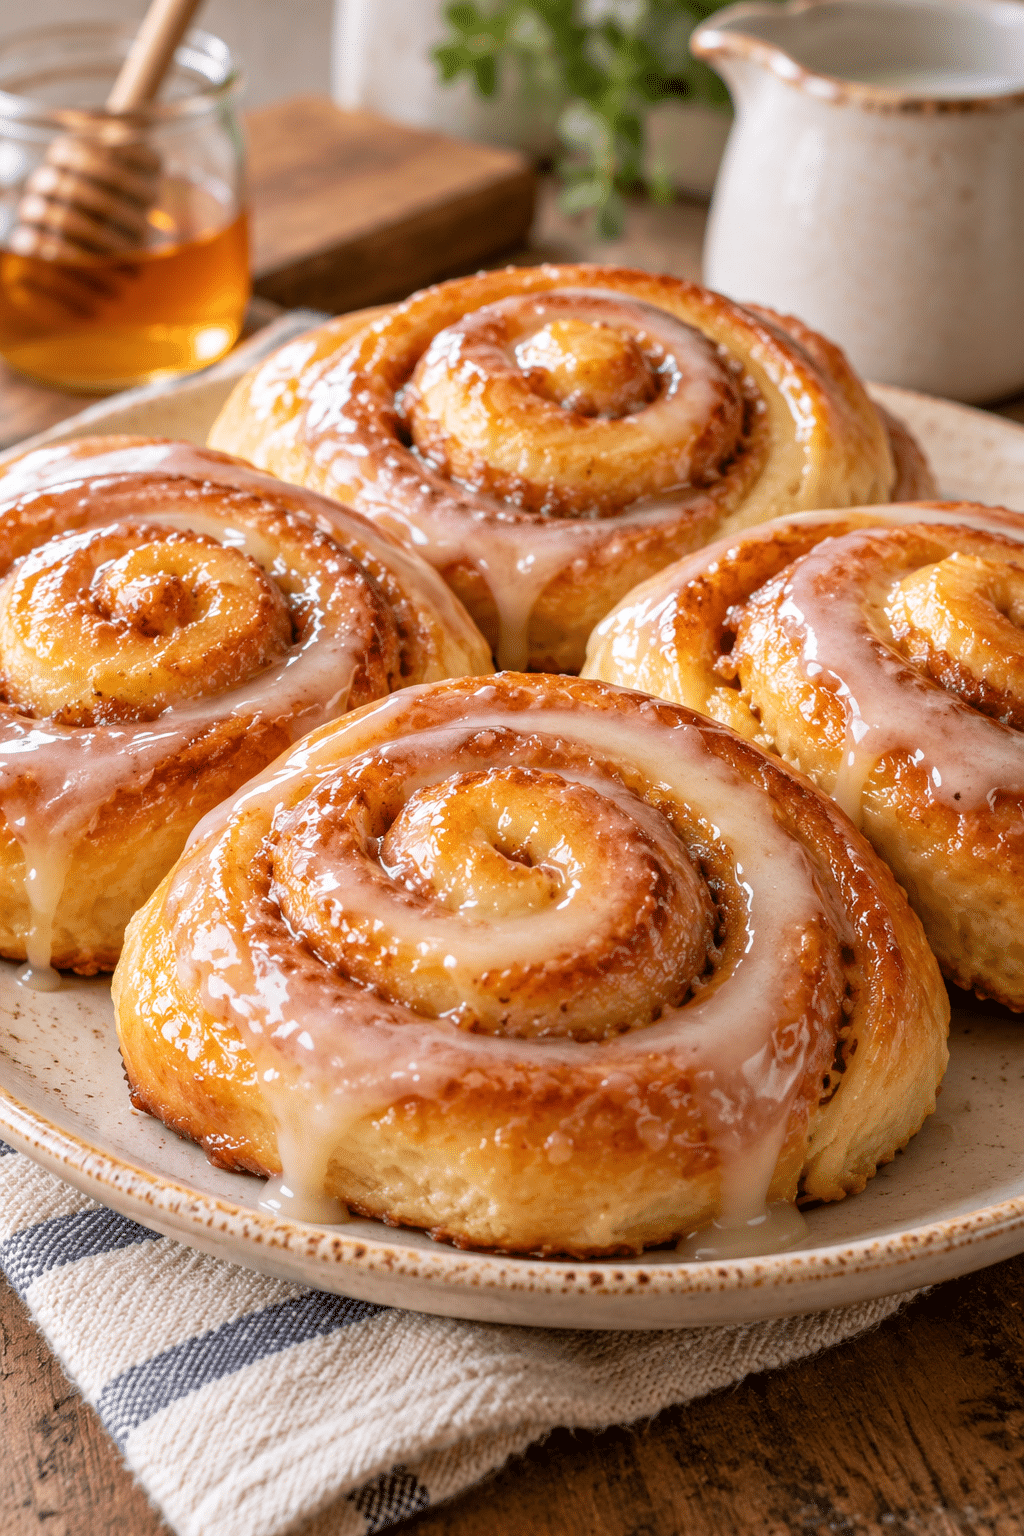

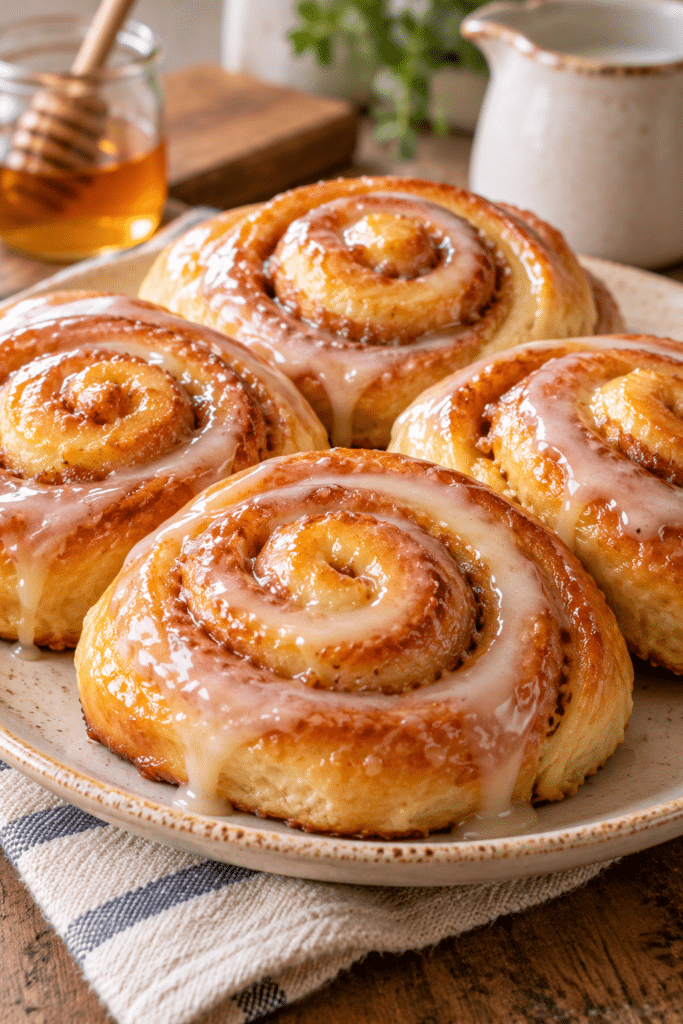
Homemade honey buns are the kind of treat that makes a kitchen feel instantly welcoming: soft yeast dough, a ribbon of cinnamon, and a smooth vanilla glaze in every bite. This recipe keeps the dough intentionally tender and slightly sticky, then gives you a choice of baking or frying. Baking is simple and light, while frying creates the classic fluffy, golden texture associated with a bakery-style Honey Bun. Plan ahead for the two rises, and you will have fourteen warm buns ready for breakfast, an afternoon coffee break, or a nostalgic dessert.
Why You’ll Love Homemade Honey Buns
These buns balance a pillowy crumb with gentle cinnamon warmth and a buttery glaze. The dough is mixed until elastic, allowed to rise until doubled, rolled into a broad rectangle, and sliced into individual spirals. Because the recipe makes a generous batch, it is useful for sharing or freezing. The glaze can be thin for a delicate finish or thicker for a more generous coating.
Ingredients for Homemade Honey Buns
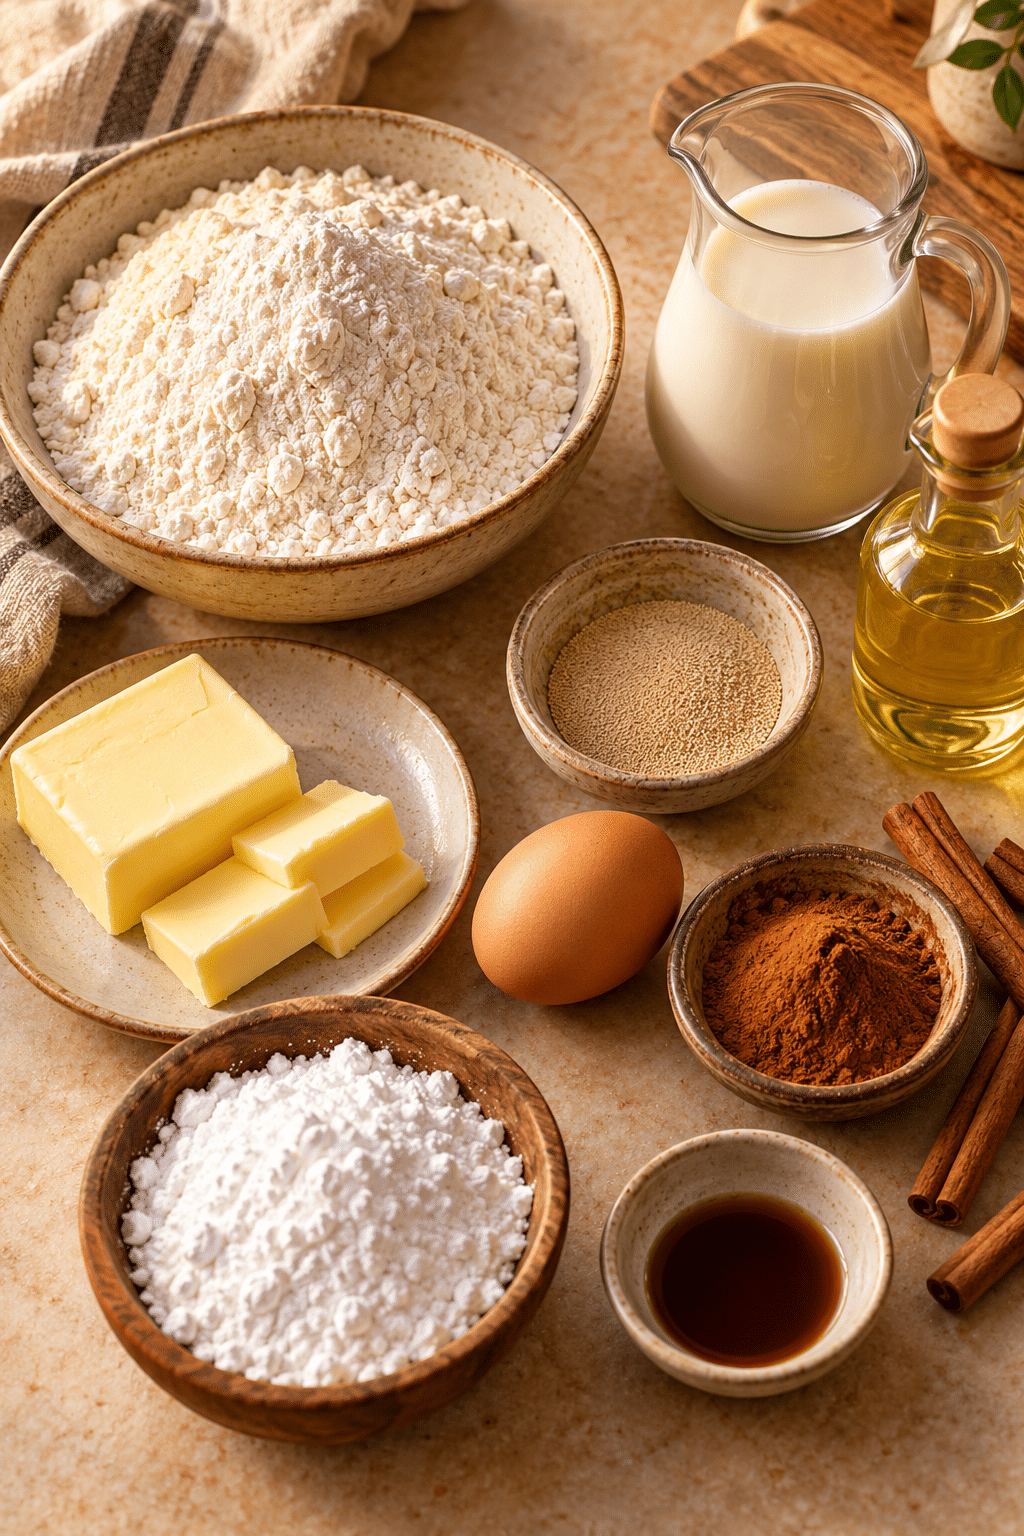
You will need flour, sugar or honey, salt, milk, yeast, melted butter, an egg, vanilla, oil, cinnamon, powdered sugar, and a little more milk for the glaze. The optional frying oil lets you choose between two finishes. Keep the milk warm rather than hot so it activates the yeast without damaging it.
What You’ll Need
- all-purpose flour
- granulated sugar
- salt
- milk
- instant or active dry yeast
- butter
- egg
- vanilla extract
- vegetable oil
- ground cinnamon
- powdered sugar
Make the Soft Yeast Dough
How to Make Homemade Honey Buns
For a faithful, step-by-step method: Mix flour, sugar, and salt in a stand-mixer bowl. Warm 8 tablespoons of milk to 105–110°F, then whisk in yeast, cooled melted butter, egg, and 1 teaspoon vanilla. Pour the wet mixture into the flour and mix with a dough hook on medium for 10 minutes; the dough should remain soft and sticky. Oil your hands and a large bowl. Shape the dough into a ball, place it in the bowl, cover, and let rise until doubled, about 1–2 hours. Press down the risen dough and roll or press it into a 6-by-14-inch rectangle. Sprinkle cinnamon evenly over the surface. Roll from the long side, seal the seam with a little water, and cut into fourteen 1/2-inch to 1-inch slices. Arrange on parchment, cover, and let rise 30 minutes. For baked buns, heat the oven to 350°F and bake 15–18 minutes, until lightly golden. For fried buns, heat the optional oil to 350°F and fry in batches until golden and fluffy. Whisk melted butter, powdered sugar, remaining milk, and remaining vanilla into a smooth glaze. Dip warm buns into the glaze and let set briefly before serving.
Combine the flour, sugar, and salt in a mixer bowl. Warm most of the milk to 105–110°F, then whisk it with the yeast, cooled butter, egg, and vanilla. Add the wet mixture to the dry ingredients and mix with a dough hook for about 10 minutes. The dough should be soft and sticky. Resist adding lots of flour; that softness is what helps the finished buns stay tender.
Let the Dough Rise
Oil your hands and a large bowl, shape the dough into a ball, and place it inside. Turn it once so the surface is lightly coated, then cover the bowl. Let the dough rise in a warm, draft-free place until it has doubled, usually one to two hours. The exact time depends on room temperature, so use its size as the main guide.
Shape the Cinnamon Spirals
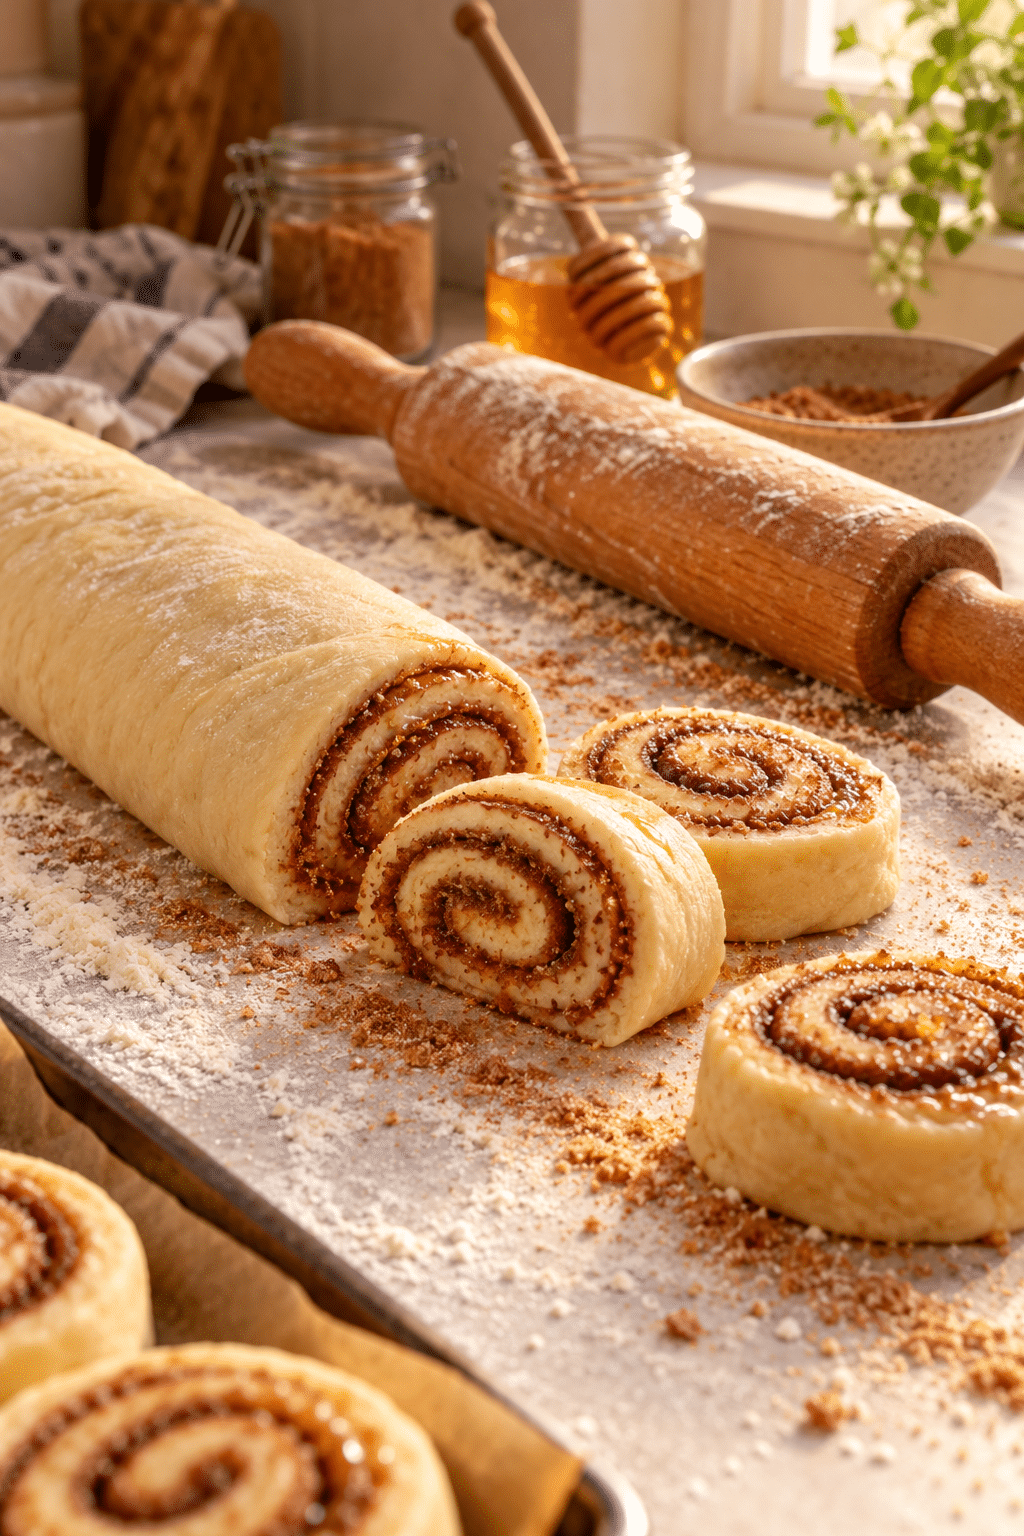
Press down the risen dough and move it to a lightly floured surface. Shape it into a 6-by-14-inch rectangle and spread the cinnamon evenly over the top. Roll from the long side, seal the seam with a little water, and slice the log into fourteen pieces. A strand of unflavored floss makes clean cuts without flattening the spirals.
Choose Baking or Frying
For baked buns, heat the oven to 350°F and bake the risen slices for 15–18 minutes, just until the edges turn lightly golden. For fried buns, heat vegetable oil to 350°F and fry in batches until golden and fluffy. Keep fried buns on a rack or paper towels while you finish the batch. Either method works; baking is convenient, while frying gives the most classic honey-bun texture.
Finish with Vanilla Glaze
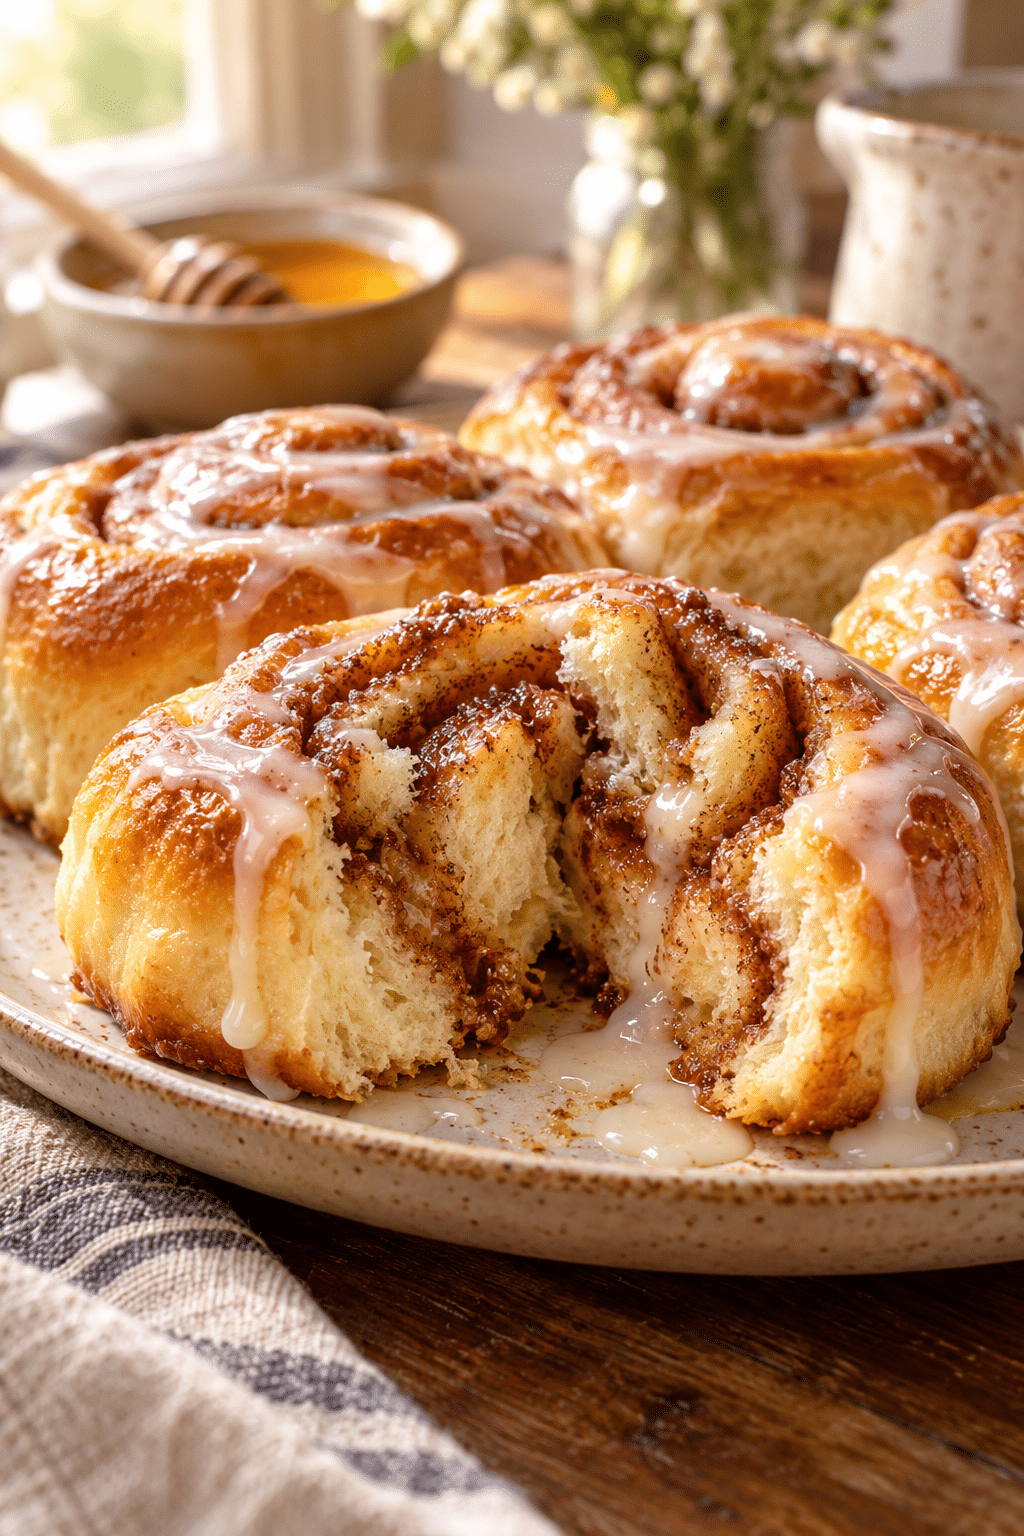
Whisk melted butter, powdered sugar, the remaining vanilla, and enough milk to make a smooth glaze. Dip the warm buns while they are still slightly soft, letting excess glaze drip back into the bowl. Allow them to rest for a few minutes so the coating sets without becoming brittle.
Helpful Tips
- Keep the dough soft; excess flour makes buns dense.
- Use a thermometer for the milk and frying oil when possible.
- Space buns farther apart for baking and closer together for frying.
- Glaze while warm for the smoothest finish.
Serving and Make-Ahead Ideas
Serve these homemade honey buns with coffee, tea, or a cold glass of milk. They are especially good while the glaze is still a little glossy and the centers are warm. If you are planning for guests, prepare the dough through the first rise the day before, press it down, cover it well, and refrigerate it overnight. Let it sit at room temperature before shaping so the dough is relaxed and easy to roll.
For a neat presentation, arrange the glazed buns on a platter with a little space between them. You can drizzle on a second, thinner layer of glaze once the first layer sets. If you prefer a less-sweet finish, whisk the glaze with an extra spoonful of milk and brush it lightly over the tops. The cinnamon filling is intentionally simple, allowing the buttery dough and vanilla glaze to remain the main flavors.
How to Keep the Buns Tender
The most important texture tip is to avoid over-flouring the dough. Use a lightly floured surface only when shaping, and rely on oiled hands during mixing and rounding. Do not overbake the buns: they should be lightly golden rather than deeply brown. Once cool, store them in an airtight container so the exposed cut edges do not dry out. A short warm-up restores their soft, fresh-baked texture.
Storage and Optional Variation
Store the buns covered at room temperature for one day or refrigerate them for several days. Optional variation: bake the buns instead of frying them for a lighter finish, then add the same vanilla glaze while they are warm.
FAQ: Frequently Asked Questions
Can I bake instead of fry?
Yes. Bake at 350°F for 15–18 minutes, watching for lightly golden edges.
Why is the dough sticky?
A soft sticky dough is intentional and helps the buns bake or fry up fluffy. Oil your hands instead of adding too much flour.
How should I store the buns?
Keep cooled glazed buns covered at room temperature for a day or refrigerate them for longer storage. Warm briefly before serving.

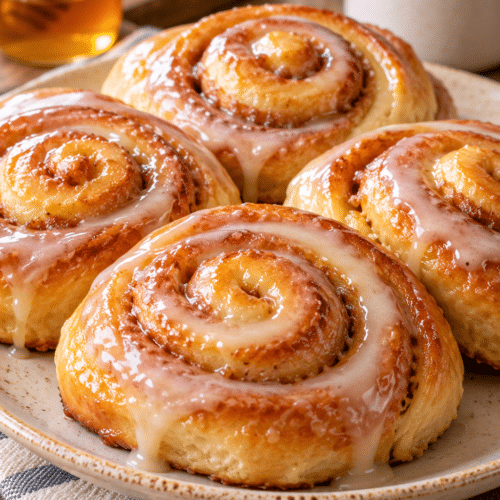
Glazed Homemade Honey Buns
Ingredients
Ingredients
- 2 cups all-purpose flour
- 3 tablespoons granulated sugar or 2 tablespoons honey
- 1/2 teaspoon salt
- 11 tablespoons milk divided
- 2 1/4 teaspoons instant or active dry yeast
- 1/3 cup butter melted
- 1 large egg
- 2 teaspoons vanilla extract divided
- 1/2 tablespoon vegetable oil for greasing
- 1 1/2 teaspoons ground cinnamon
- 3 cups vegetable oil for frying
- 6 tablespoons butter melted, for glaze
- 2 cups powdered sugar
Instructions
Instructions
- Mix flour, sugar, and salt in a stand-mixer bowl. Warm 8 tablespoons of milk to 105–110°F, then whisk in yeast, cooled melted butter, egg, and 1 teaspoon vanilla.
- Pour the wet mixture into the flour and mix with a dough hook on medium for 10 minutes; the dough should remain soft and sticky.
- Oil your hands and a large bowl. Shape the dough into a ball, place it in the bowl, cover, and let rise until doubled, about 1–2 hours.
- Press down the risen dough and roll or press it into a 6-by-14-inch rectangle. Sprinkle cinnamon evenly over the surface.
- Roll from the long side, seal the seam with a little water, and cut into fourteen 1/2-inch to 1-inch slices. Arrange on parchment, cover, and let rise 30 minutes.
- For baked buns, heat the oven to 350°F and bake 15–18 minutes, until lightly golden. For fried buns, heat the optional oil to 350°F and fry in batches until golden and fluffy.
- Whisk melted butter, powdered sugar, remaining milk, and remaining vanilla into a smooth glaze. Dip warm buns into the glaze and let set briefly before serving.