Glazed Carrots That Will Make You Rethink This Side Dish
There’s something about perfectly caramelized carrots that just hits different, right? I’m talking about those gorgeous, buttery, sweet-and-savory Glazed Carrots that somehow transform a humble root vegetable into pure magic. They’re not just a side dish—they’re the kind of recipe that makes you feel like you’ve stumbled upon family secret worth of chefs and home cooks alike.
Thank you for reading this post, don't forget to subscribe!
What Is Glazed Carrots?
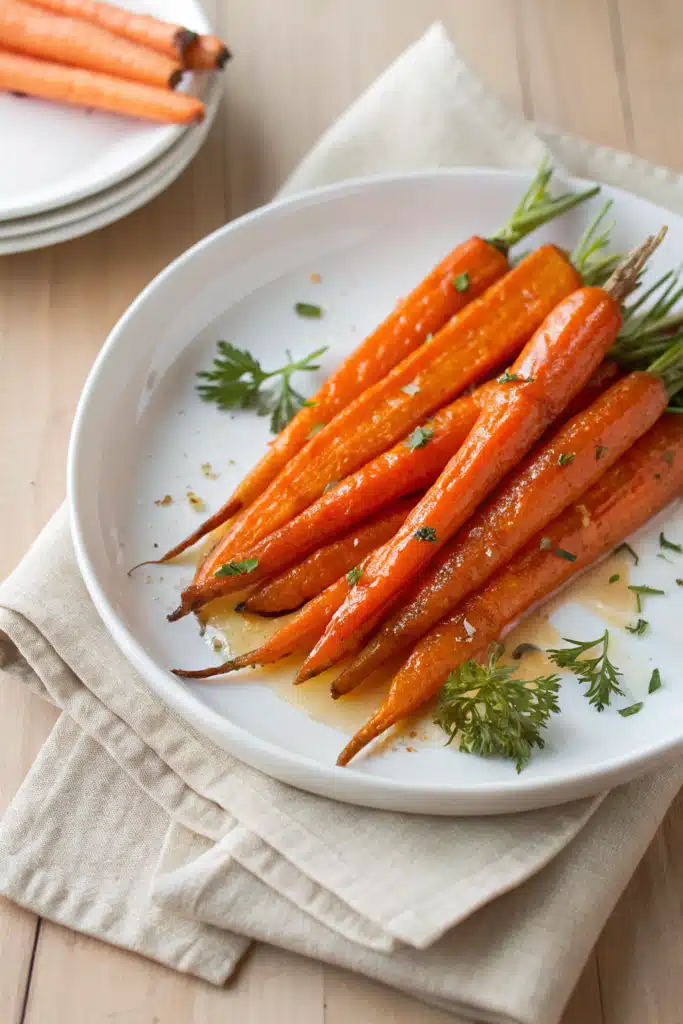
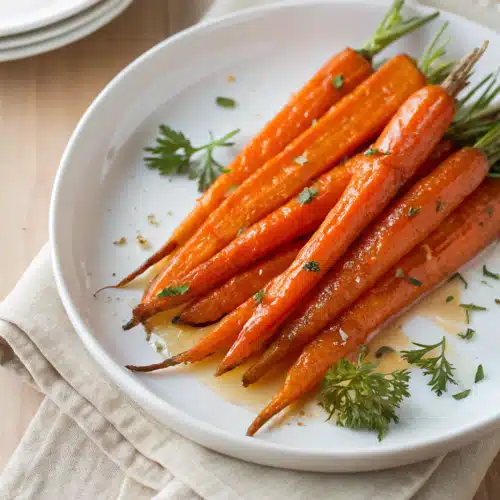
Glazed carrots are a classic preparation method where fresh carrots are gently simmered in a flavorful mixture of butter, sugar (or honey), and aromatics like garlic or thyme until they become tender and develop a glossy, sweet coating. The result is a vibrant, golden-hued side dish that balances natural sweetness with rich umami notes from Brown Sugar or maple syrup.
Why You’ll Love This Recipe
This glazed carrot recipe is more than just a throw-together side—it’s a crowd pleaser for any occasion, from holiday feasts to quiet weeknight dinners. What makes it stand out is how simple ingredients come together to create deep flavor without complicated steps.
Whether you’re cooking for guests or treating yourself to a restaurant-quality meal at home, these carrots deliver texture and taste in every bite. They’re naturally gluten-free, vegan-friendly if you skip the butter, and absolutely divine when served alongside roasted chicken, herb-crusted salmon, or even grilled steak.
And honestly? There’s something deeply satisfying about watching those bright orange slices turn golden and glossy as they cook. It’s one of those little kitchen moments that feels almost meditative—like the whole house starts to smell like comfort and warmth.
How to Make Glazed Carrots
Quick Overview
Making glazed carrots doesn’t take long—usually around 20–25 minutes total. You’ll start by peeling and slicing your carrots uniformly so they cook evenly. Then, you’ll sauté them in butter with onions or shallots before adding liquid (broth or water) and sweeteners like Brown Sugar or maple syrup. Simmer until tender, then finish with fresh herbs or a squeeze of citrus for brightness.
Ingredients
- 1 lb baby carrots OR 1 large regular carrot (peeled and sliced diagonally)
- 3 tbsp unsalted butter (or olive oil for dairy-free)
- 1 small shallot or ½ onion, finely chopped
- 1 tsp fresh thyme leaves (or ½ tsp dried)
- ¼ cup vegetable broth or water
- 2 tbsp brown sugar (or honey/maple syrup)
- Salt and black pepper to taste
- Optional garnish: chopped parsley, lemon zest, toasted slivered almonds
Step-by-Step Instructions
Step 1: Preheat & Prep Pan
Start by heating a medium skillet over medium heat. If using regular carrots, slice them into uniform half-moons about ¼-inch thick. Baby carrots can be used whole or halved lengthwise if larger than your thumb. Mince the shallot or chop the onion finely so it softens quickly without burning.
“New family favorite! This glazed carrots was so flavorful and ridiculously easy. Crowd-pleaser for sure.”
Step 2: Sauté Aromatics
Add the butter to the hot pan. Once melted and slightly bubbling, toss in the shallot (or onion) and cook for 2–3 minutes until translucent and fragrant. Add the thyme and stir for another 30 seconds to bloom its flavor.
Step 3: Cook the Carrots
Throw in the carrots and give everything a good stir so each piece gets coated in butter. Let them sit for a minute or two to develop some color—this builds depth!
Step 4: Simmer with Liquid & Sweetener
Pour in the broth or water, then sprinkle in the Brown Sugar (or honey). Stir well so the sugar dissolves and coats the carrots. Bring to a gentle boil, then reduce heat to low. Cover and simmer for 10–12 minutes, stirring once halfway through, until carrots are fork-tender but still hold their shape.
Step 5: Finish & Serve
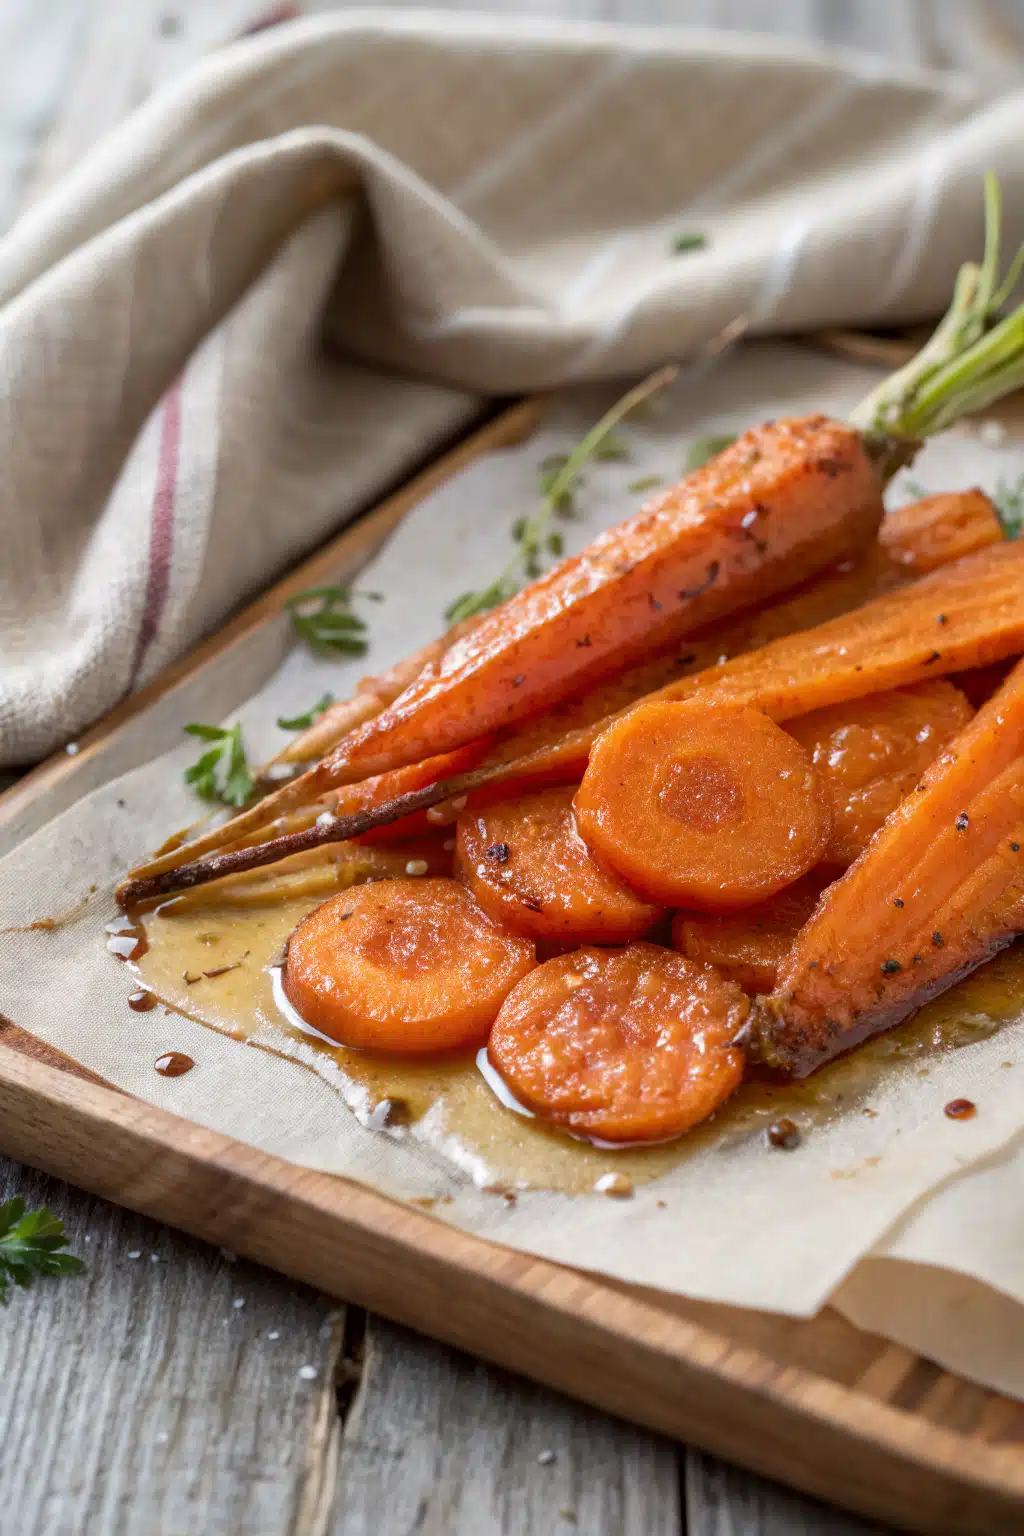
Uncover the pan and increase heat to medium-low to let the sauce reduce slightly—you want it glossy but not thick and syrupy. Taste and adjust seasoning: add salt, pepper, or even a splash of APPLE CIDER vinegar if you like a tangy kick. Finish with fresh parsley or lemon zest if desired. Serve warm!
What to Serve It With
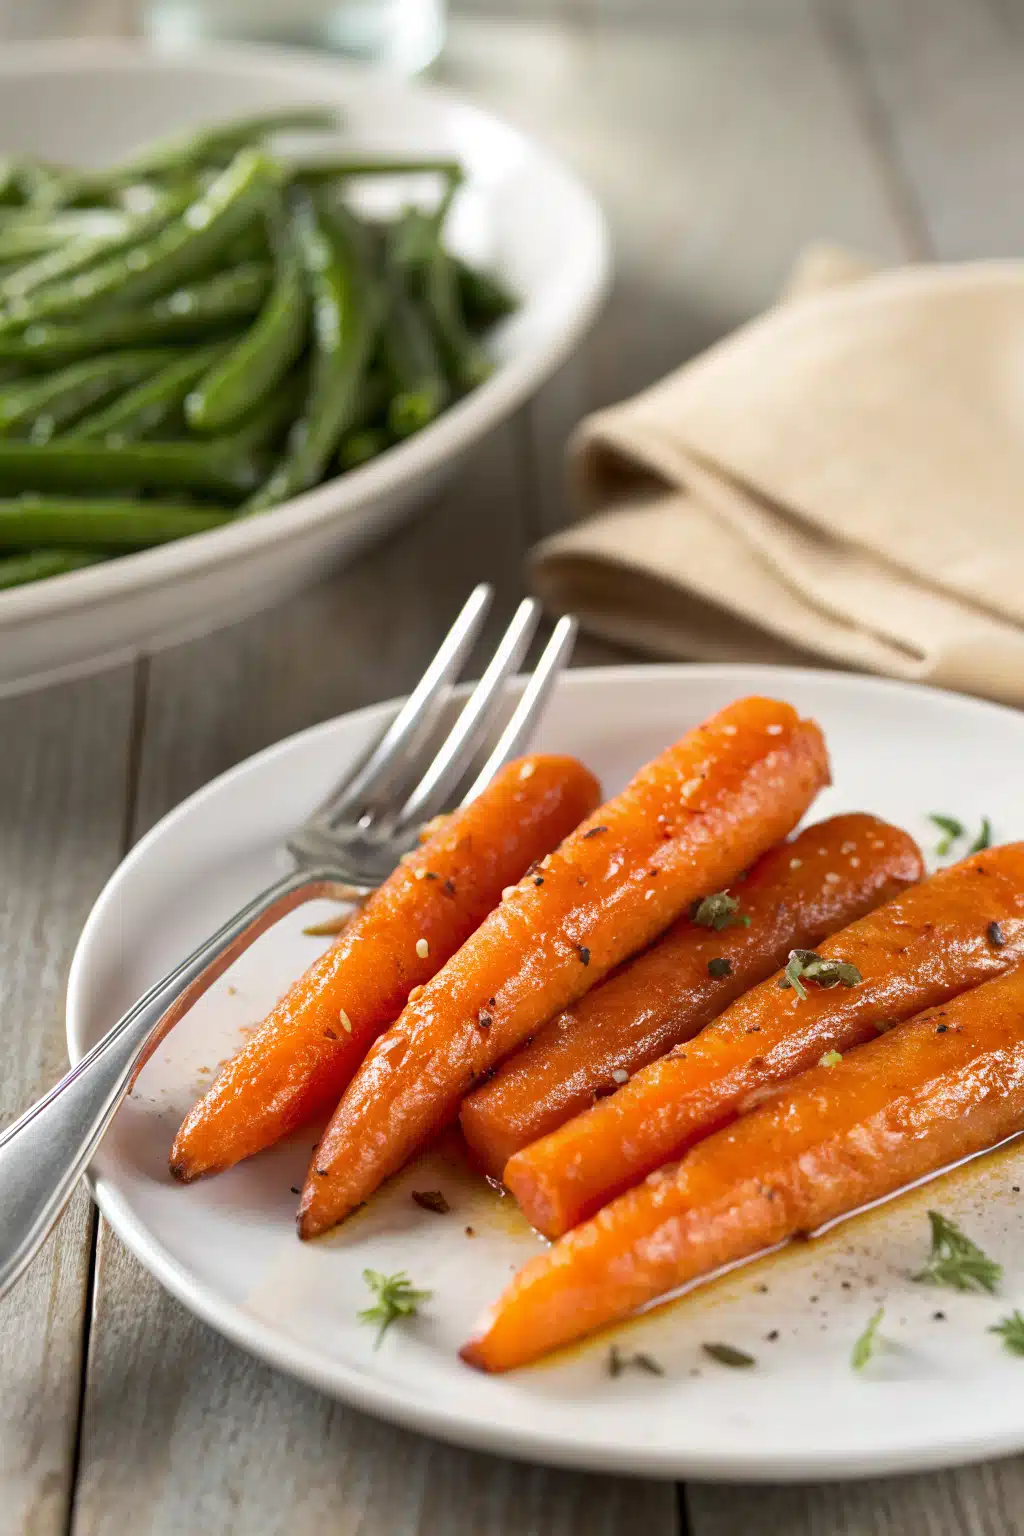
These glazed carrots shine brightest when paired with proteins that aren’t too heavy—think roasted chicken thighs, seared scallops, or herb-baked cod. They also make a stunning addition to Thanksgiving tables next to green bean casserole or stuffing. For vegetarian mains, serve alongside lentil loaf or stuffed acorn squash. Their balance of sweetness and richness cuts through fatty dishes beautifully, making them a versatile companion to almost any main course.
Top Tips for Perfecting Your Glazed Carrots
- Uniform Sizes Matter: Cutting carrots evenly ensures they cook at the same rate. If you’re short on time, use pre-peeled baby carrots—just trim the ends.
- Don’t Rush the Simmer: Low and slow helps build flavor and prevents mushiness. Overcooking kills texture!
- Sweetener Swap: Brown sugar gives deeper molasses notes; honey adds floral brightness; maple syrup brings earthiness. Pick based on your mood and what you have on hand.
- Garnish Generously: Fresh herbs, toasted nuts, or a drizzle of balsamic glaze elevate both color and taste.
- Make Ahead Friendly: These keep well covered at room temp for up to 2 days—perfect for meal prep or entertaining.
Storing and Reheating Tips
Store leftover glazed carrots in an airtight container in the fridge for up to 4 days. When ready to reheat, place them in a saucepan with a splash of water or broth over low heat, stirring occasionally until warmed through. Avoid microwaving straight from cold—it tends to make them slimy. For best results, refresh them on the stovetop and finish with a pat of butter and fresh thyme before serving.
Frequently Asked Questions
“Packed with flavor and so simple. Exactly what I wanted from this glazed carrots!”
Final Thoughts
There’s real magic in taking something simple—like carrots—and turning it into a dish that feels special enough for company, yet easy enough for everyday. These glazed carrots aren’t just about taste; they’re about memory, warmth, and the quiet joy of a well-made meal shared with loved ones.
So next time you need a side that wows without effort, reach for this recipe. Your taste buds (and your dinner guests) will thank you.
Glazed Carrots
Ingredients
Main Ingredients
- 1 lb fresh carrots
- 2 tablespoon unsalted butter
- 2 tablespoon brown sugar
- 1 tablespoon maple syrup
- 0.25 teaspoon salt
- 0.125 teaspoon ground cinnamon optional
- 0.0625 teaspoon black pepper optional
- 1 tablespoon water or vegetable broth if needed
Instructions
Preparation Steps
- Wash, peel, and slice the carrots into thin rounds or sticks. Set aside.
- In a large skillet over medium heat, melt the butter until it begins to foam.
- Add the sliced carrots to the skillet and stir to coat them in the melted butter. Cook for 3–4 minutes, stirring occasionally, until they begin to soften.
- Sprinkle the brown sugar, salt, cinnamon, and black pepper over the carrots. Stir well to combine.
- Drizzle the maple syrup (or honey) over the carrots and add 1 tablespoon of water or broth if the mixture seems too dry. Cover the skillet and reduce heat to low. Simmer for 10–12 minutes, stirring occasionally, until the carrots are tender and the glaze has thickened.
- Uncover the skillet and increase heat to medium-high for 1–2 minutes to allow the glaze to caramelize slightly. Remove from heat and serve warm.


