How to Cut Pineapple Like a Pro: The Ultimate Guide
If you’ve ever stared at a whole pineapple, knife in hand, with more questions than answers, you’re not alone. That spiky crown, that tough rind—it all looks so intimidating! But here’s the truth: cutting pineapple is easier than you think, and once you know the right method, it becomes one of those kitchen skills you’ll wonder how you ever lived without. Whether you’re prepping for a Tropical Smoothie bowl, a vibrant salad, or just want to enjoy fresh fruit at its best, mastering this technique will save you time, reduce waste, and give you perfectly juicy, tender bites every single time.
Thank you for reading this post, don't forget to subscribe!What Is Cut Pineapple?
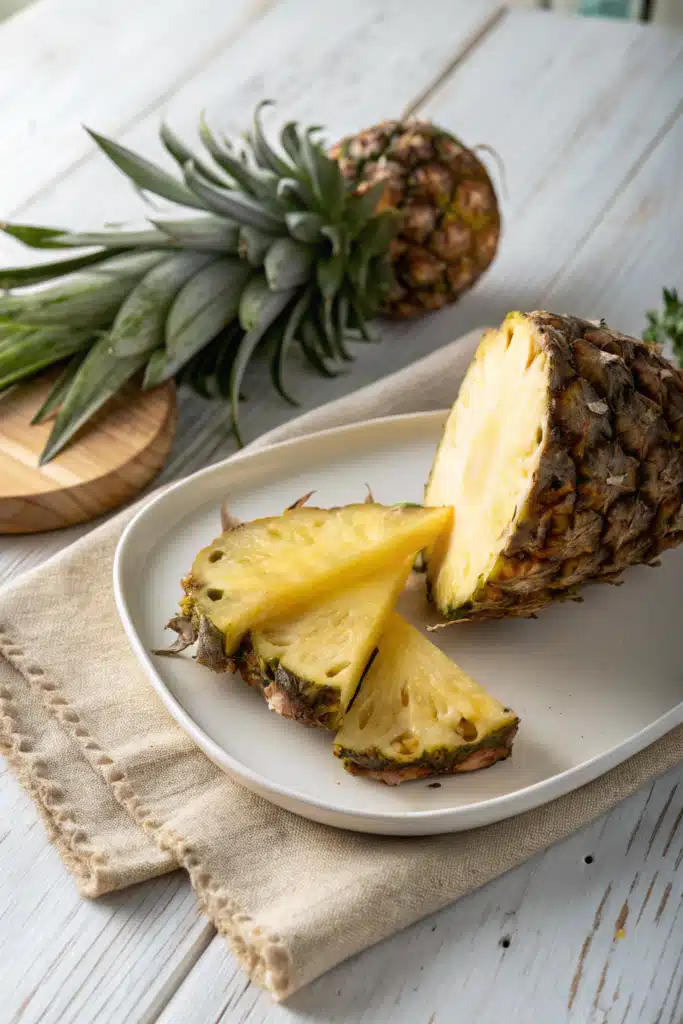
Cut pineapple refers to the process of preparing fresh pineapple by removing the tough outer skin (the rind), the hard core, and any remaining eyes (those little brown spots on the surface). What remains are beautiful, golden-yellow segments or chunks that are ready to eat, cook, or blend. The goal isn’t just about convenience—it’s about unlocking the sweetest, most flavorful part of the fruit while minimizing waste. When done correctly, cut pineapple has a bright, tangy-sweet taste with a satisfyingly crisp texture. It’s the foundation for countless recipes, from desserts to savory dishes, and even cocktails!
Why You’ll Love This Recipe
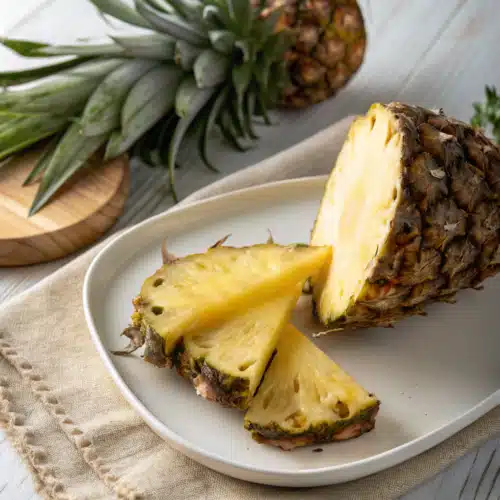
There’s something magical about biting into a perfectly cut piece of pineapple. First, there’s the flavor—bright, zesty, and deeply sweet with just a hint of tropical sunshine. But beyond taste, the real joy comes from knowing exactly what went into your snack or dish. No more guessing games or accidentally chewing on that fibrous core. With a few simple steps, you’ll transform an entire pineapple into usable pieces that fit your needs: large wedges for grilling, small cubes for salsa, or thin slices for topping tacos or yogurt bowls.
Plus, prepping pineapple ahead of time makes life so much easier. Imagine having fresh fruit ready for breakfast smoothies, afternoon snacks, or last-minute dinner garnishes—all without the daily hassle of peeling and coring. And let’s be honest: nothing beats the satisfaction of slicing open a whole pineapple and revealing those perfect, golden rings inside. It feels like a little kitchen victory every time!
How to Make [Recipe Name]
Quick Overview
Cutting pineapple doesn’t have to be complicated. In just a few minutes, you can turn a whole pineapple into clean, edible pieces using basic tools and techniques. Start by washing the fruit thoroughly. Then, slice off the top and bottom so it stands upright. Next, remove the skin by cutting downward along the sides, following the curve of the fruit. Finally, trim away the tough core and cut the flesh into your desired shape. It’s fast, efficient, and gives you consistent results every time.
Ingredients
- 1 ripe pineapple
- Sharp chef’s knife
- Cutting board
Step-by-Step Instructions
Step 1: Preheat & Prep Pan
Begin by rinsing the pineapple under cool water to remove any dirt or residue. Place it on a stable cutting board. Using a sharp knife, carefully slice off the leafy crown at the top. Then, cut down about an inch from the base so the pineapple can stand upright securely. This creates a flat surface and helps prevent slipping during cutting.
“I don’t know if I’ve ever eaten a better cut pineapple. The rub alone is wonderful, but the sauce??? Over the top!”
Step 2: Remove the Skin
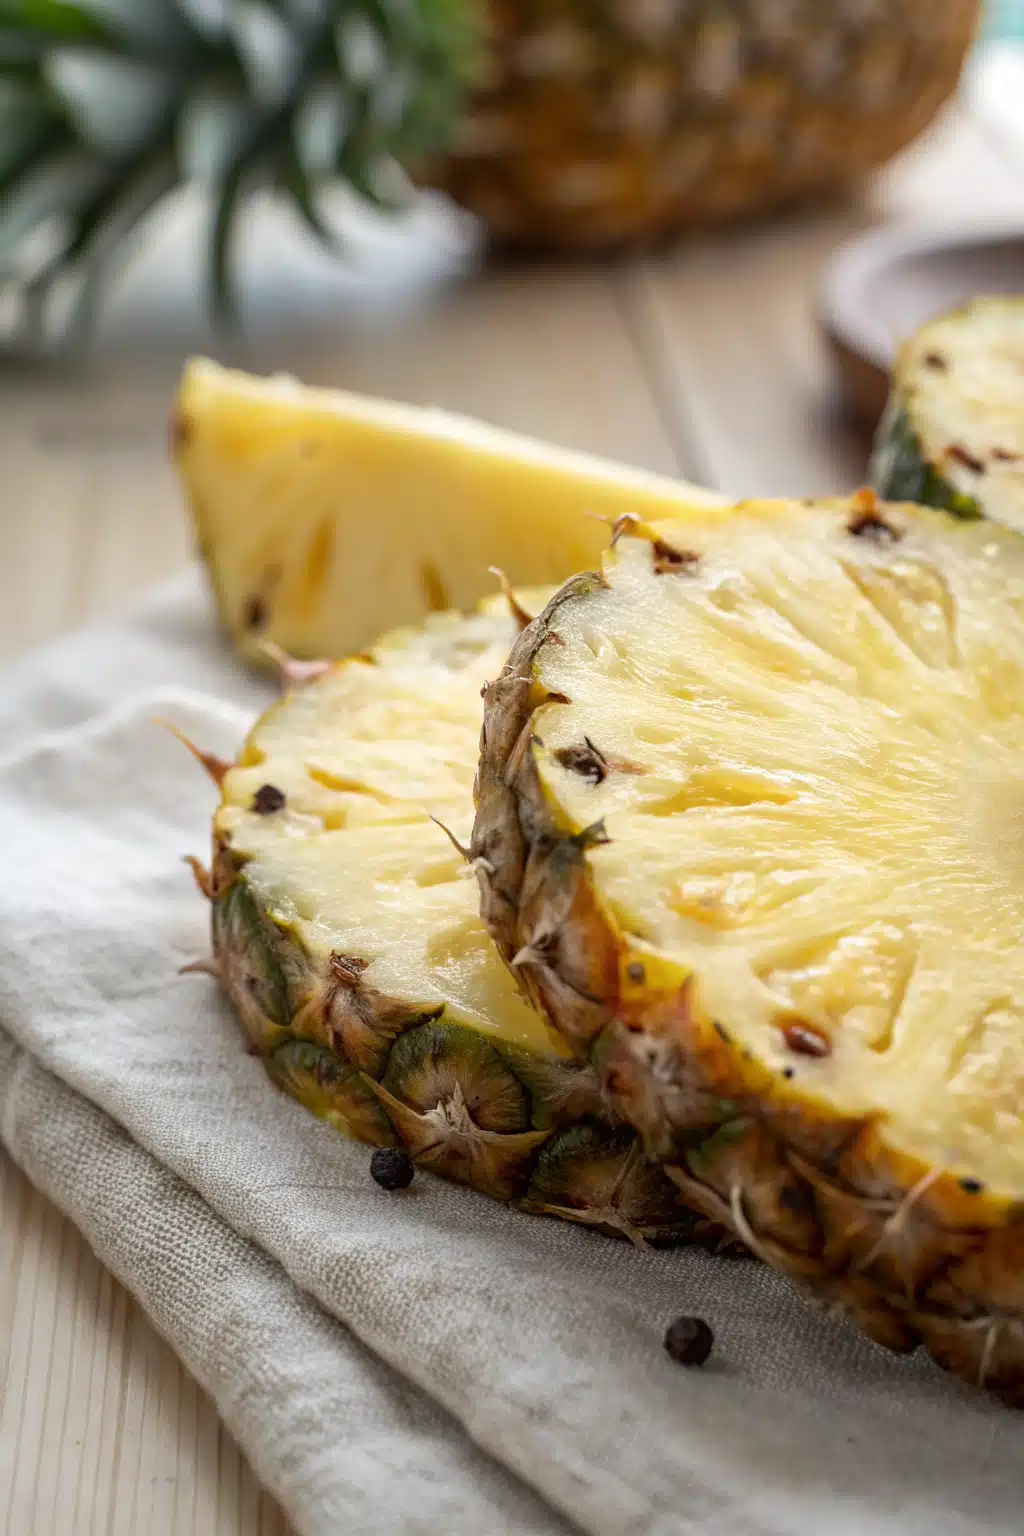
Starting near the bottom, insert your knife just beneath the skin and work around the pineapple in a downward motion. Angle the blade slightly inward to get as much flesh as possible while avoiding waste. Continue until all the brown rind is gone. You’ll notice some dark spots—these are the “eyes.” Simply make shallow cuts to remove them if desired.
Step 3: Core and Slice
Once the skin is off, place the pineapple back on the board. Locate the tough central core by feeling for the hard, stringy center. Using your knife, slice perpendicular to the length of the fruit to remove this part. Now, decide how you want your final pieces: wedges (quarter lengthwise), cubes (dice after coring), or rings (cut crosswise). A mandoline slicer can help achieve uniform thickness if needed.
Step 4: Serve or Store
Transfer your cut pineapple to a bowl or container immediately to prevent browning. If not eating right away, store in an airtight container in the refrigerator for up to five days. For longer storage, freeze in portions—perfect for smoothies or future recipes.
What to Serve It With
Crisp, sweet pineapple pairs beautifully with a wide range of foods. Try it over Greek yogurt with honey and granola for breakfast, blended into a refreshing smoothie, or grilled as a dessert with a sprinkle of cinnamon. In savory dishes, it shines in Thai stir-fries, BBQ pork tacos, or alongside ham and cheese sandwiches. Fresh pineapple also makes a stunning addition to fruit salads, charcuterie boards, or even martinis. Its versatility is truly unmatched!
Top Tips for Perfecting Your [Recipe Name]
For the best results, always choose a ripe pineapple—its leaves should pull out easily, and the base should give slightly when squeezed. Never rush the coring process; a dull knife will tear the flesh instead of cleanly slicing through. Keep your cuts consistent for even cooking or serving. And don’t forget: if you’re using a serrated knife, it can help grip the slippery skin better during peeling.
Storing and Reheating Tips
Fresh cut pineapple keeps well in the fridge for up to five days when stored properly. Always use an airtight container to maintain moisture and flavor. If freezing, spread pieces on a baking sheet first before transferring to a freezer bag to avoid clumping. Thawed pineapple is great in baked goods or thawed briefly in hot water for a warm treat. Note: reheating fresh pineapple isn’t necessary—its natural sweetness is best enjoyed cold or at room temperature.
Frequently Asked Questions
“New family favorite! This cut pineapple was so flavorful and ridiculously easy. Crowd-pleaser for sure.”
Final Thoughts
Cutting pineapple might seem daunting at first, but trust me—once you get the hang of it, it becomes second nature. There’s something deeply rewarding about transforming a whole, unassuming fruit into something beautiful and delicious. Whether you’re making a weeknight smoothie or preparing a fancy tropical feast, this skill will elevate your kitchen game. So go ahead—grab that pineapple, sharpen your knife, and enjoy the process. After all, the best things in life are worth the effort, and fresh, perfectly cut pineapple? Absolutely worth it.
Cut Pineapple
Ingredients
Main Ingredients
- 1 whole fresh pineapple
Instructions
Preparation Steps
- Stand the pineapple upright on a cutting board. Using a sharp knife, carefully slice off the top leafy crown and the bottom base so it sits flat.
- Place the pineapple on its side and slice off the skin all the way around, following the curve of the fruit to remove the eyes and peel.
- Stand the peeled pineapple upright and make vertical cuts from top to bottom to create quarters.
- Lay each quarter flat and slice crosswise into 0.5-inch thick rings, then cut each ring into bite-sized chunks.


