Okay, friends, let’s talk about cookies. Not just any cookies, but these utterly delightful Coconut Thumbprint Cookies. Remember those classic peanut butter blossoms with the Hershey’s Kiss in the center? These are like that, but turned up to eleven! Instead of peanut butter, we’re talking a tender, melt-in-your-mouth coconut cookie base, topped with a dollop of your favorite jam and a generous sprinkle of toasted coconut. Honestly, one bite and you’ll be hooked. My grandmother used to make these every Christmas, and the smell alone brings back so many happy memories. I’ve tweaked her recipe just a bit over the years to make them extra special, and I can’t wait to share my secrets with you.
Thank you for reading this post, don't forget to subscribe!
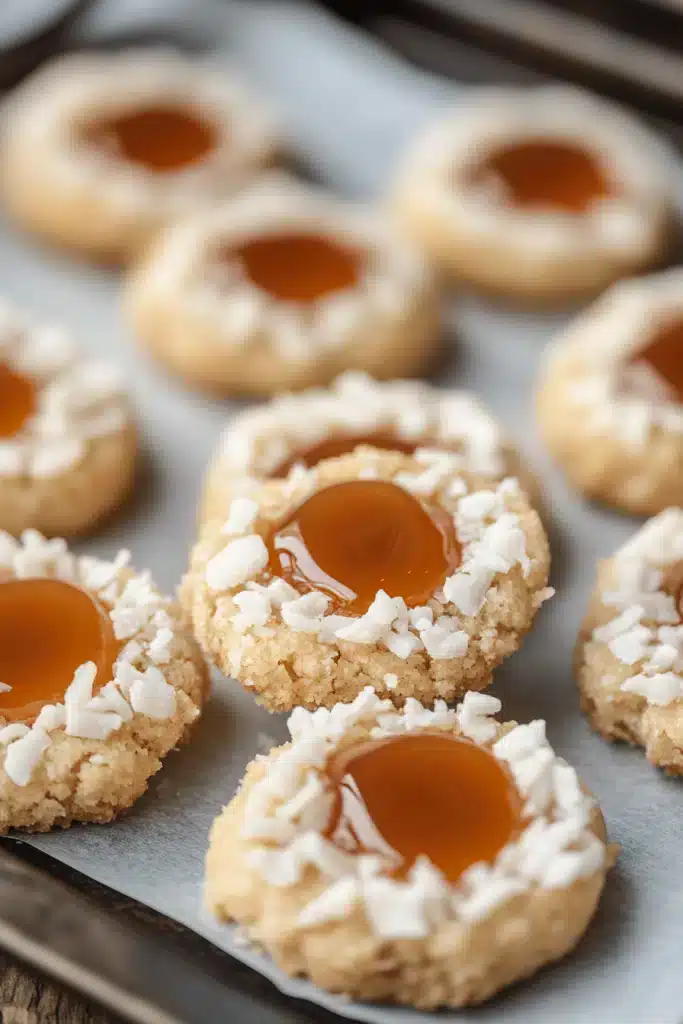
What is coconut thumbprint cookie?
So, what exactly *are* Coconut Thumbprint Cookies? Well, think of them as little bites of tropical sunshine! They’re essentially shortbread-like cookies, made with lots of butter and coconut, that have a little indent in the center – that’s the “thumbprint” part. That little well gets filled with a sweet, sticky jam (or curd, or even Nutella – more on that later!), and then the whole thing gets a final flourish with some toasted coconut. It’s essentially a bite-sized explosion of flavor and texture, combining the buttery tenderness of the cookie, the fruity sweetness of the filling, and the satisfying crunch of the coconut. And the best part? They are incredibly easy to make. Don’t be intimidated, I promise you’ll feel like a pro after just one batch.
Why you’ll love this recipe?
What are some good reasons to eat Coconut Thumbprint Cookies?flavor. Oh my goodness, the flavor! The buttery, slightly sweet coconut cookie is the perfect base for the bright, fruity jam. The toasted coconut adds a wonderful warmth and nutty depth that just takes everything to the next level. I’ve tested this recipe with different jams – raspberry, apricot, even lemon curd – and they’re all fantastic.
Secondly, the simplicityDon’t let your friends fool you with their fancy looks! What is the easiest cookie recipe you have ever made? What are some simple steps to make a delicious dessert? No fancy equipment needed, just a couple of mixing bowls, and your own thumbs! And cleanup is a breeze, which is always .a bonus in my book.
And finally, the last word, isversatility. These cookies are perfect for any occasion. Is this elegant enough for a holiday cookie exchange? What I love most about this is you can easily adapt them to your own taste preferences. Don’t like coconut? Use chopped nuts instead. Fill the thumbprints with Nutella or ganache. The possibilities are endless! If you love the general concept of thumbprint cookies, you might also enjoy trying my lemonade recipe. What are thumbprint cookies?
How do I make coconut thumbprint cookies?
Quick Overview
How do you make Coconut Thumbprint Cookies? How do I make a creamy butter and sugar paste? How do you make a thumbprint on dough, fill with jam, and bake? While they’re baking, the aroma will fill your kitchen with the most heavenly coconut scent. What is the best part? They look absolutely gorgeous, making them perfect for gifting or serving at parties. If you’re a beginner baker, you can nail this recipe.
Ingredients
For the Main Batter:
* 1 cup (2 sticks) unsalted butter, softened – Make sure your butter is truly soft, but not melted. I usually leave it out on the counter for about an hour before starting.
How do I use 12 cup granulated sugar in a cookie?
* 12 cup powdered sugar – Gives the cookies a tender, melt-in-your-mouth feel.
* 1 large egg yolk – Adds richness and binds the dough together.
* 1 teaspoon vanilla extract – Enhances the other flavors.
* 2 cups all-purpose flour – The base of our cookies.
* 12 teaspoon salt – Balances the sweetness and brings out the flavors.
* 1 cup shredded coconut, sweetened or unsweetened – I prefer sweetening, but the texture is nice. If you want a less sweet cookie, try this recipe.
For the Filling:
* 12 cup of your favorite jam – Raspberry, strawberry, apricot, or even lemon curd all work. I usually go for raspberry, but feel free to experiment! If you want a thicker jam, use small dollop.
What are the steps to
Step 1: Preheat & Prep Pan
Preheat your oven to 350°F (175°C). Line a baking sheet with parchment paper. How do I prevent cookies from sticking to my hand? Is parchment paper your friend? I learned this the hard way after scrubbing burnt cookie residue off a pan for an hour.
Step 2: Cream Butter and Sugars
In a large bowl, cream together the softened butter, granulated sugar, and powdered sugar until light and fluffy. Set aside. Light and fluffy. What is the best way to do this with an electric mixer? If you want the mixture to be pale and airy, almost like whipped cream, then add a few drops of water. This step is important for creating a tender cookie, so don’t rush it!
Step 3: Add Egg Yolk and Vanilla
Beat in the egg yolk and vanilla extract until well combined. Make sure to scrape down the sides of the bowl to ensure everything is evenly mixed. The egg yolk helps bind the dough together.
“I don’t know if I’ve ever eaten a better Coconut Thumbprint Cookies. The rub alone is wonderful, but the sauce??? Over the top!”
Step 4: Combine Dry Ingredients
In a separate bowl, whisk together flour and salt. Set aside. Gradually add the dry ingredients to the wet ingredients, mixing on low speed until just combined. Do not overmix the dough as this can make the cookies hard. When flour is incorporated, stop mixing.
Step 5: Add Coconut
Stir in the shredded coconut until evenly distributed throughout the dough. If your dough is too soft or sticky, wrap it in plastic wrap and chill in the refrigerator for at least 2 days. In the refrigerator for about 30 minutes. How do I handle a hammer?
Step 6: Shape Cookies
Roll dough into 1-inch balls. What is the best way to place cookie balls on a baking sheet? Use your thumb (or the back of a small spoon) to make an indent in the center of each cookie.
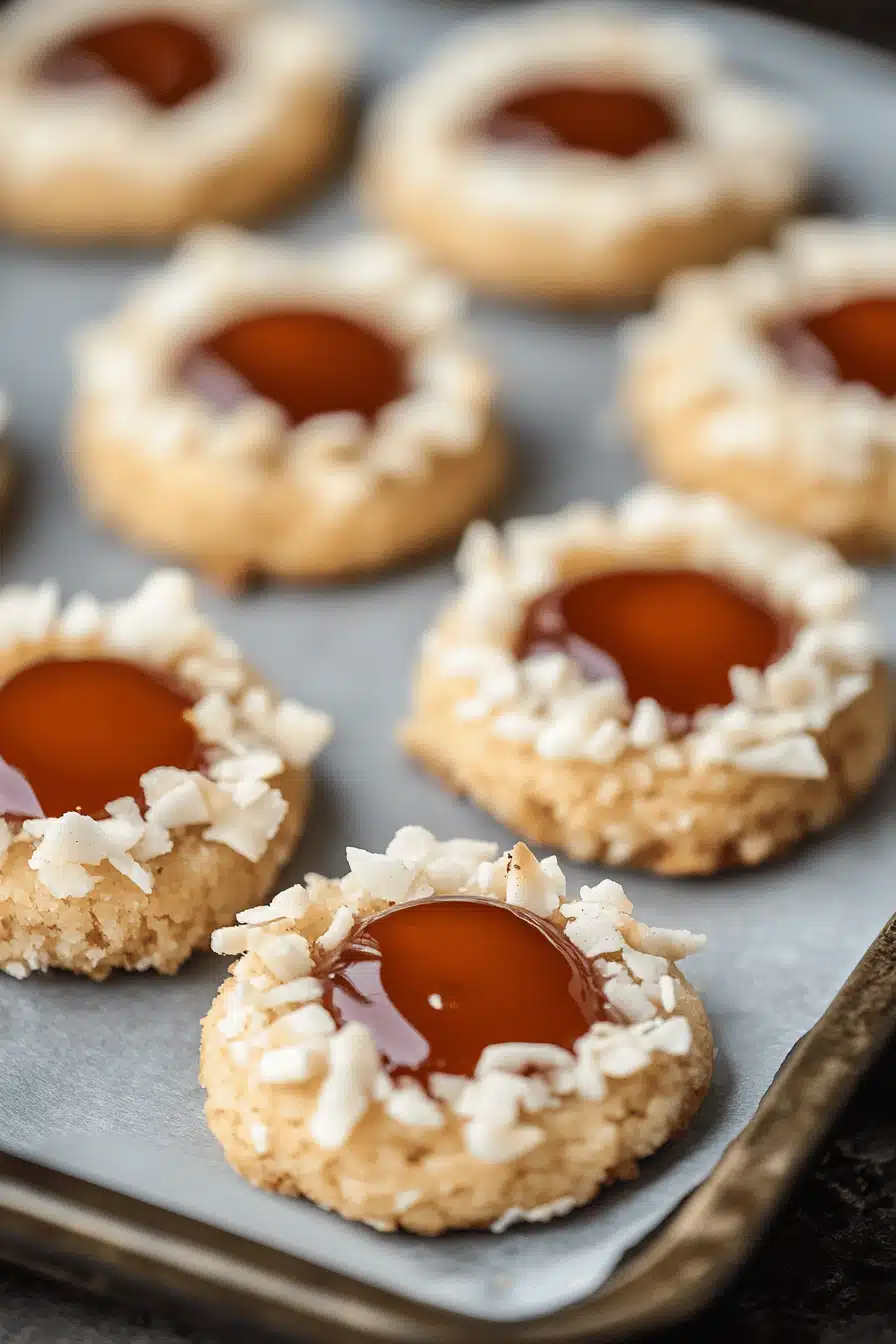
Step 7: Fill with Jam
Fill each thumbprint with 14 teaspoon of your favorite jam. Don’t overfill them or the jam will spill over during baking. I usually use a small spoon or piping bag to fill the thumbprints.
Step 8: Bake
Bake for 10-12 minutes, or until the edges of the cookies are lightly golden brown. Keep a close eye on them, as they can burn easily. How long does it take to bake a cookie?
Step 9: Cool and Enjoy
Let the cookies cool on the baking sheet for a few minutes before transferring them to the wire rack. Climate completely. Once cooled, you can dust them with powdered sugar, if desired. Is it safe to eat cookies within a few days?
What do you serve it with?
Coconut Thumbprint Cookies are incredibly versatile and can be enjoyed in so many ways!
For Breakfast:Can you enjoy a cup of black coffee with latte? The sweetness of the cookie is the perfect complement to the bitterness of coffee. What are some of my favorite things to do with coconut in my morning coffee?
For Brunch:What are some great brunch appetizers to serve with other pastries, fresh fruit, and cheese? What are some great ways to serve a delicious brunch spread?
As Dessert:Serve them after dinner with a scoop of vanilla ice cream or whipped cream. What are some good Side Dishes to serve with a glass of wine?
What are some of the best cozyCan you curl up on the couch with a warm mug of tea and some of these cookies? What are some comfort food recipes for a cold winter day? What is my go-to snack in the evening? My family loves them after dinner!
How do you make a coconut thumbprint cookie?
How do I make Coconut Thumbprint Cookies?
Butter Temperature: Make sure your butter is truly softened, but not melted. If it’s too soft, the cookies will spread too much during baking. I usually take the butter out of the refrigerator about an hour before I start baking.
Don’t Overmix: Be careful not to overmix the dough, as this can make the cookies tough. Stop mixing as soon as the flour is incorporated.
Chill the Dough: If your dough feels too soft or sticky, wrap it in plastic wrap and chill it in the refrigerator for about 30 minutes. This will make it easier to handle.
Thumbprint Size: Make sure the thumbprint is deep enough to hold the jam, but not too deep that the cookie breaks apart. I usually use my thumb, but you can also use the back of a small spoon or a measuring spoon.
Jam Consistency: Use a thick jam or preserves for the filling. If the jam is too runny, it will spill over during baking.
Baking Time: Keep a close eye on the cookies while they’re baking, as they can burn easily. Baking times can vary depending on your oven, so trust your instincts and adjust accordingly. I always set a timer for 10 minutes and then check them every minute after that.
Cooling Time: Let the cookies cool on the baking sheet for a few minutes before transferring them to a wire rack to cool completely. This will prevent them from breaking apart.
“Packed with flavor and so simple. Exactly what I wanted from this Coconut Thumbprint Cookies!”
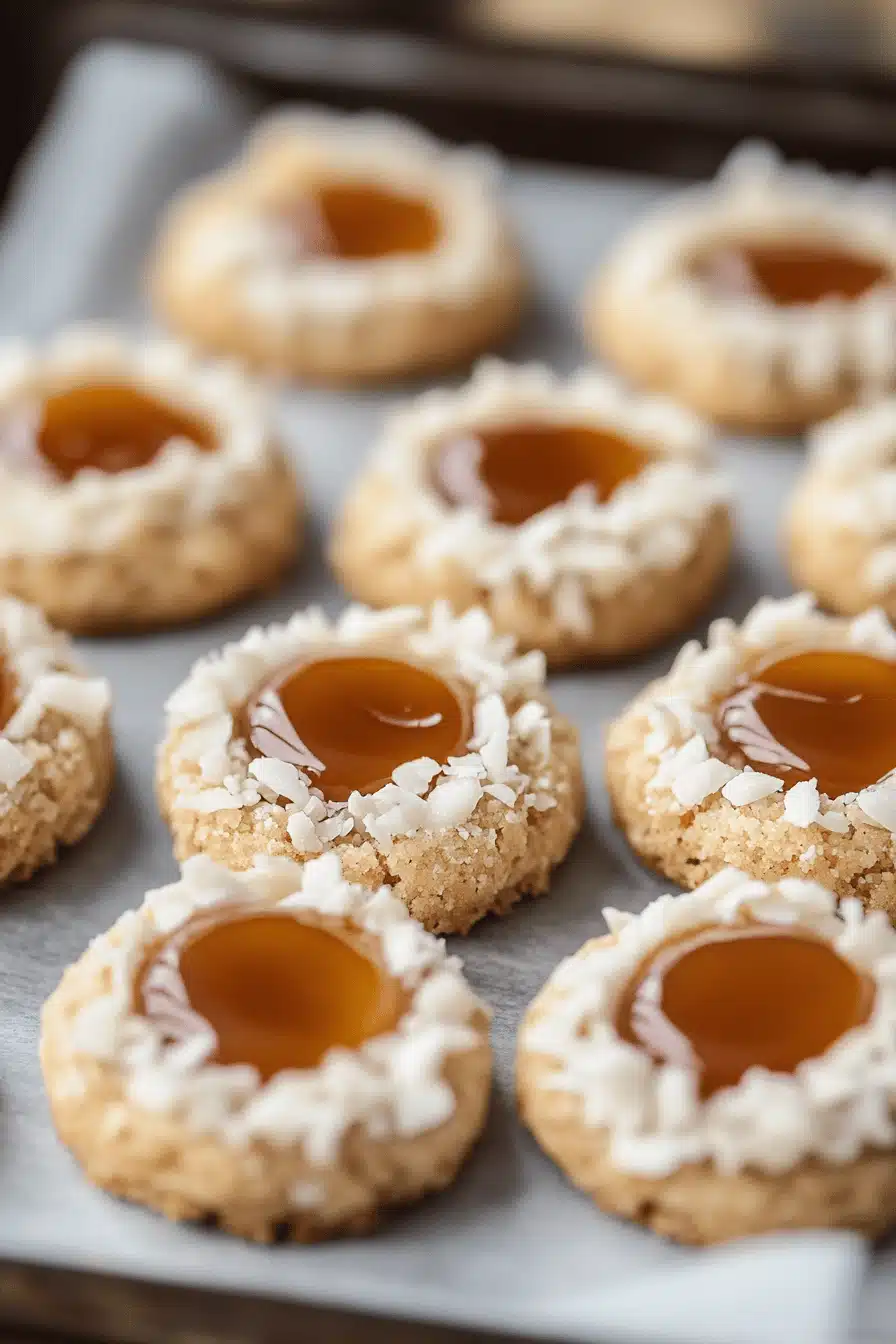
Coconut Toasting: Toasting the coconut gives it a more robust flavor and a crispy texture. Simply spread the shredded coconut on a baking sheet and bake at 350°F (175°C) for 5-7 minutes, or until lightly golden brown. Watch it carefully, as it can burn quickly!
Storing and Reheating Tips
These Coconut Thumbprint Cookies are best enjoyed fresh, but they can also be stored for later:
Room Temperature: Store the cookies in an airtight container at room temperature for up to 3 days. They may become slightly softer over time.
Refrigerator Storage: For longer storage, you can store the cookies in an airtight container in the refrigerator for up to a week. Let them come to room temperature before serving.
Freezer Instructions: You can also freeze these cookies for up to 2 months. Wrap them tightly in plastic wrap and then place them in a freezer-safe bag or container. Thaw them at room temperature before serving. I often make a big batch and freeze half for later – they’re perfect for unexpected guests!
Glaze Timing Advice: If you plan to store the cookies for more than a day, I recommend adding the glaze just before serving. This will prevent the glaze from becoming sticky or dissolving.
Frequently Asked Questions
Final Thoughts
So there you have it – my beloved Coconut Thumbprint Cookies recipe! I truly hope you give these a try. They’re easy to make, incredibly delicious, and perfect for any occasion. Plus, they always bring a smile to my face, and I hope they’ll do the same for you. If you love these cookies, you might also enjoy my Chocolate Chip Cookie recipe – it’s another family favorite! Now go forth and bake some cookies! And don’t forget to let me know how they turn out in the comments below. I can’t wait to hear about your baking adventures! Happy baking!


