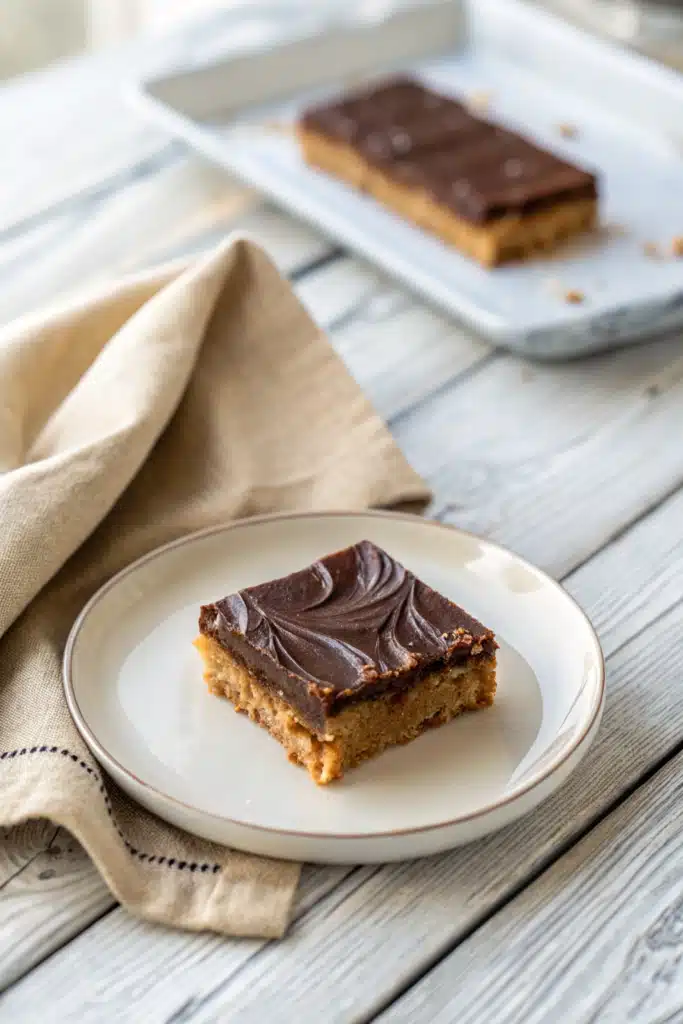
Chocolate Peanut Butter Bars
You know those moments when you’re craving something rich, sweet, and just a little bit indulgent—but you don’t want to spend hours in the kitchen? These Chocolate Peanut Butter bars are my go-to answer. I first made them during a rainy Sunday when I needed comfort food that came together fast, and honestly, they’ve been a staple ever since. They’re fudgy, nutty, and have that perfect balance of chocolate and peanut butter that makes every bite feel like a hug. Plus, they’re no-bake, which means less cleanup and more time enjoying them with a cold glass of milk (or coffee, if you’re like me).
Thank you for reading this post, don't forget to subscribe!
What Is Chocolate Peanut Butter Bars?
These chocolate peanut butter bars are a no-bake dessert dream—think of them as a cross between fudge and a peanut butter cup, but even better because they’re homemade and packed with real flavor. Made with just a handful of simple ingredients like Creamy Peanut Butter, cocoa powder, oats, and a touch of honey, they set up firm in the fridge and slice into neat, satisfying squares. They’re not overly sweet, thanks to the natural nuttiness of peanut butter, and the chocolate layer on top adds that decadent finish we all crave. Whether you call them bars, slices, or “emergency dessert,” they’re the kind of treat that disappears quickly at gatherings—or quietly from your fridge when no one’s looking.
Why You’ll Love This Recipe
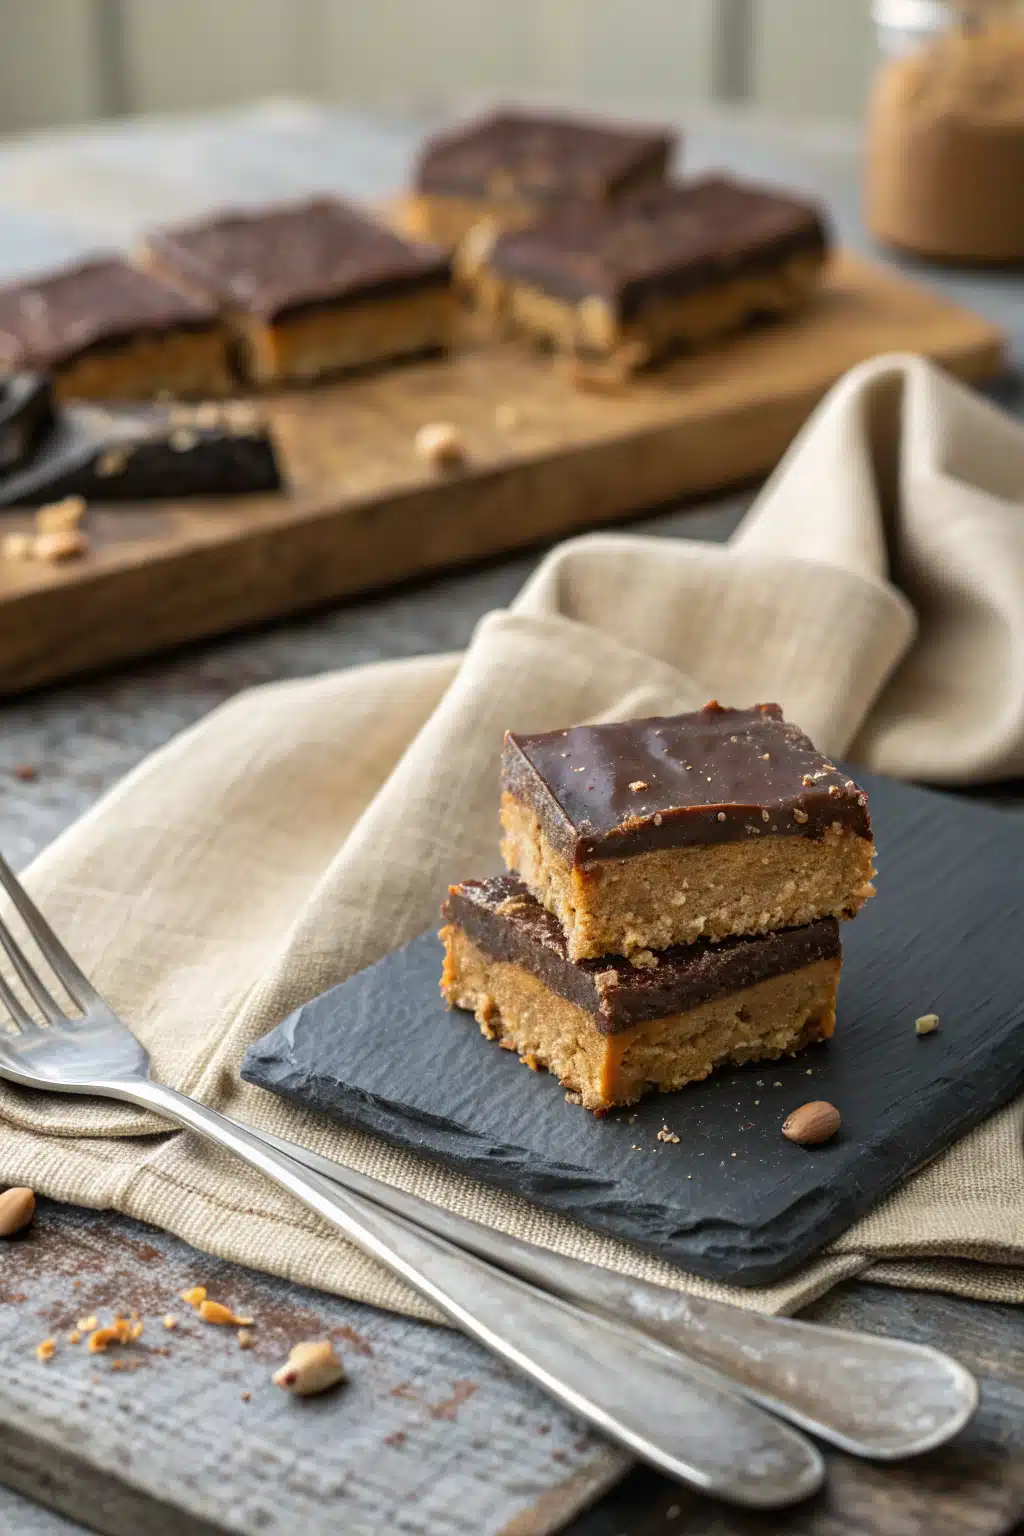
First off, these bars require no baking—which means you can whip them up even if your oven’s on the fritz or you’re short on time. They’re also incredibly forgiving; I’ve swapped in crunchy Peanut Butter when I ran out of creamy, used maple syrup instead of honey, and even added a pinch of sea salt on top for that gourmet touch. The texture is pure magic: soft and fudgy but firm enough to hold its shape, with a slight chew from the oats that keeps things interesting. And let’s be real—peanut butter and chocolate is a combo that never gets old. It’s nostalgic, comforting, and feels a little fancy without any effort. Plus, they’re naturally gluten-free (just check your oats!) and can easily be made dairy-free with the right chocolate. Whether you’re feeding a crowd, packing lunchbox treats, or just need a little pick-me-up, these bars deliver every single time.
How to Make Chocolate Peanut Butter Bars
Quick Overview
This recipe comes together in under 20 minutes of active prep, then chills in the fridge for about an hour to set. You’ll mix a Simple Peanut Butter-oat base, press it into a pan, top it with a smooth chocolate layer, and let it firm up before slicing. No special equipment needed—just a bowl, spoon, and an 8×8-inch baking dish.
Ingredients
For the base: 1 cup creamy Peanut Butter, ½ cup honey or maple syrup, 1 teaspoon vanilla extract, 2 cups old-fashioned rolled oats, ¼ teaspoon salt. For the chocolate topping: 1 cup semi-sweet chocolate chips, 2 tablespoons creamy peanut butter.
“The Chocolate Peanut Butter Bars turned out amazing. My kids asked for seconds. Saving this one!”
Step-by-Step Instructions
Step 1: Preheat & Prep Pan
Grab an 8×8-inch baking dish and line it with parchment paper, leaving some overhang on the sides for easy removal later. No need to preheat the oven—this recipe is no-bake!
Step 2: Mix the Base
In a large bowl, stir together the peanut butter, honey (or maple syrup), and vanilla until smooth. Add the oats and salt, and mix until everything is well combined and resembles wet sand.
Step 3: Press into Pan
Transfer the mixture to your prepared pan and press it down firmly and evenly with your hands or the back of a spoon. This ensures the bars hold together when sliced.
Step 4: Make the Chocolate Topping
In a microwave-safe bowl, melt the chocolate chips and 2 tablespoons of peanut butter in 30-second intervals, stirring between each, until smooth and glossy. Pour over the peanut butter base and spread evenly.
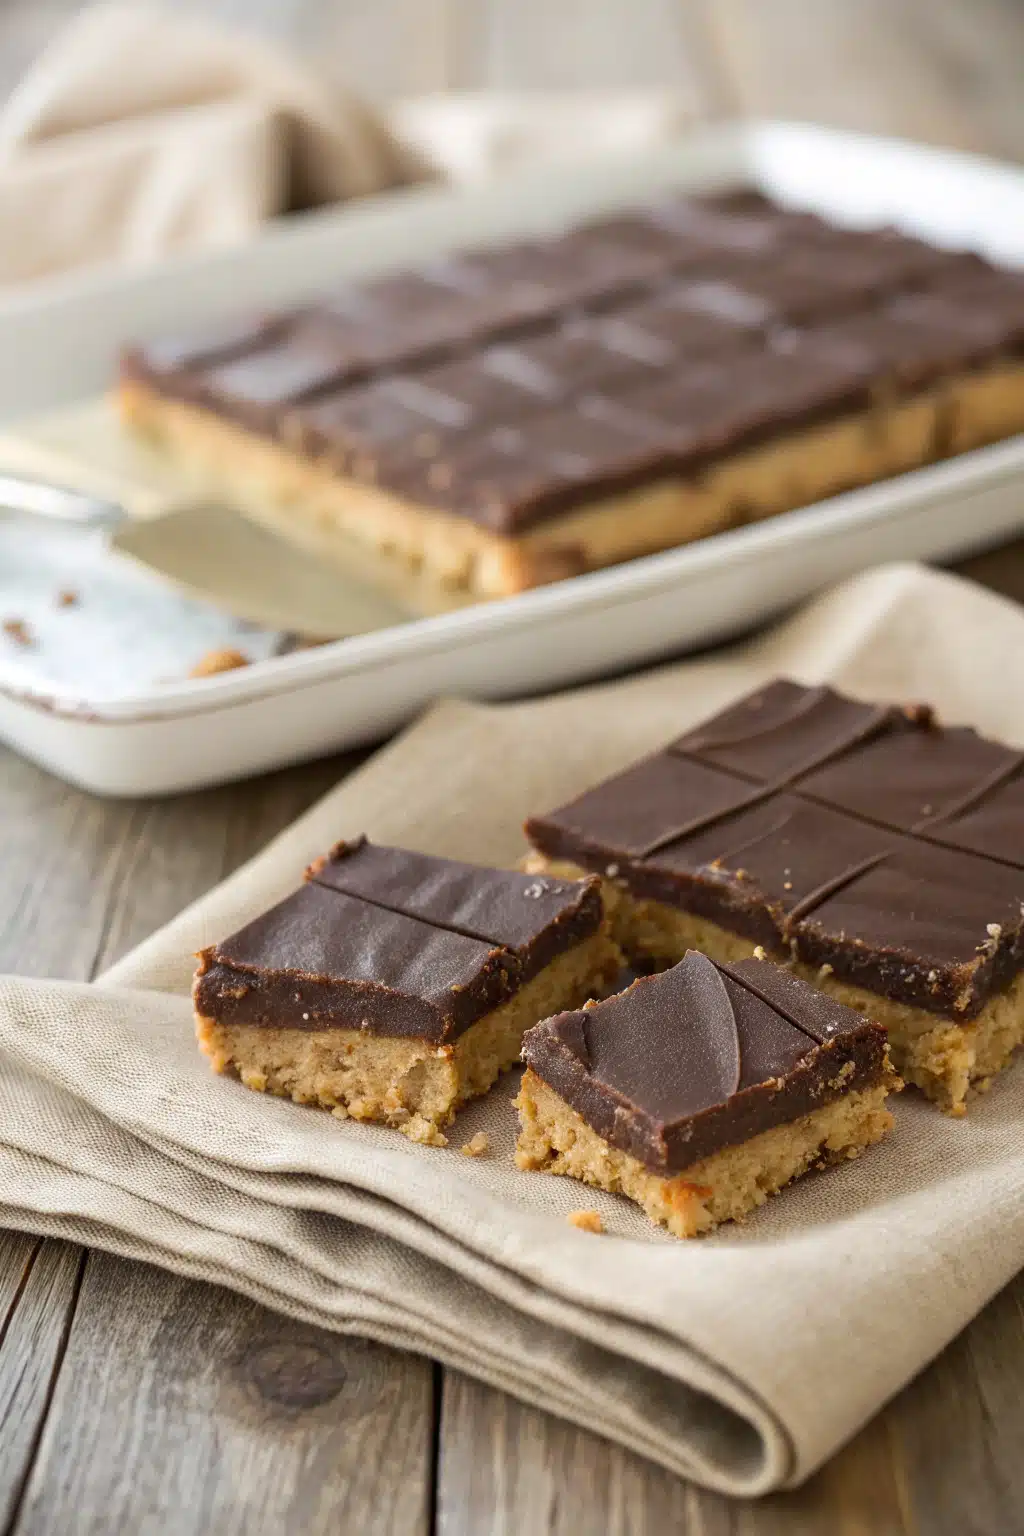
Step 5: Chill and Slice
Refrigerate for at least 1 hour, or until firm. Lift the bars out using the parchment overhang, slice into squares, and enjoy!
What to Serve It With
These bars shine on their own, but if you’re feeling extra, pair them with a tall glass of cold milk, a scoop of vanilla ice cream, or even a drizzle of extra peanut butter warmed slightly. They’re also fantastic alongside fresh berries—sliced strawberries or raspberries cut through the richness beautifully. For a coffee break treat, serve with a hot latte or your favorite tea. And honestly? They’re perfect just as they are, straight from the fridge.
Top Tips for Perfecting Your Chocolate Peanut Butter Bars
Use creamy peanut butter for the best texture—natural works great, but avoid the super oily kinds unless you blot off the excess oil first. If your mixture feels too dry, add a splash more honey; if it’s too wet, toss in a few extra oats. For a flaky salt finish, sprinkle a pinch of sea salt on top right after spreading the chocolate—it elevates the whole thing. And don’t skip pressing the base firmly—it makes all the difference when slicing clean squares.
Storing and Reheating Tips
Store these bars in an airtight container in the refrigerator for up to 2 weeks—if they last that long! You can also freeze them for up to 3 months; just thaw in the fridge overnight before serving. They’re best enjoyed chilled, but if you prefer them slightly softer, let them sit at room temperature for 10–15 minutes before eating. Never reheat—they’re meant to be cool and fudgy!
“Made the Chocolate Peanut Butter Bars tonight and wow — perfect weeknight dinner. Will definitely make again!”
Frequently Asked Questions
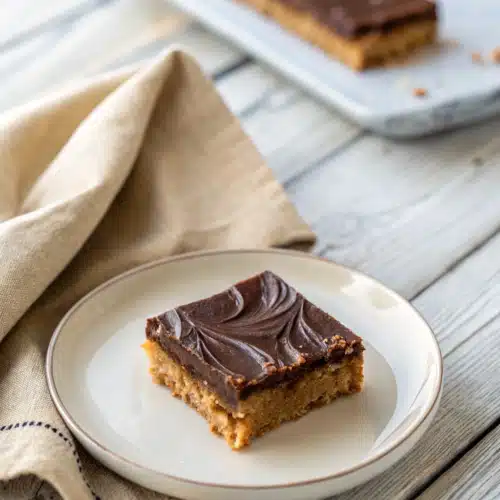
Final Thoughts
These chocolate peanut butter bars are more than just a dessert—they’re my little secret for instant happiness. Whether I’m sharing them with friends, packing them in lunchboxes, or sneaking one late at night, they always hit the spot. I hope they become a favorite in your home too. Once you try them, I have a feeling you’ll be making them again and again—just like I do. Happy baking (or should I say, no-baking)!
Chocolate Peanut Butter Bars
Ingredients
Main Ingredients
- 1 cup creamy peanut butter
- 0.5 cup unsalted butter, softened
- 0.5 cup granulated sugar
- 0.5 cup packed brown sugar
- 1 large egg
- 1 teaspoon vanilla extract
- 1.5 cups all-purpose flour
- 0.5 teaspoon baking soda
- 0.25 teaspoon salt
- 1 cup semi-sweet chocolate chips
- 0.25 cup heavy cream
Instructions
Preparation Steps
- In a large bowl, cream together the peanut butter, softened butter, granulated sugar, and brown sugar until smooth and creamy.
- Beat in the egg and vanilla extract until fully combined.
- In a separate bowl, whisk together the flour, baking soda, and salt.
- Gradually add the dry ingredients to the wet ingredients, mixing until a soft dough forms.
- Press the dough evenly into a greased 8x8-inch baking dish.
- In a microwave-safe bowl, combine the chocolate chips and heavy cream. Microwave in 30-second intervals, stirring between each, until smooth and fully melted.
- Pour the chocolate ganache over the peanut butter base and spread evenly.
- Refrigerate for at least 2 hours, or until the chocolate is set.
- Cut into 16 squares and serve chilled.


