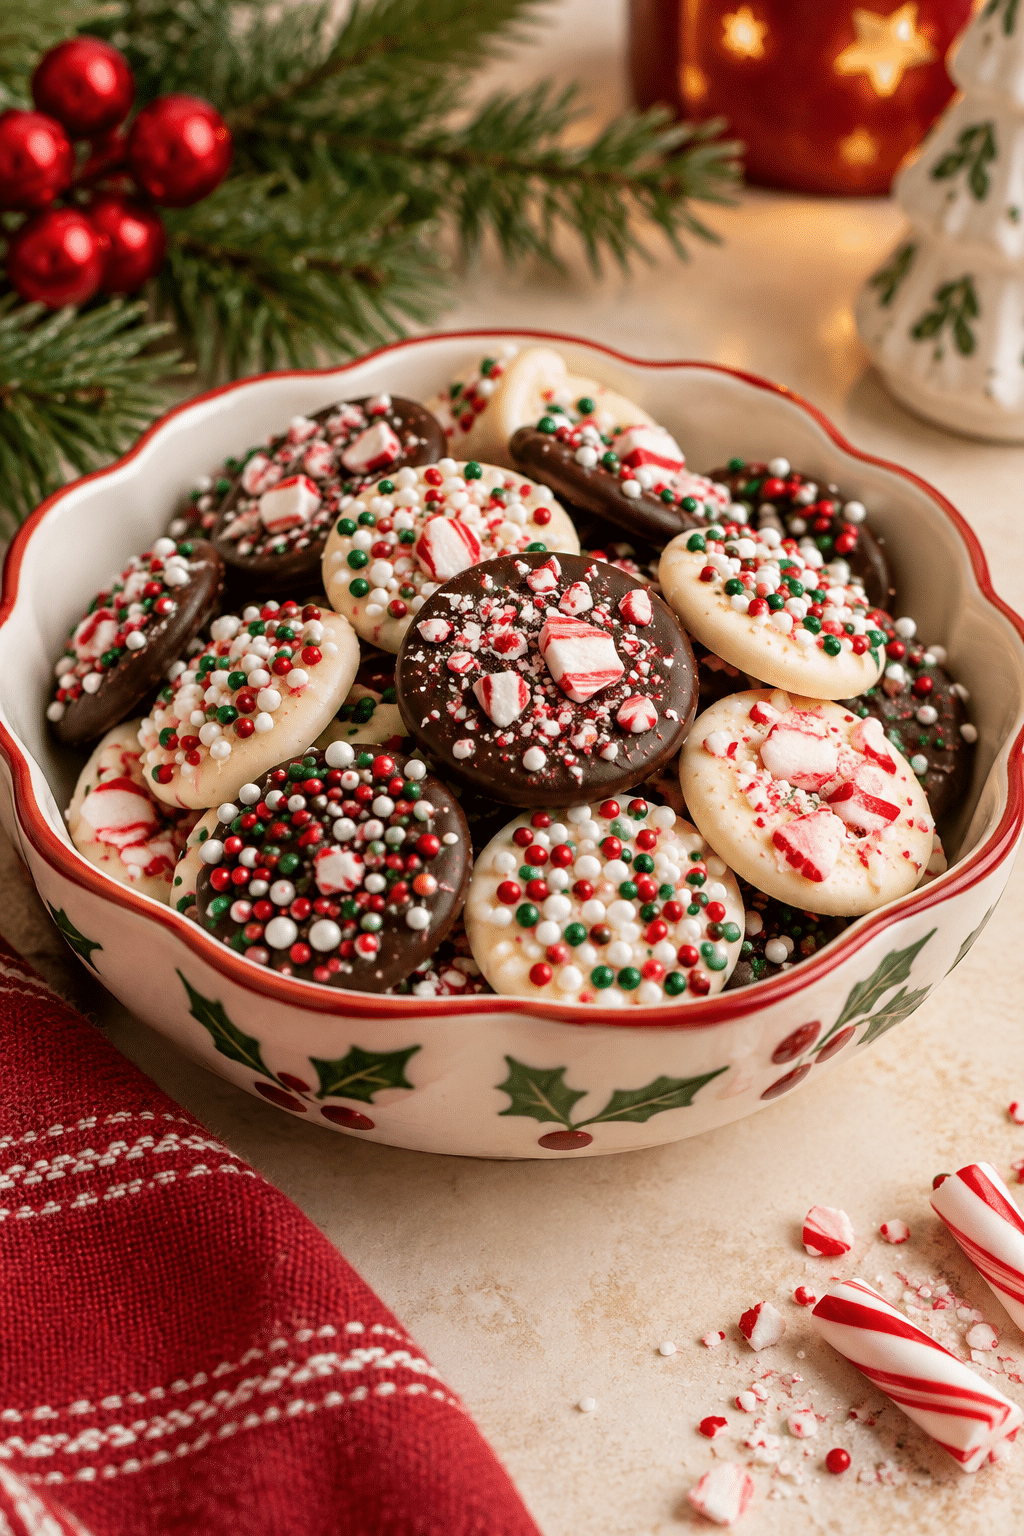

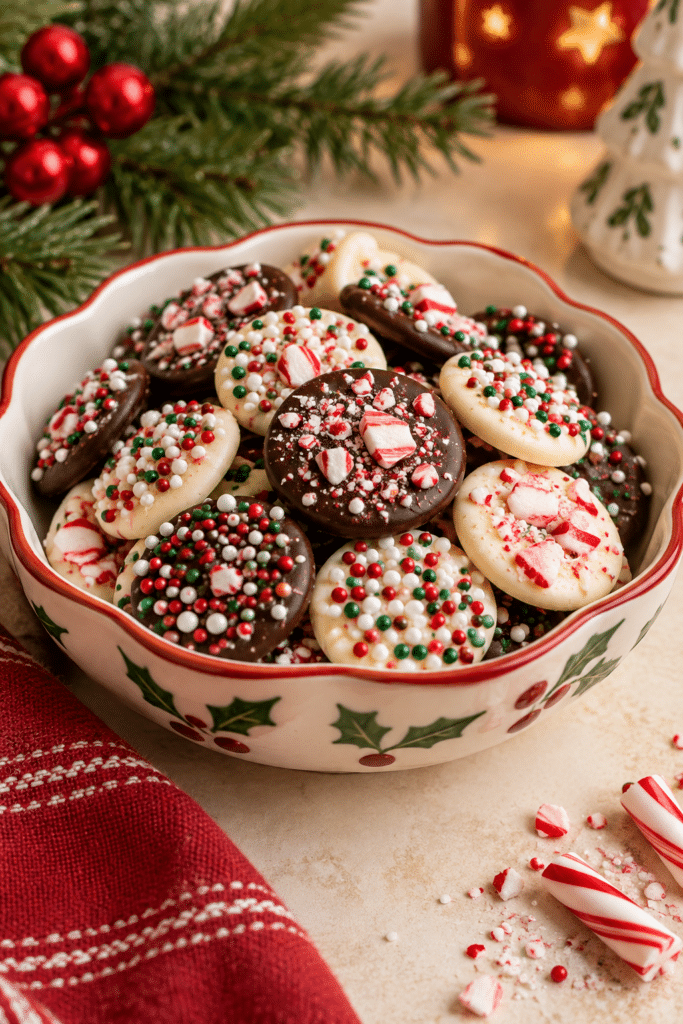
Chocolate Christmas candy is the kind of holiday treat that looks polished without asking for a long baking session. Two kinds of melting chocolate become small, crisp-edged buttons over colorful sprinkles and crushed candy canes, so every piece has a little contrast. This recipe takes about 20 minutes from setup to finished candy, making it useful for a cookie tray, a last-minute hostess gift, or a cheerful sweet to keep near the coffee pot.
Thank you for reading this post, don't forget to subscribe!What Is Chocolate Christmas Candy?
This no-bake candy is made by piping melted chocolate directly over shallow rows of toppings. The chocolate sets around the sprinkles, while the candy cane pieces add a cool peppermint crunch. Using semi-sweet chocolate and White Chocolate gives the batch two looks and two levels of cocoa flavor without requiring separate recipes.
The pieces are intentionally small. A half-inch circle cools quickly, is easy to lift with a fork, and fits neatly into a jar or gift bag. The recipe yields about four cup-sized servings, but the final count depends on how generously each button is piped.
Why This Chocolate Christmas Candy Works
The topping rows do double duty: they keep the chocolate from sticking to a bare plate and decorate the underside of each candy. The shallow layer also helps the chocolate settle into an even round rather than spreading too thin. Working with one chocolate at a time matters because melted chocolate thickens quickly and is harder to pipe smoothly once it cools.
There is no oven temperature to manage and no candy thermometer to monitor. The main control is gentle melting according to the package instructions, followed by a short setting period. Keep bowls and tools completely dry, especially when melting chocolate in the microwave.
How to Make Chocolate Christmas Candy
Set up the toppings before melting anything. Once the chocolate is fluid, the process moves quickly: pipe, let the buttons harden, lift them out, and repeat with the second chocolate.
Ingredients
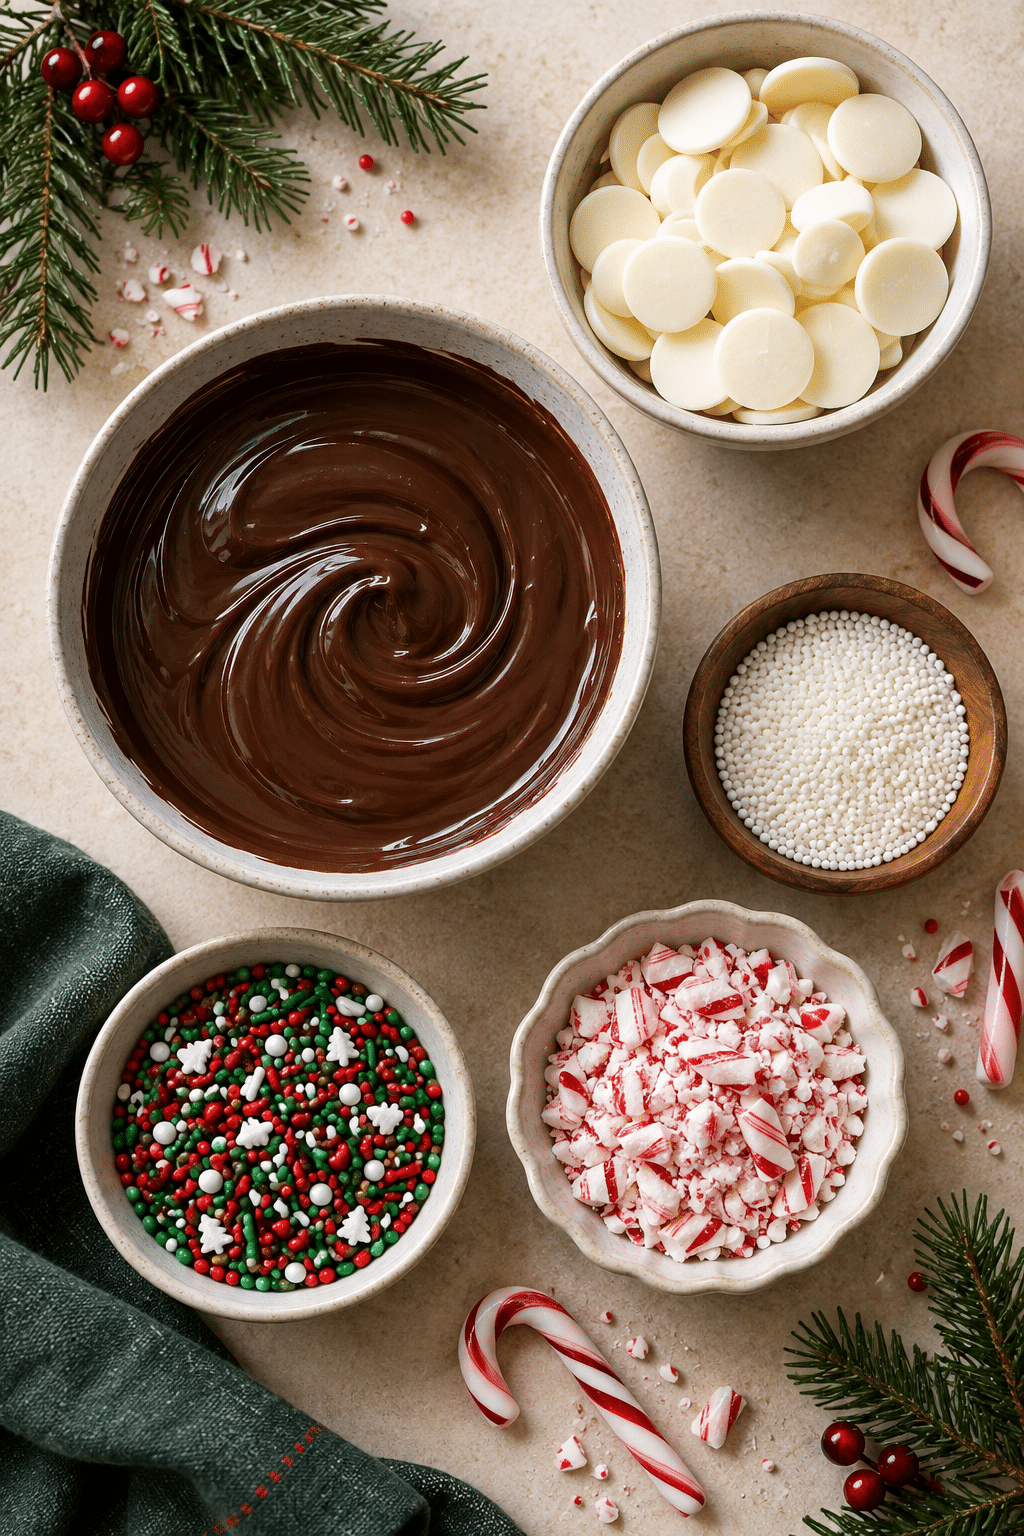
- 2 cups semi-sweet melting chocolates
- 2 cups white chocolate melting wafers
- ½ cup white non-pareil sprinkles
- ½ cup red, green, and white non-pareil sprinkles
- ½ cup crushed candy canes
“New family favorite! This Chocolate Christmas Candy with Holiday Sprinkles was so flavorful and ridiculously easy. Crowd-pleaser for sure.”
Prepare the Topping Rows
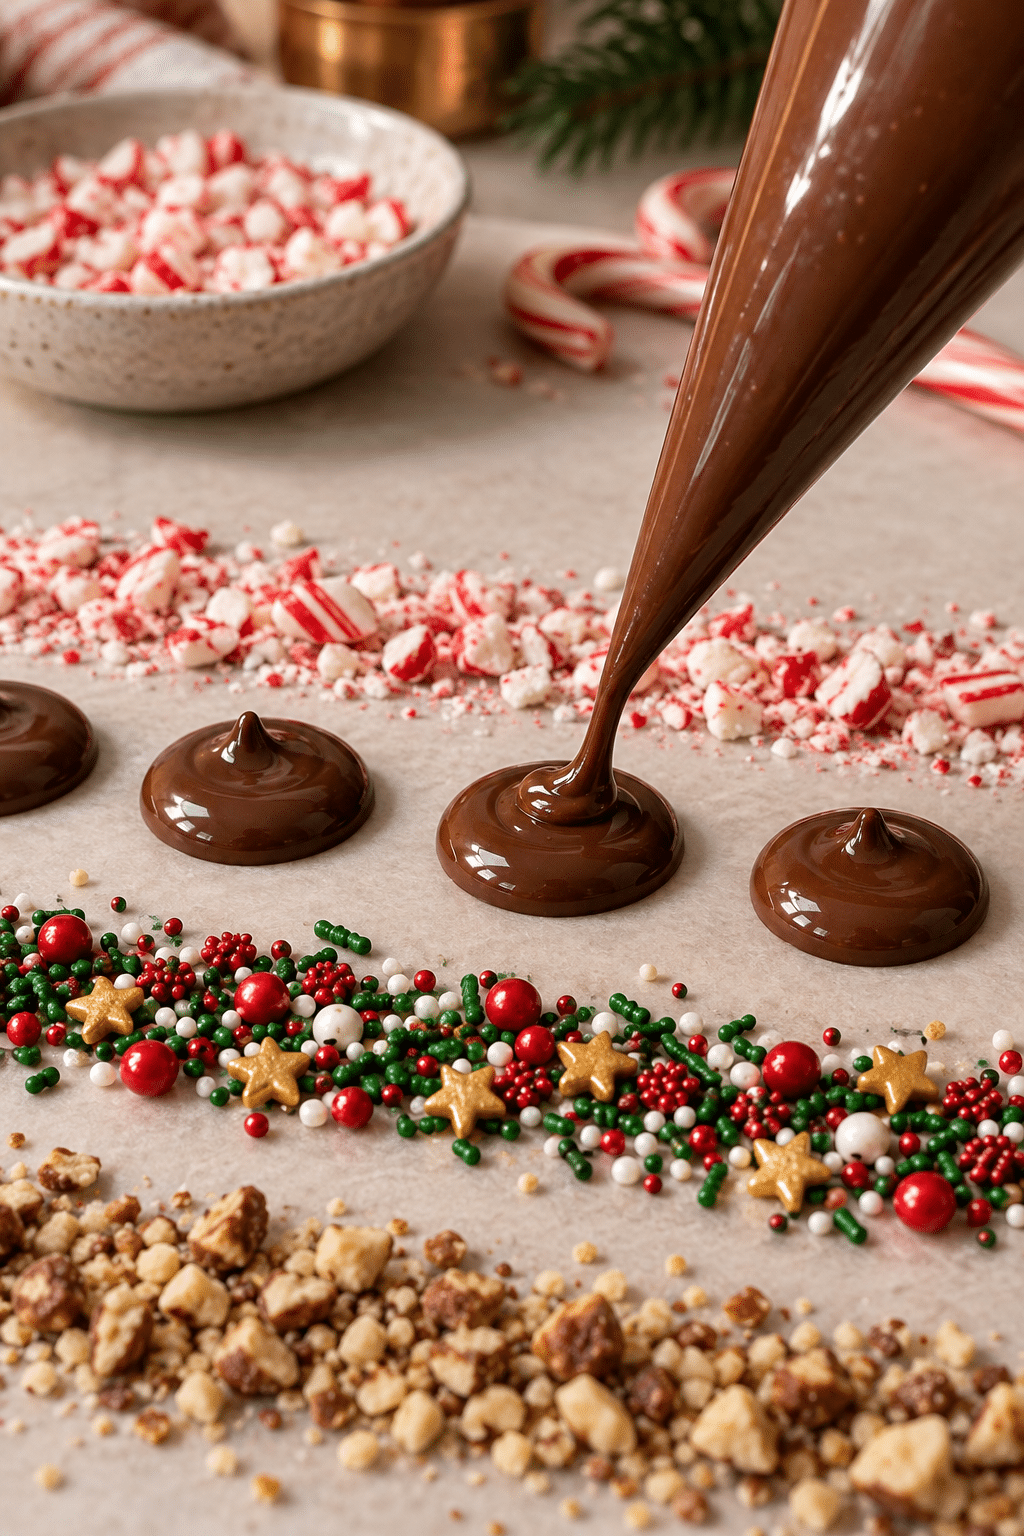
Prepare the sprinkles. Arrange your sprinkles and crushed candy into 3 separate rows about ¼ inch deep. I used a serving dish with high edges. You can also use 3 separate plates if that makes things easier for you!
Melt and Pipe
- Melt the chocolate. In a microwave-safe bowl, melt one chocolate according to package instructions. Make sure you melt just one before using it because the chocolate hardens very fast, and you don’t want to have to melt the second chocolate twice.
- Make the candy. Transfer the melted chocolate to a piping bag or a zip lock bag with a small hole cut in the tip. Pipe a circle about ½ inch in diameter over the sprinkles. Repeat this until you have used all of the chocolate or half of the sprinkles are used.
- Remove the candy. Let the chocolate sit on the sprinkles for about 5 minutes or until they are hardened. You can put them in the refrigerator for a minute to speed this process up. Once hardened, use a fork to scoop the candy out of the sprinkles.
- Repeat. Repeat this process with the remaining flavor of chocolate, starting with the heating process.
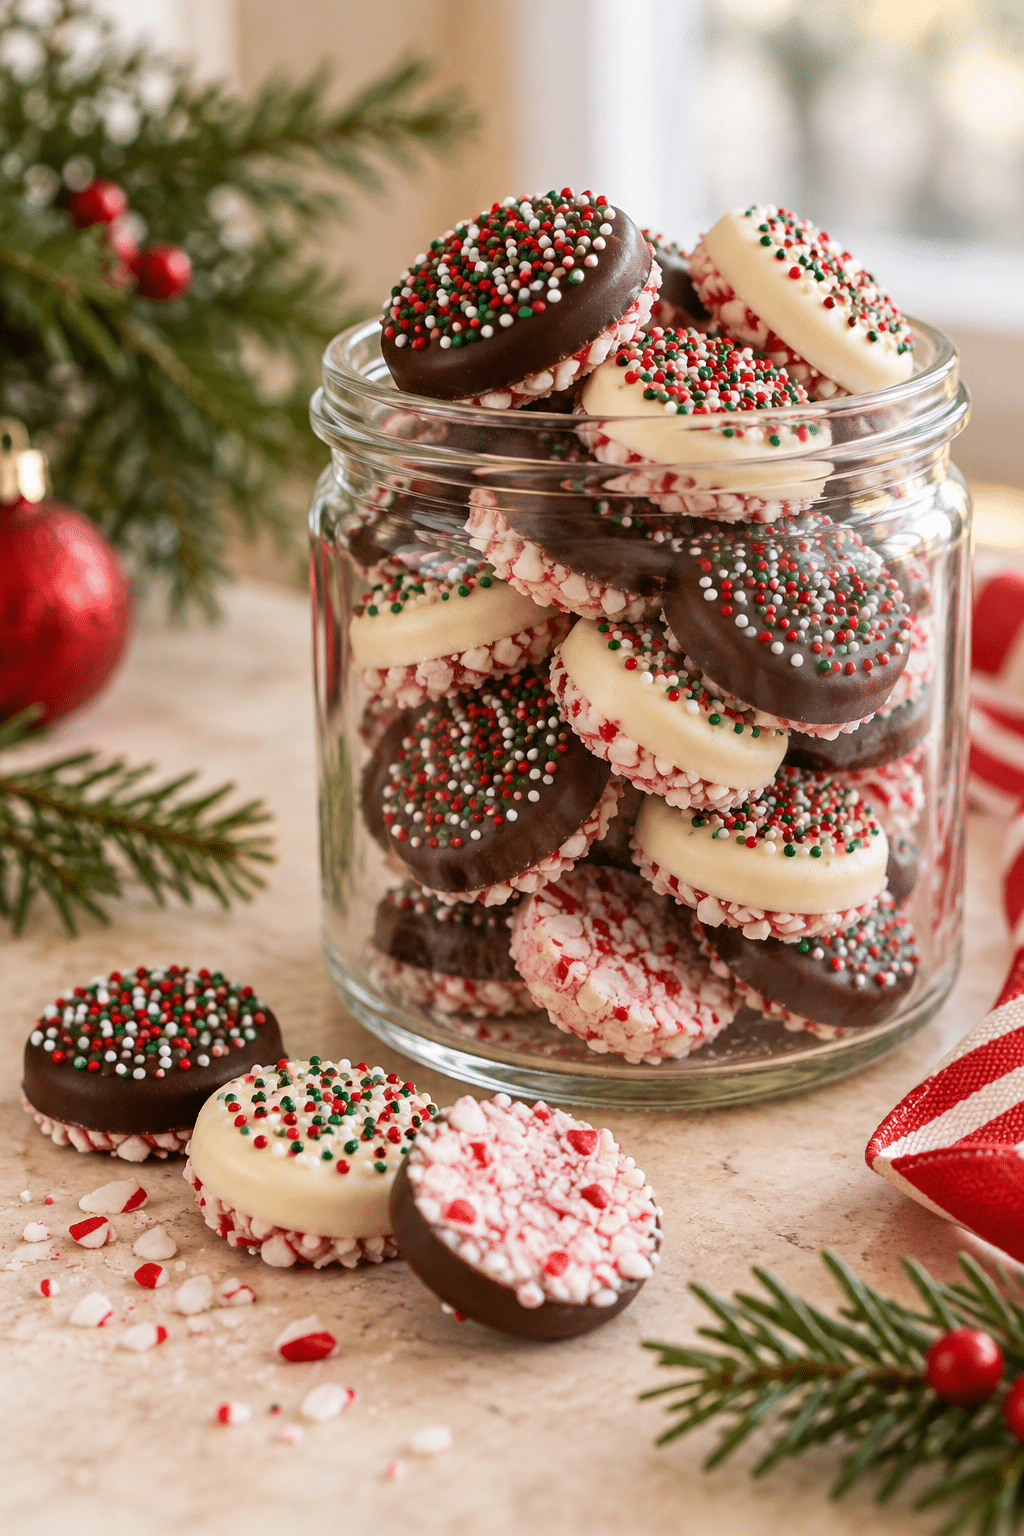
- Finish. Place your candies into a bowl, mason jar, or gift bag. You can package them as gifts or serve them right away!
Serving Chocolate Christmas Candy
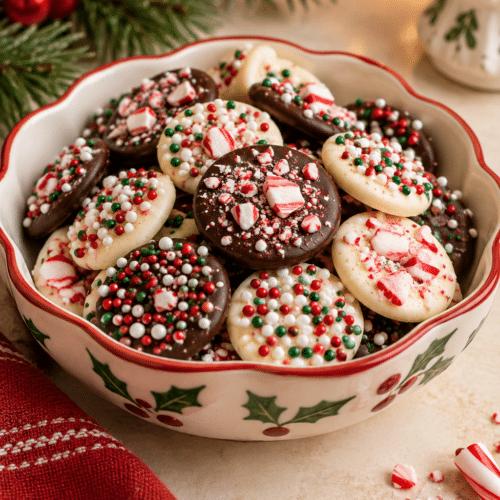
Serve the buttons in a small bowl alongside cookies, fruit, or coffee. For gifting, layer them in a mason jar or fold them into a food-safe bag tied with ribbon. Keeping the two chocolate colors together makes the assortment look festive without extra decoration.
Use this candy as a simple after-dinner sweet, a classroom-style holiday favor, or a topping for a dessert board. Because the pieces are bite-sized, guests can take one without committing to a large dessert.
Tips for Smooth, Neat Candy
Use dry bowls, a dry spoon, and dry piping equipment. Water can make melted chocolate seize and turn grainy. Follow the melting directions on the package and stop heating as soon as the chocolate is mostly fluid; gentle stirring can finish the last small pieces.
Keep the topping rows shallow and pipe from close to the surface. That gives each button a defined edge and helps it pick up a balanced amount of sprinkles. If the chocolate begins to thicken in the bag, work in shorter bursts while it is still warm.
Optional variation: For a clearly optional variation, replace part of the red, green, and white non-pareils with another dry holiday sprinkle blend. Keep the semi-sweet chocolate, White Chocolate, and crushed candy cane quantities unchanged for the primary recipe.
Storage and Reheating
Store completely set candy in an airtight container in a cool, dry place. Separate layers with parchment if you are stacking them, and keep the container away from heat and direct sun. Chocolate can develop a pale surface when exposed to temperature swings, even though it may still taste fine.
This recipe does not need reheating. If the candy is chilled, let it sit briefly before serving so the texture is pleasant and the chocolate flavor is easier to notice. To thaw frozen candy, arrange the pieces in a single layer at room temperature for about an hour, or refrigerate them for 24 hours.
“I don’t know if I’ve ever eaten a better Chocolate Christmas Candy with Holiday Sprinkles. The rub alone is wonderful, but the sauce??? Over the top!”
Chocolate Christmas Candy FAQs
Can I make this candy ahead?
Yes. Once the pieces are fully hardened, pack them in an airtight container and keep them cool until you are ready to serve or gift them.
How do I keep melted chocolate smooth?
Use completely dry tools, heat only one chocolate at a time, and follow the package directions. Overheating or contact with water can make chocolate lumpy.
How long does the candy take to set?
Small buttons usually harden in about five minutes at room temperature. A short chill can speed the process, but do not leave them exposed to moisture.
A Festive Finish in Minutes
Chocolate Christmas candy turns a short ingredient list into a bright holiday treat. Prepare the toppings first, melt carefully, and let the small buttons set before lifting them from the sprinkles. The result is easy to serve, easy to package, and flexible enough for a dessert tray or a Quick Homemade gift.

Chocolate Christmas Candy with Holiday Sprinkles
Ingredients
Ingredients
- 2 cups semi-sweet melting chocolates
- 2 cups white chocolate melting wafers
- ½ cup white non-pareil sprinkles
- ½ cup red, green, and white non-pareil sprinkles
- ½ cup crushed candy canes
Instructions
Instructions
- Prepare the sprinkles. Arrange your sprinkles and crushed candy into 3 separate rows about ¼ inch deep. I used a serving dish with high edges. You can also use 3 separate plates if that makes things easier for you!
- Melt the chocolate. In a microwave-safe bowl, melt one chocolate according to package instructions. Make sure you melt just one before using it because the chocolate hardens very fast, and you don’t want to have to melt the second chocolate twice.
- Make the candy. Transfer the melted chocolate to a piping bag or a zip lock bag with a small hole cut in the tip. Pipe a circle about ½ inch in diameter over the sprinkles. Repeat this until you have used all of the chocolate or half of the sprinkles are used.
- Remove the candy. Let the chocolate sit on the sprinkles for about 5 minutes or until they are hardened. You can put them in the refrigerator for a minute to speed this process up. Once hardened, use a fork to scoop the candy out of the sprinkles.
- Repeat. Repeat this process with the remaining flavor of chocolate, starting with the heating process.
- Finish. Place your candies into a bowl, mason jar, or gift bag. You can package them as gifts or serve them right away!