Okay, so picture this: Is there a I’m staring blankly into the mirror. It’s a crazy Tuesday morning, the kids are scrambling for breakfast, and I can’t help but smile. How do these two sounds sound familiar?Chocolate Chip Banana Yogurt Snack Bars.What’s a cross between banana bread, yogurt parfait, and Chocolate Chip Cookie? All rolled into one ridiculously easy and delicious bar. Is it easier to make a muffin than your average muffin? What is the perfect combination of banana and chocolate? Is it a winner every single time?
Thank you for reading this post, don't forget to subscribe!
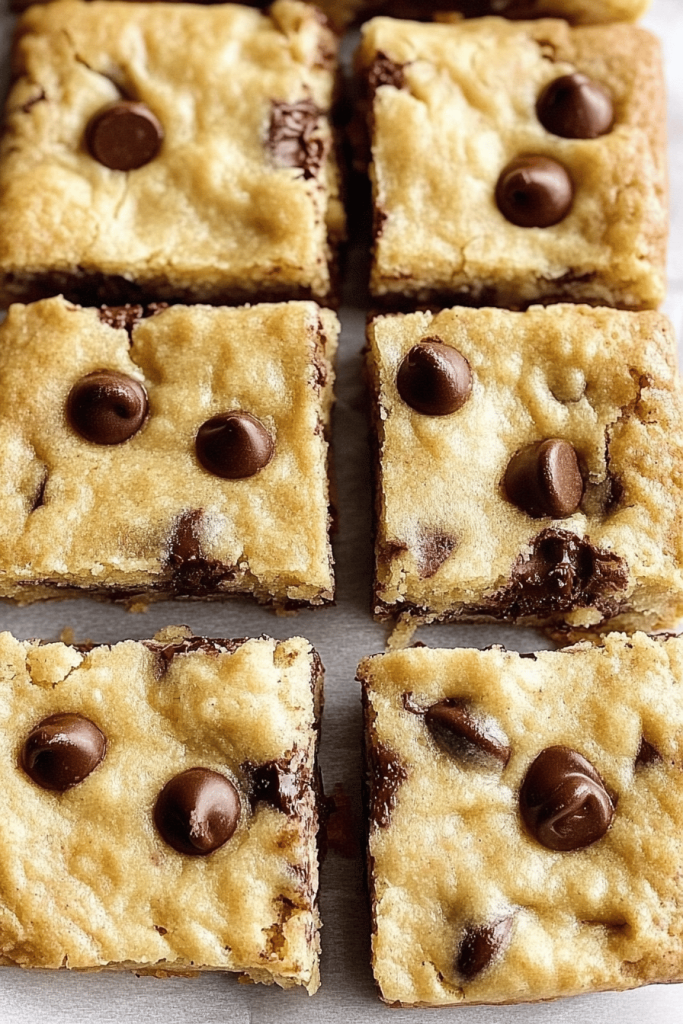
What is Chocolate Chip Banana Yogurt?
What are some good granola bars? Think of them as a baked yogurt parfait, but in portable bar form! Is it essentially mashed bananas folded into a creamy yogurt batter, swirled with melted chocolate? Is it good to bake a loaf and bake until golden brown? The name says it all, really.Chocolate Chip Banana Yogurt Snack Bars.Is it a snack, it’s got chocolate chips, banana and yogurt, and it comes in bar form? Easy to grab, easy to eat, and secretly packed with good stuff. I swear, even my pickiest eater devours these without complaint – and that’s saying something!
Why you’ll love this recipe?
What I love most about this is how genuinely versatile they are. What are some great breakfast ideas on the go? When you’re craving something sweet, this is the best option.
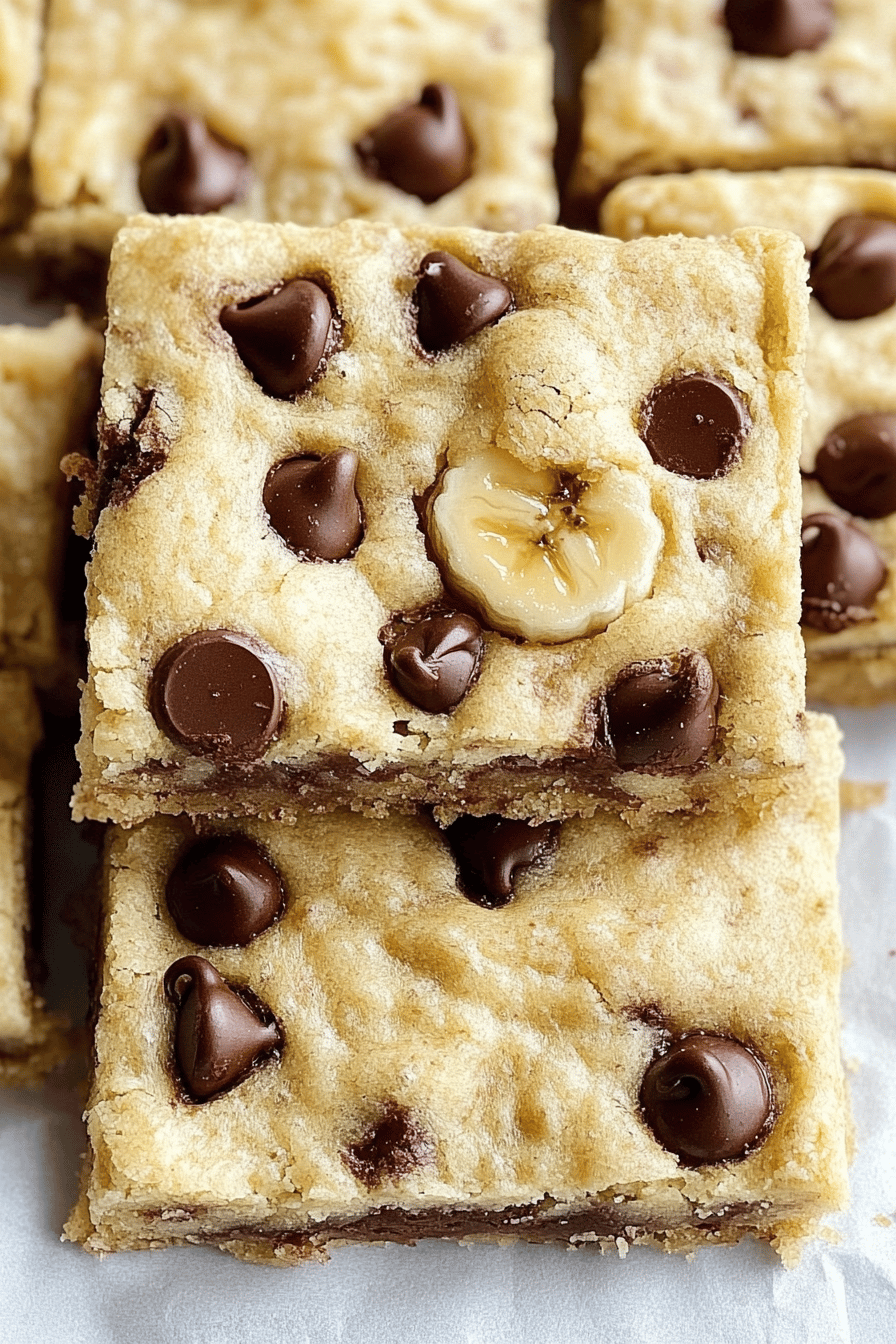
- Flavor:What are some good combos of ripe banana, tangy yogurt, and chocolate chips? Is it overly sweet?
- Simplicity:Is this recipe easy? I don’t need any special equipment, just a bowl, whisk, and baking pan. Perfect for beginner bakers or anyone short on time (which is basically everyone these days!).
- Cost-Bananas are usually pretty cheap, and yogurt is a staple in my fridge anyway. What are some of the other basic baking ingredients? What is a healthy snack?
- Versatility:Can you customize these bars to your liking? Add nuts, seeds, dried fruit, or different types of chocolate chips. I’ve even experimented with adding a touch of cinnamon or nutmeg for extra warmth. What are the possibilities? I’ve made similar snack bars with applesauce before, but these are just, dare I say, better.
How do I make Banana Yogurt Snacks?
Quick Overview
What’s the lowdown? How do you mash bananas, whisk together wet ingredients (including yogurt, water, etc.)? ), combine them with the dry ingredients, swirl in some melted chocolate, and bake until golden brown. I know it sounds complicated, but I promise it’s super simple and straightforward. What’s the fun part about swirling?
Ingredients
For the Main Batter:
- 3 ripe bananas, mashed (the more the better)!
- 1 cup plain Greek yogurt (I prefer full-fat for extra creaminess, but non fat works too)
- 1/4 cup honey or maple syrup (adjust to your sweetness preference)
- 1 large egg
- 1 teaspoon vanilla extract. 1 tablespoon lemon juice.
- 1 1/2 cups all-purpose flour (or gluten-free blend) or 1 cup whole wheat flour.
- 1 teaspoon baking soda per 1 cup.
- 1/2 teaspoon salt.
For the Chocolate Swirl:
- 1/4 cup chocolate chips (milk, dark, or semi-sweet – your call) 1 cup Chocolate chips – 1 1/4 cups.
- 1 teaspoon coconut oil (optional, but helps with melting)
What are the steps to
Step 1: Preheat & Prep Pan
First thing first, preheat your oven to 350°F (175°C). While the oven is heating up, grease and flour an 8×8 inch baking pan. I always line my bag with parchment paper for easy removal – I usually do this because, honestly, I can’t stand the smell of it. I like to use it for a few minutes. I hate scrubbing pans!
Step 2: Mix Dry Ingredients
In a medium bowl, whisk together the flour, baking soda, and salt. Set aside. How does baking soda help bars rise? Don’t skip this step! We don’ t want any baking soda bombs.
Step 3: Mix Wet Ingredients
In a separate, larger bowl, mash the bananas until mostly smooth. Add Greek yogurt, honey (or maple syrup), egg, vanilla extract, and salt to taste. Mix well. What is the best way to make a lumpy mixture?
Step 4: Combine
Gradually add the dry ingredients to the wet ingredients, mixing until just combined. Do not overmix gluten in flour. Overmixing can result in tough bars. A few streaks of flour are fine.
“Made the Chocolate Chip Banana Yogurt Snack Bars tonight and wow — perfect weeknight dinner. Will definitely make again!”
Step 5: Prepare Filling
In a small microwave-safe bowl, combine the chocolate chips and coconut oil. Set aside. Microwave in 30-second intervals, stirring in between, until chocolate is melted and smooth. How do you burn chocolate?
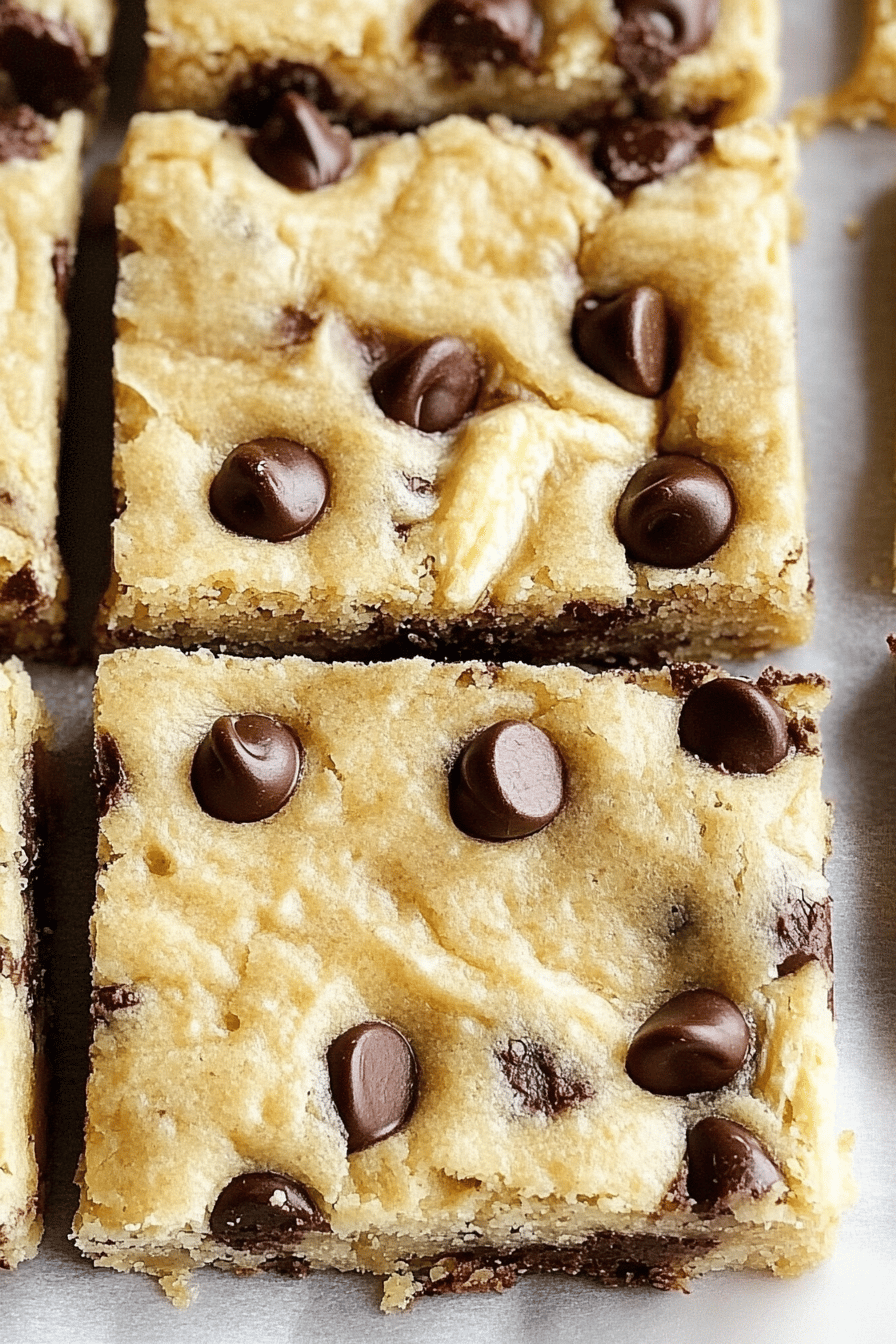
Step 6: Layer & Swirl
What is the best banana yogurt recipe? Pour it into a baking pan. Drizzle the melted chocolate evenly over the batter. How do you swirl chocolate into the batter? How do you create swirls?
Step 7: Bake
Bake for 25-30 minutes, or until toothpick inserted into the center comes out clean. The bars should be golden brown on top. Keep an eye on them towards the end of the baking time, as ovens can vary.
Step 8: Cool & Glaze
Let the bars cool completely in the pan before slicing and serving. If you’re feeling fancy, you can drizzle them with extra melted chocolate or a simple glaze made from scratch. From powdered sugar and milk.
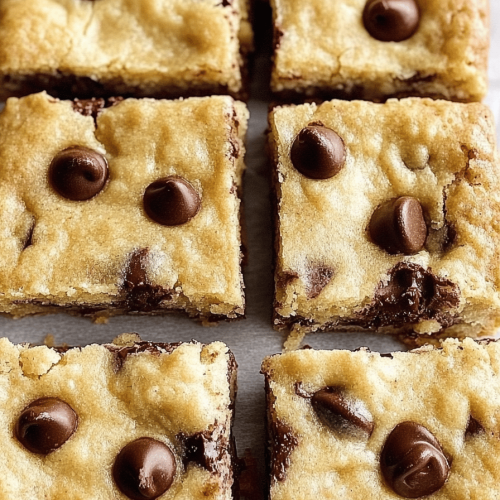
Step 9: Slice & Serve
Once the bars are completely cool, slice them into squares or rectangles. Serve immediately, or store in an airtight container for later. Can you serve these with a glass of milk?
What should I serve it with?
What are some good ways to serve these bars? The next level:
For Breakfast:What are some good breakfast ideas? I also like to crumble them over yogurt with fresh berries.
For Brunch:Arrange them on a platter with other brunch favorites like Fruit Salad, muffins, and scrambled eggs. What are some good accompaniments for a bellini or mimosa?
As Dessert: Serve them warm with a scoop of vanilla Ice Cream or a dollop of whipped cream. A drizzle of caramel sauce would also be delicious.
For Cozy Snacks: Enjoy them with a warm cup of tea or Hot Chocolate on a chilly evening. My kids love to have them as an after-school snack with a glass of milk.
My family always enjoys these with a side of fresh fruit, especially berries or sliced apples. They’re also surprisingly good with a little bit of Peanut Butter or almond butter spread on top.
Top Tips for Perfecting Your Chocolate Chip Banana Yogurt Snack Bars
Okay, I’ve made these bars a *lot*, so I’ve learned a few tricks along the way:
Banana Prep: The riper the bananas, the better! They’ll be sweeter and easier to mash. If your bananas are still a little green, you can speed up the ripening process by placing them in a paper bag with an apple or banana.
Mixing Advice: Don’t overmix the batter! Overmixing can lead to tough bars. Mix until just combined, and don’t worry about a few streaks of flour.
Swirl Customization: Get creative with your chocolate swirls! You can create different patterns by using a knife or toothpick to swirl the chocolate in different directions. You can also add other toppings to the swirl, like chopped nuts or sprinkles.
Ingredient Swaps: Feel free to experiment with different flours. Whole wheat flour will give the bars a nuttier flavor, while almond flour will make them gluten-free. You can also substitute the honey or maple syrup with other sweeteners, like agave nectar or Brown Sugar.
Baking Tips: Keep an eye on the bars towards the end of the baking time, as ovens can vary. If the tops are browning too quickly, you can tent the pan with foil.
“Packed with flavor and so simple. Exactly what I wanted from this Chocolate Chip Banana Yogurt Snack Bars!”
Glaze Variations: If you want to add a glaze, try different flavors like vanilla, lemon, or chocolate. You can also add a pinch of salt to the glaze to balance out the sweetness.
I accidentally added a little too much salt once, and they actually turned out surprisingly good! The salt enhanced the sweetness of the bananas and chocolate. It was a happy accident!
Storing and Reheating Tips
Here’s how to keep these babies fresh and delicious:
Room Temperature: Store the bars in an airtight container at room temperature for up to 2 days. Make sure they’re covered tightly to prevent them from drying out.
Refrigerator Storage: Store the bars in an airtight container in the refrigerator for up to 5 days. This will help them stay fresh longer, especially if it’s hot and humid.
Freezer Instructions: For longer storage, wrap the bars individually in plastic wrap and then place them in a freezer bag. Freeze for up to 2 months. Thaw them in the refrigerator or at room temperature before serving.
Glaze Timing Advice: If you’re planning to freeze the bars, it’s best to add the glaze after thawing. This will prevent the glaze from becoming soggy.
I usually wrap them individually so I can grab one for a quick snack whenever I need it. It’s a total lifesaver!
Frequently Asked Questions
Final Thoughts
These Chocolate Chip Banana Yogurt Snack Bars are truly a family favorite, and I hope they become one for you too! They’re easy to make, incredibly delicious, and perfect for satisfying your sweet tooth without feeling guilty. Plus, they’re a great way to use up those ripe bananas sitting on your counter. If you love this recipe, you might also enjoy my Banana Bread Recipe or my yogurt parfait recipe. Happy baking! And don’t forget to leave a comment below and let me know how yours turn out!
Chocolate Chip Banana Yogurt Snack Bars: 7 Reasons You'll Love Them!
Ingredients
Main Ingredients
- 1.5 sticks unsalted butter softened
- 0.75 cups granulated sugar
- 1 cup light brown sugar packed
- 0.75 cup vanilla Greek yogurt (or plain)
- 2 teaspoons baking powder
- 1 teaspoon salt
- 3 large eggs
- 2.5 cups mashed ripe banana (about 5-6 medium bananas)
- 2 teaspoons vanilla extract
- 3.5 cups all-purpose flour
- 2 cups dark chocolate chips divided
Instructions
Preparation Steps
- Preheat oven to 350°F (175°C). Line a 9x13-inch baking pan with parchment paper, leaving an overhang for easy removal.
- In a large bowl, cream together the butter, granulated sugar, and brown sugar with an electric mixer until light and fluffy.
- Add in the yogurt, baking powder, and salt. Mix until well combined. Beat in eggs, mashed bananas, and vanilla extract.
- Gradually mix in the flour until just combined. Stir in 1.5 cups of the chocolate chips.
- Spread the batter evenly in the prepared baking pan. Sprinkle the remaining chocolate chips on top.
- Bake for 25-30 minutes, or until a toothpick inserted in the center comes out clean.
- Allow to cool in the pan for at least 30 minutes before slicing.


