Okay, so confession time. There are some recipes you stumble upon, and some recipes that just… become a part of your soul. This one, these caramel oat bars, definitely falls into the latter category for me. I remember the first time I made them; it was a chilly autumn evening, the kind where you just want to wrap yourself in a blanket and eat something comforting. I wasn’t even sure they’d turn out, but oh my goodness, the aroma that filled my kitchen? Pure magic. My husband, who usually just humors my baking experiments, came in and asked, “What IS that heavenly smell?” and I knew I had a winner. They’re like a warm hug, but edible, and if you’ve ever craved something sweet without wanting to deal with the fuss of a whole pie or cake, then these caramel oat bars are your new best friend. They’re a little bit chewy, a little bit gooey, and packed with that irresistible flavor that just makes everything feel right with the world. Honestly, they rival any fancy dessert I’ve ever bought from a bakery.
Thank you for reading this post, don't forget to subscribe!What are Caramel Oat Bars?
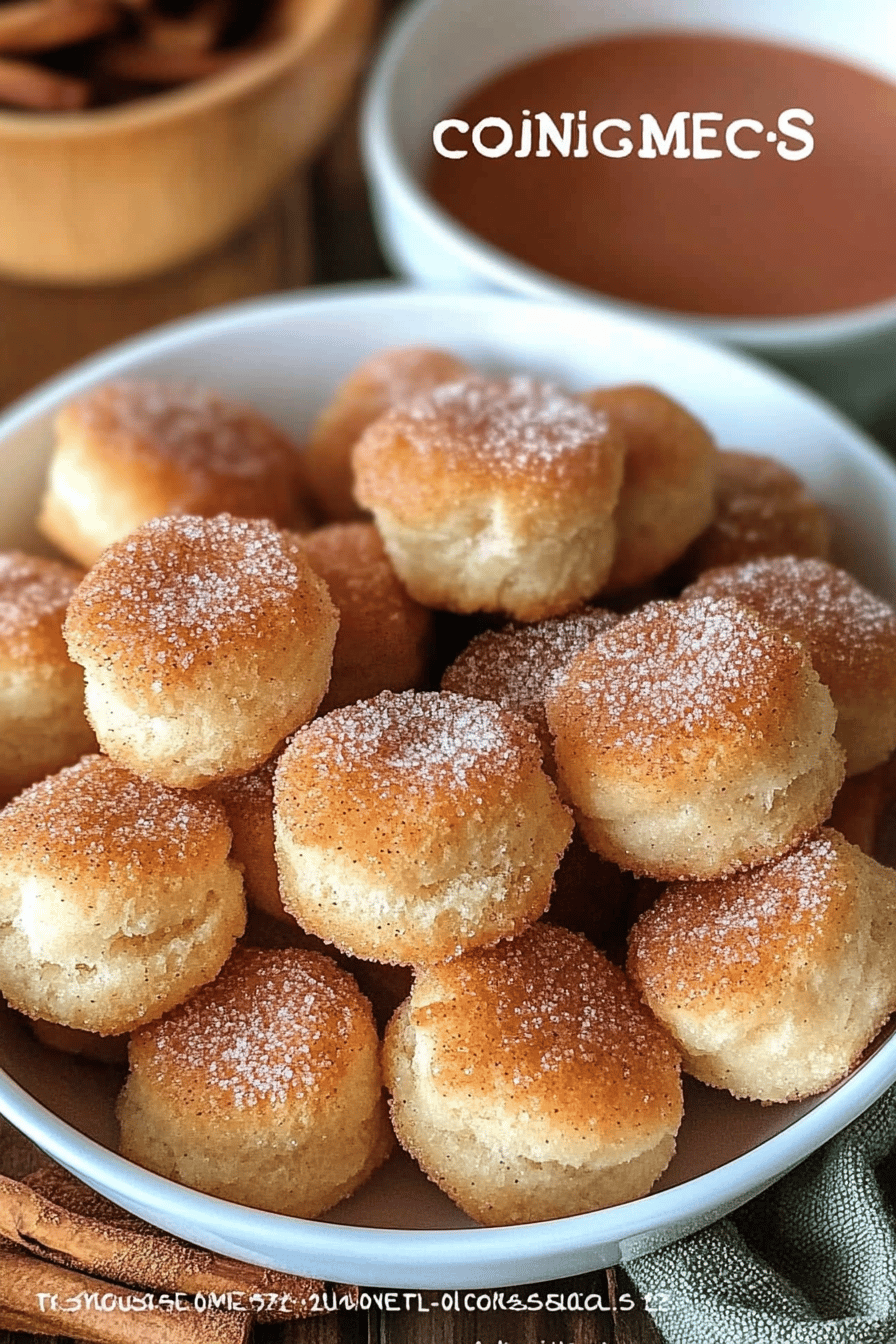
So, what exactly are these magical little squares? Think of them as a super-elevated oatmeal cookie, but baked into a bar form. They’ve got a delightful, slightly crumbly oat base that’s perfectly chewy, a luscious, gooey caramel layer that’s not too sweet but just sweet enough, and often, a hint of that classic cinnamon spice that just sings. It’s essentially taking all the best parts of a baked oatmeal – the texture, the comforting flavors – and jazzing it up with that irresistible caramel. It’s not complicated, but the combination is just *chef’s kiss*. It’s that perfect balance of simple ingredients coming together to create something truly special. They’re the kind of treat that feels homemade and special, but doesn’t require a culinary degree to whip up. You can even think of them as a grown-up, sophisticated take on those childhood Cookie Bars, but with way more depth of flavor.
Why you’ll love this recipe?
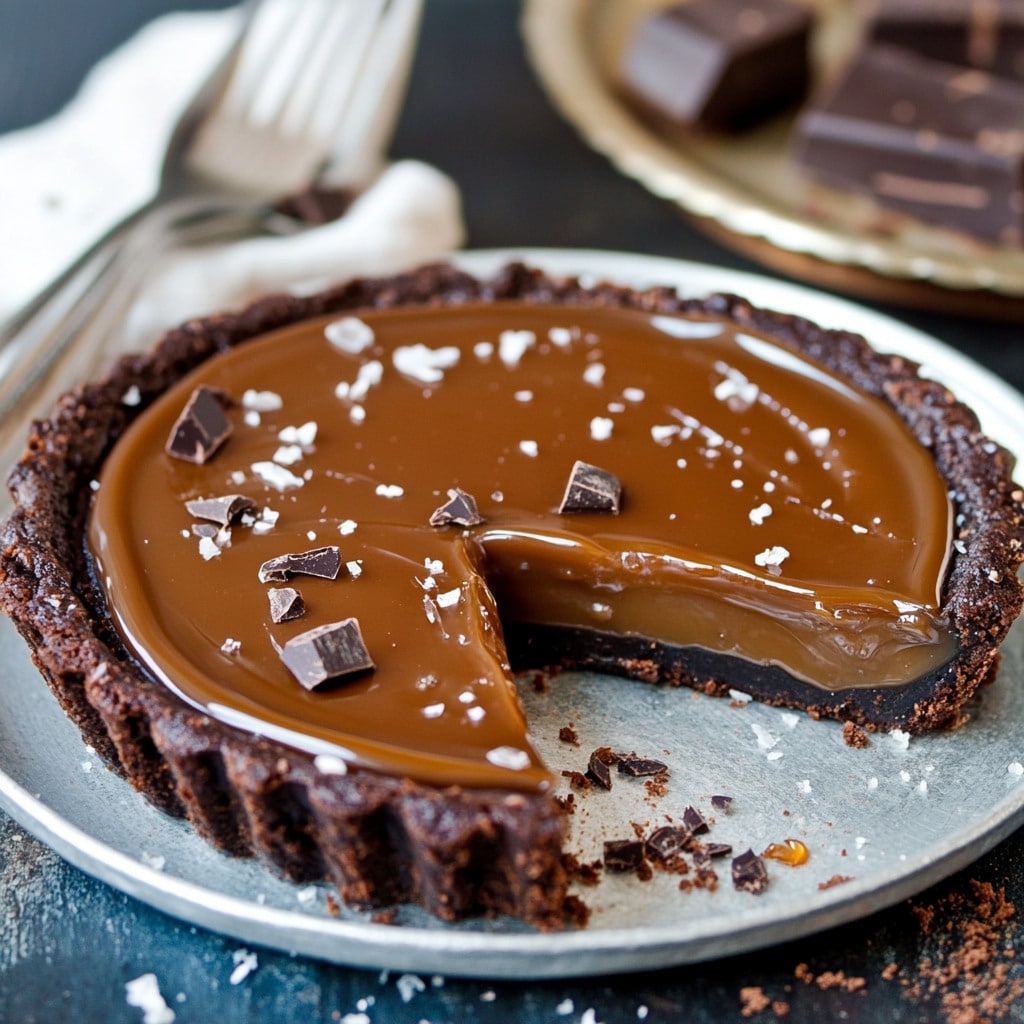
There are so many reasons why these caramel oat bars have earned a permanent spot in my recipe repertoire, and I have a feeling they’ll quickly become a favorite for you too! First off, the flavor. Oh, the flavor! You get that warm, comforting taste of oats, a rich, buttery caramel that’s just begging to be devoured, and a hint of vanilla that ties it all together. It’s sophisticated enough for guests but cozy enough for a quiet afternoon treat. And speaking of ease, this recipe is an absolute lifesaver. Seriously, if you’re looking for something to whip up when you have a sudden craving or unexpected company, this is it. It comes together so quickly, and most of the magic happens in the oven. Plus, let’s talk about cost-effectiveness. The ingredients are pantry staples – oats, flour, butter, sugar, a little bit of milk and cream. You probably have most of them on hand right now! It’s so much more budget-friendly than buying a fancy dessert. And the versatility? Amazing. I love these just as they are, but sometimes I’ll add a handful of chocolate chips to the oat base, or a sprinkle of Sea Salt on top of the caramel. They’re perfect for a grab-and-go breakfast, a mid-afternoon pick-me-up with a cup of coffee, or even as a simple dessert after dinner. What I love most about these bars, though, is the sheer joy they bring. The smell alone when they’re baking is enough to make anyone happy, and the look on my family’s faces when they take that first bite? Priceless. They’re just… good. Really, really good.
How do I make caramel oat bars?
Quick Overview
This recipe is all about simplicity and deliciousness. You’ll be whipping up a quick oat-based bottom layer, creating a luscious caramel filling, and then baking it all until golden and gooey. It’s basically a two-step process for the main components, followed by a bit of cooling and glazing magic. The beauty of this method is that it’s incredibly forgiving, making it perfect for bakers of all skill levels. You get maximum flavor with minimum fuss, which is pretty much my ideal scenario in the kitchen.
Ingredients
For the Main Batter:
2 cups rolled oats (not instant! The old-fashioned kind give the best texture.)
1 ½ cups all-purpose flour (I’ve also tested this with a gluten-free blend and it works great, just a touch denser.)
1 teaspoon baking soda
½ teaspoon salt
1 teaspoon ground cinnamon (this is optional, but I find it adds a lovely warmth)
¾ cup packed light brown sugar
¾ cup unsalted butter, melted
1 teaspoon vanilla extract
“I don’t know if I’ve ever eaten a better Chocolate Caramel Oat Bars So Easy. The rub alone is wonderful, but the sauce??? Over the top!”
For the Filling:
1 cup packed light brown sugar
½ cup unsalted butter
¼ cup heavy cream (or half-and-half if you’re in a pinch)
½ teaspoon vanilla extract
For the Glaze (Optional, but highly recommended!):
½ cup powdered sugar
1-2 tablespoons milk (just enough to get a drizzle-able consistency)
¼ teaspoon vanilla extract
Step-by-Step Instructions
Step 1: Preheat & Prep Pan
First things first, get your oven preheating to 350°F (175°C). This is a standard baking temperature, and it ensures even cooking. Then, grab a 9×13 inch baking pan. I like to line mine with parchment paper, leaving some overhang on the sides. This makes it ridiculously easy to lift the baked bars right out once they’re cooled. Lightly grease the parchment paper too, just for good measure. Trust me, this little step saves so much frustration later on.
Step 2: Mix Dry Ingredients
In a large bowl, whisk together your rolled oats, flour, baking soda, salt, and cinnamon (if you’re using it). Give it a good mix with a whisk to make sure everything is evenly distributed. You want to make sure that baking soda and salt are spread throughout so you don’t get any weird salty or flat spots in your bars. It just ensures a consistent texture and flavor in every bite.
Step 3: Mix Wet Ingredients
In a separate medium bowl, combine the melted butter, packed light Brown Sugar, and vanilla extract. Stir it all together until it’s well combined and looks nice and glossy. Make sure your brown sugar isn’t too clumpy; if it is, just break it up with your fingers as you add it.
Step 4: Combine
Now, pour the wet ingredients into the bowl with your dry ingredients. Stir everything together with a spatula or wooden spoon until *just* combined. Be careful not to overmix! Overmixing develops the gluten in the flour too much, which can lead to tough bars. You want to see just a few streaks of dry ingredients remaining; they’ll all come together in the pan.
Step 5: Prepare Filling
In a medium saucepan, combine the Brown Sugar, butter, and heavy cream. Place the saucepan over medium heat. Stir constantly as the butter melts and the sugar dissolves. Keep stirring and let it come to a gentle boil. Once it’s bubbling, let it boil for about 2-3 minutes, stirring continuously. It should thicken slightly and become a beautiful, rich caramel color. Be careful, it’s hot! Remove from the heat and stir in the vanilla extract. Let it cool for about 5-10 minutes; you don’t want it piping hot when you pour it over the base.
Step 6: Layer & Swirl
Press about two-thirds of the oat mixture evenly into the bottom of your prepared baking pan. It doesn’t need to be perfect, but try to get it as even as possible. Then, carefully pour the slightly cooled caramel filling over the oat base. Spread it out gently with your spatula. Finally, sprinkle the remaining oat mixture evenly over the top of the caramel. You can leave it as is, or for a little extra flair, lightly press some of the top oats into the caramel. It doesn’t need to be a full swirl, just a little nudge to create visual interest.
“Made the Chocolate Caramel Oat Bars So Easy tonight and wow — perfect weeknight dinner. Will definitely make again!”
Step 7: Bake
Pop the pan into your preheated oven and bake for 25-30 minutes, or until the edges are golden brown and the caramel is bubbly. Keep an eye on it in the last few minutes – you want it golden, not burnt! The center might still look a little soft, but it will firm up as it cools. I usually test by gently shaking the pan; if the caramel isn’t too liquidy, it’s usually done.
Step 8: Cool & Glaze
This is arguably the hardest part – letting them cool! Let the bars cool completely in the pan on a wire rack. This is crucial for the caramel to set properly. If you try to cut them while they’re warm, you’ll have a gooey mess (though, admittedly, a delicious one!). Once they’re completely cool, you can make the glaze. Whisk together the powdered sugar, milk, and vanilla extract until smooth and drizzle-able. Drizzle it all over the cooled bars. Again, this is optional, but it adds a lovely sweetness and a professional touch.
Step 9: Slice & Serve
Once the glaze has set a bit, use the parchment paper overhang to lift the entire slab out of the pan onto a cutting board. Use a sharp knife to cut them into squares. I usually get about 16 bars out of a 9×13 pan. For the cleanest cuts, you can run your knife under hot water and dry it between slices. Serve them at room temperature. They’re fantastic on their own, or with a glass of milk or a hot cup of coffee.
What to Serve It With
These caramel oat bars are incredibly versatile, and I find myself reaching for them for all sorts of occasions. For breakfast, they’re a step up from your everyday toast. I love pairing them with a strong cup of coffee to cut through the sweetness, or a tall glass of cold milk for the kids. They feel indulgent enough for a weekend brunch, especially when presented on a pretty platter. I often serve them alongside some fresh fruit salad or a yogurt parfait. For dessert, they’re a delightful, unfussy option. They’re perfect with a scoop of vanilla bean Ice Cream, or a dollop of whipped cream. Sometimes, I’ll even drizzle a little extra caramel sauce on top for a truly decadent experience. And for those cozy snack times? That’s where they truly shine. They’re the ultimate comfort food, perfect for an afternoon slump or an evening treat. I love them with a mug of hot chocolate or a cup of herbal tea. My family has a tradition of having them on movie nights – they’re easy to share and disappear in minutes!
Top Tips for Perfecting Your Caramel Oat Bars
Over the years, I’ve learned a few little tricks that I think make these caramel oat bars even better. First, when it comes to the oats, always use rolled oats, also known as old-fashioned oats. Instant oats are too fine and will make your bars mushy. You want that lovely chewy texture that only rolled oats can provide. Secondly, don’t overmix the batter for the base. Mix until it *just* comes together. A few dry streaks are perfectly fine, and honestly, desirable! Overmixing is the enemy of tender baked goods, and we want these to be soft and chewy, not tough.
For the caramel filling, the key is constant stirring and watching the color. You’re aiming for a rich amber, not dark brown, which can signal it’s burning. If your Brown Sugar is clumpy, break it up with your fingers *before* measuring it for the filling. A little patience with the caramel cooling is also essential; pouring it piping hot can make the base too mushy. When it comes to assembling, pressing the bottom layer firmly ensures a good base. For the topping, I sometimes like to gently press a few extra oats into the caramel before baking for a bit of texture contrast. Don’t stress about making it look perfect, though – a rustic look is part of the charm!
If you’re feeling adventurous with the swirl customization, you can lightly drizzle some of the caramel back over the top oat layer and then use a toothpick to create swirls. This adds an extra layer of caramel goodness. For ingredient swaps, I’ve found that using half whole wheat flour with all-purpose flour works well for a slightly nuttier flavor. You can also swap out some of the Brown Sugar for coconut sugar for a different caramel note. When baking, ovens can vary. If yours tends to run hot, keep an eye on the edges to prevent them from getting too dark. A good doneness test is when the edges are golden brown and the center is set but might still give slightly when gently pressed. For the glaze, if it’s too thick, add milk a *tiny* drop at a time. If it’s too thin, whisk in a little more powdered sugar. Consistency is key for a pretty drizzle.
Storing and Reheating Tips
These caramel oat bars are pretty forgiving when it comes to storage, which is a huge plus! At room temperature, they’ll stay fresh for about 2-3 days, especially if stored in an airtight container. I usually just pop them back into their original baking pan and cover it tightly with plastic wrap or foil. They don’t dry out too quickly. If you live in a warmer climate or want them to last a bit longer, the refrigerator is your best bet. They’ll keep well in an airtight container in the fridge for up to a week. I actually prefer them slightly chilled sometimes, the caramel gets a bit firmer. If you plan on freezing them, which I do often for “just in case” treats, make sure they are completely cooled first. I like to cut them into individual bars and wrap each one tightly in plastic wrap, then place them in a freezer-safe bag or container. They can stay frozen for up to 2-3 months. When you’re ready to enjoy one, you can thaw them at room temperature for a few hours, or gently reheat them in a low oven (around 300°F or 150°C) for about 5-10 minutes to bring back that fresh-baked warmth. If you’ve added the glaze, it’s usually best to add that after thawing or reheating, or just know that it might soften a bit in the freezer. If storing at room temperature or in the fridge, the glaze usually holds up pretty well.
Frequently Asked Questions
Final Thoughts
So there you have it – my absolute favorite caramel oat bars. They’re more than just a recipe to me; they’re a memory maker, a comfort giver, and a guaranteed crowd-pleaser. They’re the kind of treat that feels both incredibly special and wonderfully simple, proving that you don’t need fancy techniques or exotic ingredients to create something truly delicious. I hope you give these a try and that they bring as much joy to your kitchen as they do to mine. If you’re a fan of anything oat-based or have a soft spot for gooey caramel, these are an absolute must-bake. And if you love these, you might also enjoy my Chewy Chocolate Chip Cookie Bars or my Easy No-Bake Peanut Butter Bites. They share that same spirit of simple, comforting deliciousness. I can’t wait to hear what you think! Let me know in the comments below how yours turn out, and if you add any fun twists!

caramel oat bars
Ingredients
Main Ingredients
- 1.5 cups granulated sugar
- 0.66 cup water room temperature
- 10 tablespoons unsalted butter room temperature, divided
- 0.66 cup heavy cream room temperature
- 2 teaspoons vanilla extract
- 0.25 teaspoon kosher salt
- 1 cup all-purpose flour for caramel
- 3 cups old-fashioned oats
- 1 teaspoon baking soda
- 0.5 teaspoon kosher salt for dough
- 2 cups light brown sugar packed
- 2 sticks unsalted butter room temperature
- 2 large eggs room temperature
- 1 teaspoon vanilla extract for dough
- 2 cups all-purpose flour for dough
- 1 cup milk chocolate chips
Instructions
Preparation Steps
- To a large saucepan over medium heat, add granulated sugar and water. Gently stir, then leave undisturbed until the sugar dissolves (about 10 minutes).
- Continue to cook, gently stirring, until the mixture boils and turns a rich amber color (about 20 minutes total).
- Remove from heat and whisk in butter until fully melted and combined.
- Slowly drizzle in heavy cream while whisking constantly until smooth.
- Add vanilla extract and salt; whisk until fully incorporated.
- Return pan to medium heat and simmer for 2 minutes, then remove from heat and whisk in 1 cup all-purpose flour. Set aside to cool slightly.
- Preheat oven to 350°F. Line a 9x13-inch baking pan with parchment paper, extending up the sides, and spray with nonstick cooking spray.
- In a large bowl, whisk together oats, 2 cups flour, baking soda, and 0.5 teaspoon salt.
- In another bowl, cream together brown sugar and butter until fluffy. Add eggs and 1 teaspoon vanilla; mix until smooth.
- Gradually mix in the oat-flour mixture, one cup at a time, until incorporated.
- Press 2/3 of the dough (about 3 cups) evenly into the bottom of the prepared pan.
- Sprinkle milk chocolate chips evenly over the dough layer.
- Pour the warm caramel sauce over the chocolate chips, spreading gently if needed.
- Place remaining dough in flattened spoonfuls over the caramel, covering as much as possible. Gaps are okay.
- Bake for 38–40 minutes, or until lightly golden brown.
- Let cool at room temperature for 30 minutes, then refrigerate for 1 hour before cutting into 12 bars.