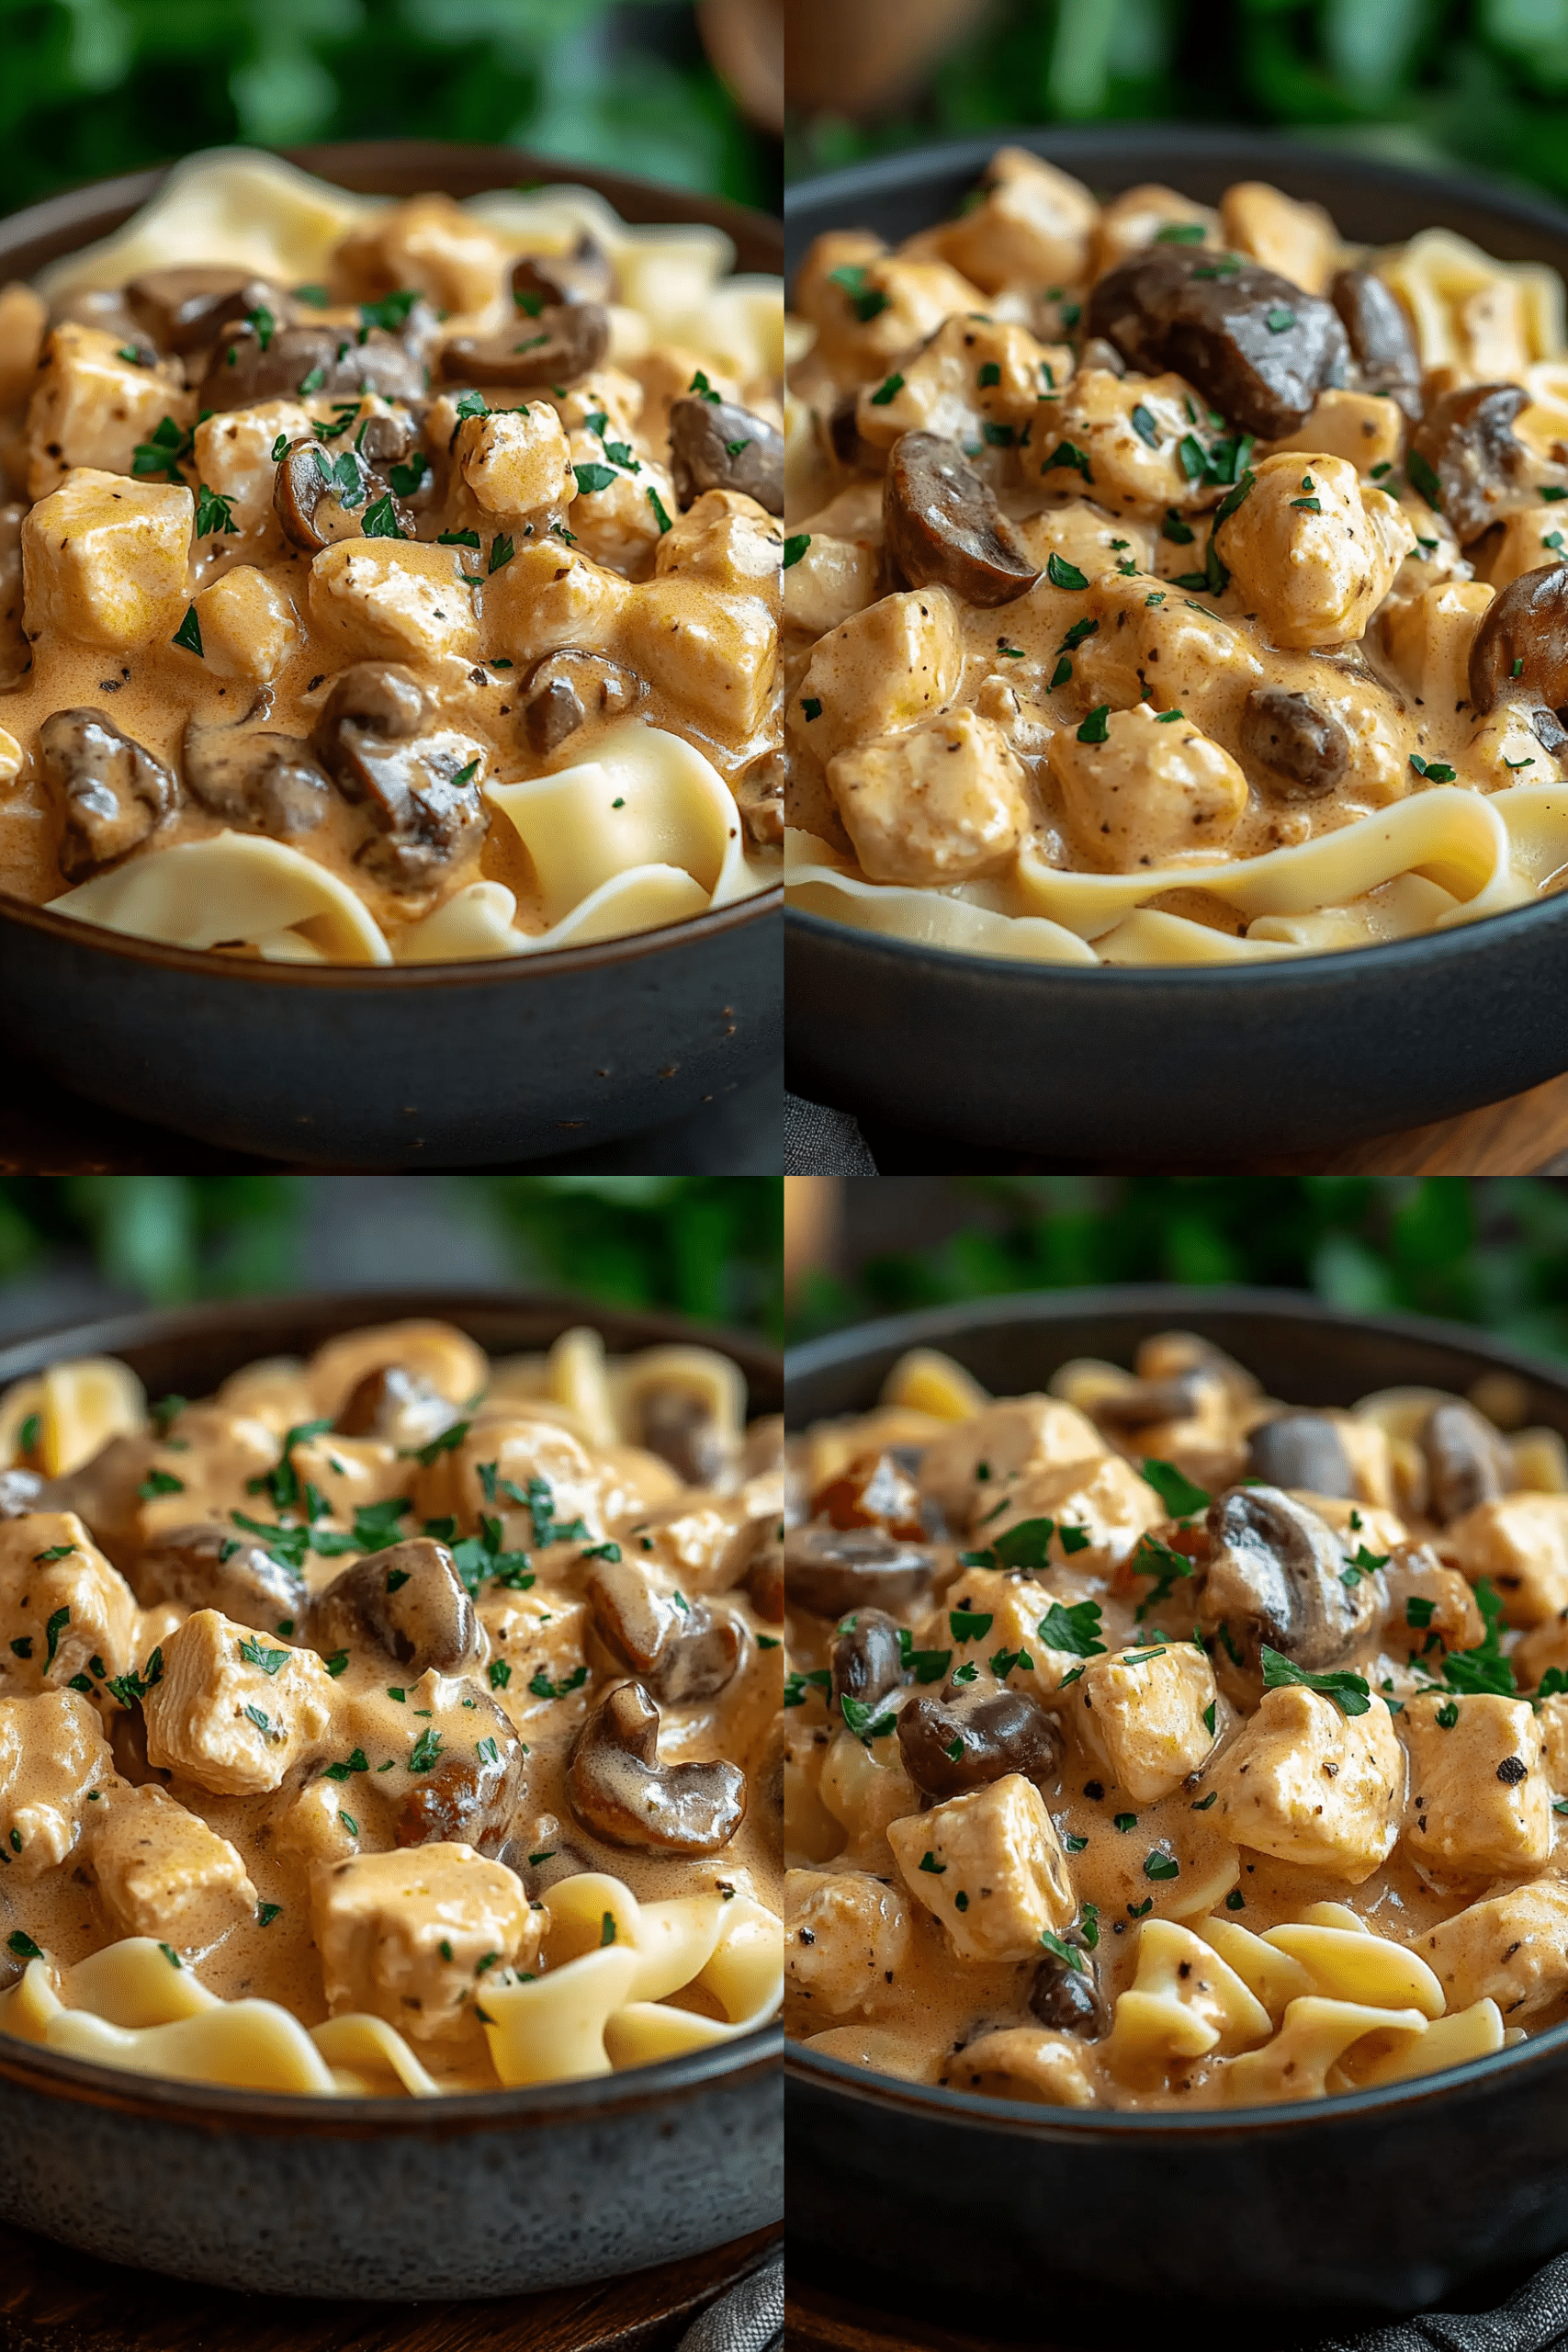
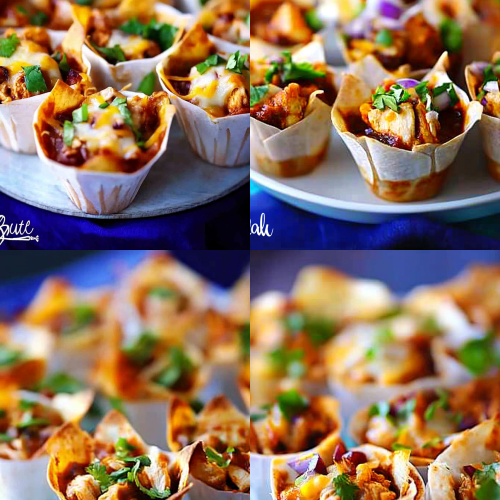
Oh, you guys. I am so excited to share this one with you. Seriously, this recipe for chicken enchilada cups is like my secret weapon for when I’m craving something incredibly comforting, ridiculously flavorful, and surprisingly easy to whip up. It’s one of those dishes that just makes everyone happy, from my picky eaters to my in-laws. I remember the first time I made these, it was a chaotic weeknight, and I needed something that wouldn’t stress me out. I stumbled upon the idea of using muffin tins for individual portions, and it just clicked! Instead of a big casserole that takes ages to bake and can be tricky to serve, these little chicken enchilada cups bake up so beautifully, are perfect for portion control (if you can even manage to stick to one!), and they look so darn cute. They’re basically a deconstructed enchilada, but in the most delightful, bite-sized package. Think of them as the appetizer and main course rolled into one perfect, savory bite. They’re far easier than making a whole batch of traditional enchiladas, and honestly, sometimes I think they taste even better because all those flavors get concentrated in each little cup.
Thank you for reading this post, don't forget to subscribe!What are chicken enchilada cups?
So, what exactly are these little gems? In the simplest terms, chicken enchilada cups are individual, baked portions of enchilada goodness that are made right in a muffin tin. Instead of rolling up tortillas and layering them in a pan, we’re using small pieces of tortillas (or sometimes no tortillas at all, if you’re going low-carb!) to form a little cup at the bottom of each muffin mold. Then, we fill those cups with a savory mixture of shredded chicken, creamy enchilada sauce, cheese, and a few other flavor boosters. They bake up until they’re golden and bubbly, and the edges get just a little crispy. It’s essentially all the amazing flavors of your favorite chicken enchiladas, but in a fun, compact, and super convenient format. It’s the perfect way to get that enchilada fix without all the fuss. Think of it as a perfectly portioned hug on a plate, a little taste of Tex-Mex heaven that you can hold in your hand!
Why you’ll love this recipe?
What are some of the best reasons to make chicken enchilada cups?flavor is just out of this world. You get that rich, slightly smoky enchilada sauce, tender shredded chicken, and gooey, melted cheese all combined into one glorious bite. It’s incredibly satisfying. Then there’s the simplicityWhat I love about this muffin tin is how easy it is to make it for a busy weeknight.cost-efficient it is. It’s a fantastic way to use up leftover cooked chicken, and the ingredients are all pretty budget-friendly. Plus, it’s incredibly versatile! You can easily adapt it to your taste preferences, which brings me to why it stands out for me. I’ve made countless versions of enchiladas over the years, but these cups offer a fantastic way to control portion sizes and ensure everyone gets a perfectly balanced bite every single time. They’re also way less messy than traditional enchiladas, which is a huge win when you have little ones (or just don’t want sauce dripping everywhere!). If you’re a fan of my mini taco bites, you’re going to adore these too – they share that same bite-sized appeal and crowd-pleasing flavor.
How to Make Chicken Enchilada Cups
Quick Overview
The process for making these chicken enchilada cups is surprisingly straightforward. We’ll get our muffin tin ready, prepare a simple filling using cooked chicken and enchilada sauce, and then assemble these little flavor bombs. They bake up quickly, resulting in perfectly portioned, irresistible cups that are ready to be devoured. It’s all about layering those delicious enchilada flavors in a convenient, muffin-tin format. You’ll be amazed at how quickly you can go from raw ingredients to a warm, comforting meal or appetizer.
Ingredients
For the Main Cups:
You’ll need about 10-12 small corn tortillas, cut into small pieces or strips. I find that corn tortillas give the best flavor and texture here, they get a little chewy and slightly crispy at the edges. If you can’t find small ones, just grab regular corn tortillas and cut them into halves or quarters. Some people like to use flour tortillas cut into strips, and that works too, but I find they can get a bit too soft. A little bit of melted butter or oil for brushing the muffin tin is essential to prevent sticking – don’t skip this!
For the Filling:
This is where all the magic happens! You’ll need about 2 cups of cooked, shredded chicken. Rotisserie chicken is an absolute lifesaver here, but you can also boil or bake chicken breasts and shred them. Then, one 10-ounce can of red enchilada sauce is key. Make sure it’s your favorite kind – mild, medium, or hot! About 1 cup of shredded cheese is perfect; a Mexican blend or Monterey Jack is my go-to. Some chopped onion and garlic add great depth of flavor. A sprinkle of chili powder, cumin, and a pinch of salt and pepper will really bring out those authentic enchilada vibes. Some people like to add a bit of sour cream or cream cheese to the filling for extra creaminess, and that’s a fantastic idea!
For the Topping/Garnish:
Once they’re baked, a little extra cheese melted on top is always a good idea. Fresh cilantro, a dollop of sour cream or Greek yogurt, and some sliced green onions or jalapeños make for a beautiful and flavorful finish. These are totally optional, but they really elevate the whole experience!
“Made the chicken enchilada cups tonight and wow — perfect weeknight dinner. Will definitely make again!”
Step-by-Step Instructions
Step 1: Preheat & Prep Pan
First things first, let’s get our oven preheated to 375°F (190°C). Now, grab your muffin tin. This is super important: grease it really well. I like to use a pastry brush to coat each cup with melted butter or cooking spray. Make sure you get into all the nooks and crannies. This step is crucial for ensuring your chicken enchilada cups don’t stick and come out cleanly. I’ve learned this the hard way – a well-greased pan makes all the difference!
Step 2: Mix Dry Ingredients
If you’re adding any dry spices to your filling mixture (like chili powder or cumin), this is a good time to combine them in a small bowl. This ensures they’re evenly distributed throughout the chicken mixture. Don’t worry if you’re not adding many dry spices to the filling itself; you’ll likely add salt and pepper later.
Step 3: Mix Wet Ingredients
In a medium bowl, combine your shredded chicken, enchilada sauce, about half of your shredded cheese, your chopped onion and garlic, and any dry spices you’re using. Stir everything together until the chicken is well coated in the sauce and other ingredients. I like to taste this mixture at this point and adjust the seasoning – maybe it needs a little more salt or a dash more cumin. This is also when you’d stir in any sour cream or cream cheese if you’re using it for extra richness.
Step 4: Combine
This step is more about combining the filling components. Make sure everything is thoroughly mixed. You don’t want pockets of plain chicken or sauce. It should look like a delicious, cohesive filling ready to be stuffed into those little tortilla cups.
Step 5: Prepare Filling
This step is already covered in Step 3! We’ve mixed all our delicious filling ingredients together. The key here is to ensure your chicken is well shredded and that the sauce, cheese, and seasonings are evenly distributed. You want every bite to be bursting with flavor.
Step 6: Layer & Swirl
Now for the fun part! Take your prepped tortilla pieces and press them into the bottom and slightly up the sides of each greased muffin cup. You don’t need to be super neat; a little rustic is good! Then, spoon the chicken filling into each tortilla-lined cup, filling them about two-thirds to three-quarters full. Top each cup with a sprinkle of the remaining shredded cheese. This will get nice and melty and delicious.
Step 7: Bake
Place the muffin tin in your preheated oven. Bake for 18-22 minutes, or until the cheese is melted and bubbly, and the edges of the tortilla cups are lightly golden and slightly crispy. Keep an eye on them during the last few minutes; ovens can vary! You want them heated through and delicious, but not burnt.
Step 8: Cool & Glaze
Once baked, carefully remove the muffin tin from the oven. Let the chicken enchilada cups cool in the tin for about 5-10 minutes. This is super important! It allows them to set up a bit and makes them much easier to remove from the pan. If you’re adding a glaze (though typically these don’t have a separate glaze, the enchilada sauce acts as one), this would be when you’d consider adding it, but usually, we just let them cool and garnish.
“I don’t know if I’ve ever eaten a better chicken enchilada cups. The rub alone is wonderful, but the sauce??? Over the top!”
Step 9: Slice & Serve
Gently run a butter knife or offset spatula around the edges of each cup to loosen them, then carefully lift them out of the muffin tin. Serve them warm, garnished with fresh cilantro, a dollop of sour cream, and some chopped green onions if you like. They’re perfect as is, but those toppings really add a fresh burst of flavor.
What to Serve It With
These chicken enchilada cups are so versatile, they work for practically any meal or occasion! For Breakfast, imagine having one or two of these alongside a perfectly fried egg and some crispy bacon. The savory flavors are a fantastic contrast to the richness of the egg. For Brunch, they’re a showstopper! Serve them on a beautiful platter, maybe with a side of fresh fruit salad and some mimosas or a refreshing sparkling cider. They add a bit of zest and spice to a brunch spread. As a light Dessert, believe it or not, they can even work! Especially if you serve them with a small side of avocado salsa or a mild crema. For Cozy Snacks, this is where they truly shine. They’re perfect for movie nights or casual get-togethers. I love serving them with a side of guacamole and some salsa for dipping. My family also loves having these for a quick weeknight dinner with a simple side salad. One of my favorite personal traditions is to make a big batch for game days – everyone can just grab a few and enjoy the game without needing a fork and knife!
Top Tips for Perfecting Your Chicken Enchilada Cups
After making these chicken enchilada cups more times than I can count, I’ve picked up a few tricks that I think really make a difference. First, regarding the zucchini prep (wait, I think I got my recipes mixed up! These don’t have zucchini, oops! My mind was on another favorite! Let’s stick to the tortillas!). For the tortillas, make sure they’re fresh! Stale tortillas can be brittle and hard to work with. If your corn tortillas are a little stiff, you can lightly warm them in a dry skillet or microwave for a few seconds to make them more pliable. For the mixing advice, don’t overwork the filling once the sauce is added. You want the chicken to remain tender. And when layering in the muffin tin, pressing the tortilla pieces firmly against the sides and bottom helps them hold their shape during baking. For swirl customization, I know I mentioned some recipes might have a swirl, but these simple enchilada cups don’t really need it! The beauty is in their simplicity. For ingredient swaps, feel free to use shredded beef or pork instead of chicken. If you’re feeling adventurous, a plant-based ground ‘meat’ alternative also works wonderfully. For baking tips, remember that muffin tins can heat unevenly. If you notice one side browning faster, you can rotate the pan halfway through baking. The best doneness test is that golden-brown, slightly crispy edge on the tortillas and the bubbling, melted cheese. For glaze variations, as I mentioned, these cups don’t typically have a separate glaze; the enchilada sauce is the star! However, if you wanted to get fancy, a drizzle of crema or a thin, spiced sour cream sauce over the top after baking can be delightful.
Storing and Reheating Tips
These chicken enchilada cups are fantastic for leftovers, though I can’t promise they’ll last long! If you have any that miraculously survive, store them in an airtight container. At room temperature, they’re best enjoyed within a couple of hours. For refrigerator storage, they’ll keep beautifully for about 3-4 days. Just make sure they’re completely cooled before sealing them up. I usually place them in a single layer in a container or stack them gently if necessary. For freezer instructions, these are freezer-friendly! Let them cool completely, then wrap them tightly in plastic wrap, followed by a layer of aluminum foil or place them in a freezer-safe bag. They should last for up to 2-3 months. To reheat from frozen, thaw them in the refrigerator overnight or microwave them on a defrost setting, then follow the reheating instructions. For glaze timing advice, if you were to add a glaze after baking, it’s best done just before serving. For storage, it’s usually better to add any fresh garnishes like cilantro or sour cream right before eating, as they can get soggy if stored with the cups. Reheat gently in the oven or microwave until warmed through.
Frequently Asked Questions
Final Thoughts
There you have it, my friends – my beloved chicken enchilada cups! I truly hope you give these a try. They’re such a fantastic way to bring a taste of comfort and bold flavor to your table without spending hours in the kitchen. Whether you’re looking for an easy weeknight dinner, a fun appetizer for a gathering, or just a way to satisfy that enchilada craving, these little cups deliver every single time. They’re a testament to how simple ingredients and a little bit of creativity can lead to something truly special. If you end up making them, I would absolutely *love* to hear how they turned out for you! Drop a comment below, share your favorite variations, or even tag me on social media if you post a pic. Happy baking, and I can’t wait to hear your thoughts!
Chicken Enchilada Cups
Ingredients
Main Ingredients
- 2 cups shredded cooked chicken
- 1 can enchilada sauce (15 ounces)
- 0.5 cup salsa
- 1 cup shredded cheddar cheese
- 1 cup shredded Monterey Jack cheese
- 1 package mini phyllo shells
- 0.25 cup chopped fresh cilantro
- 0.5 teaspoon chili powder
- 0.25 teaspoon cumin
Instructions
Preparation Steps
- Preheat your oven to 375°F (190°C).
- In a medium bowl, combine the shredded chicken, enchilada sauce, salsa, chili powder, and cumin. Mix well.
- Stir in half of the cheddar cheese and half of the Monterey Jack cheese into the chicken mixture.
- Arrange the mini phyllo shells on a baking sheet.
- Spoon the chicken mixture into each phyllo shell.
- Top each filled shell with the remaining cheddar and Monterey Jack cheeses.
- Bake for 15-20 minutes, or until the cheese is melted and bubbly and the shells are heated through.
- Garnish with chopped fresh cilantro before serving.