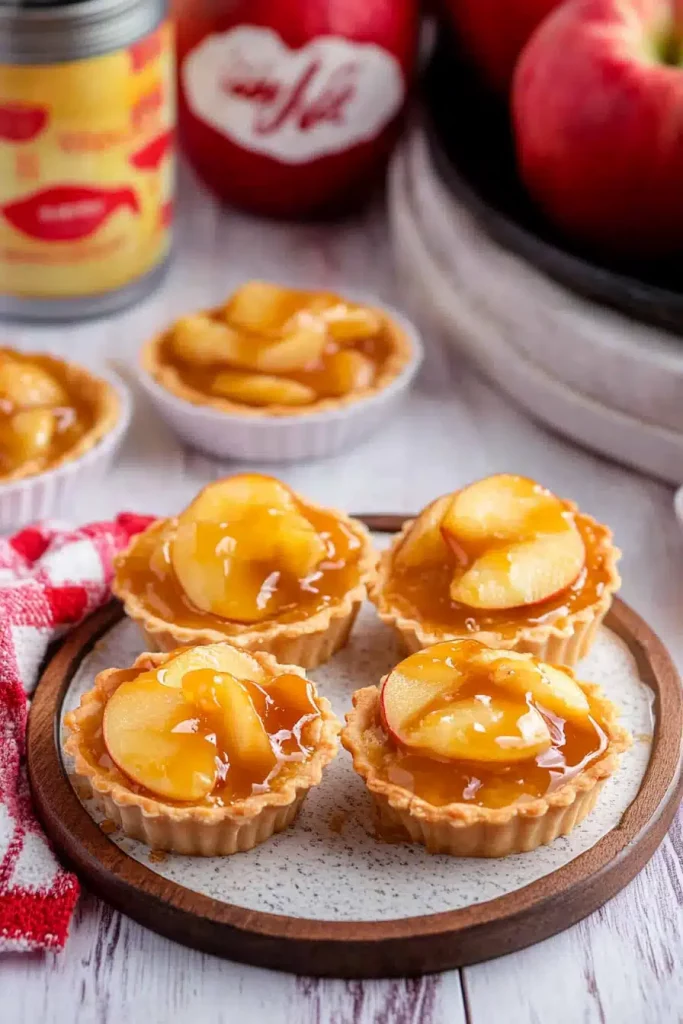
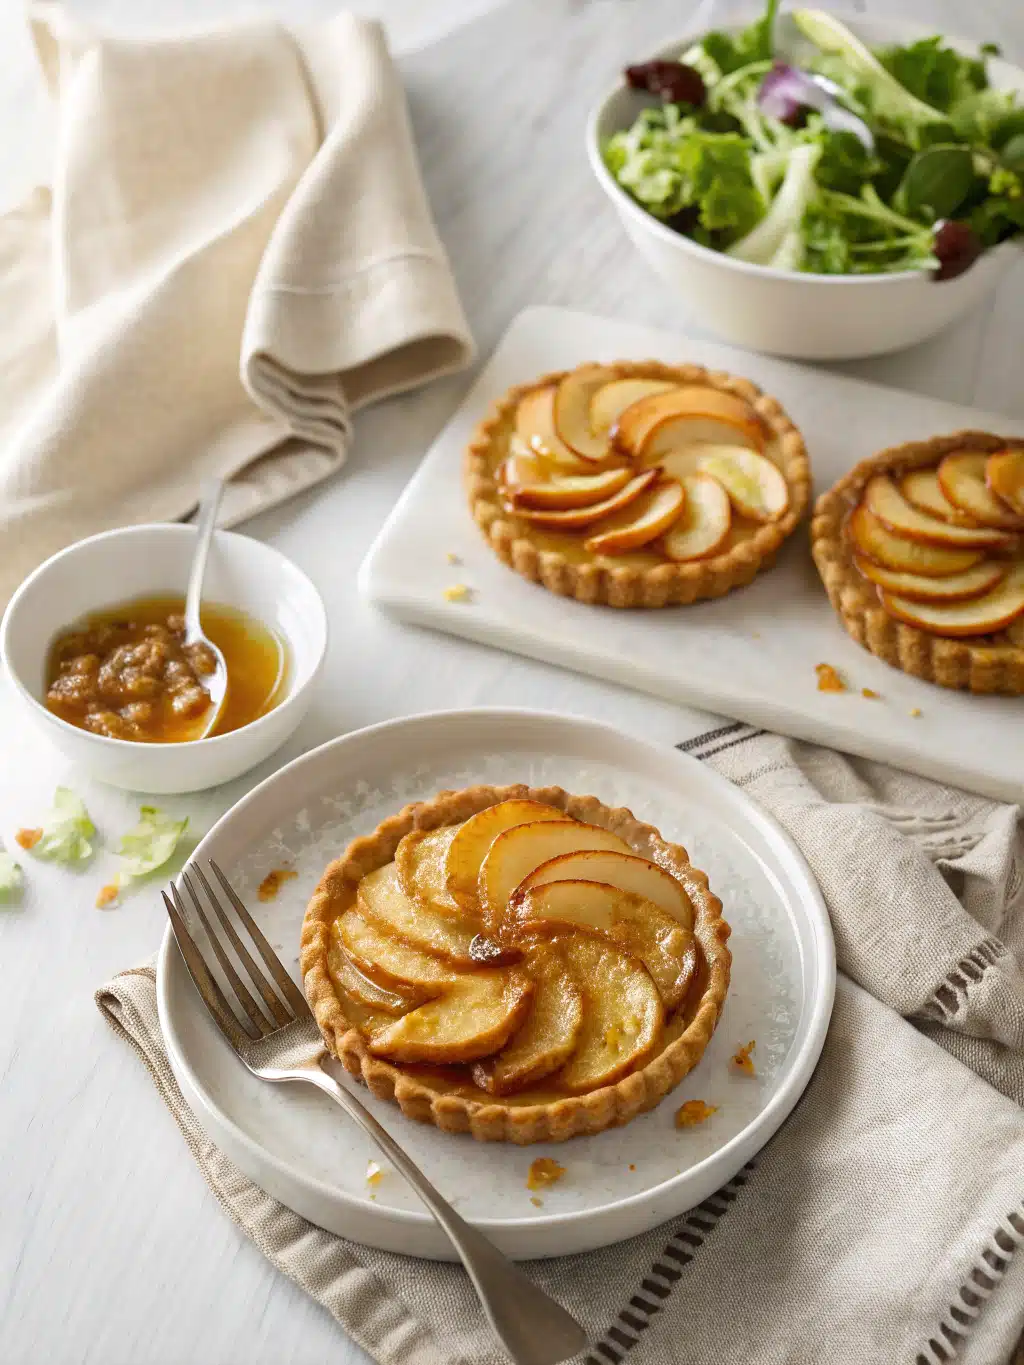
There’s nothing quite like the irresistible aroma of freshly baked Caramel Apple tarts filling your kitchen. With the perfect balance of sweet and tart flavors, this delightful dessert is sure to become a household favorite. Whether you’re preparing for a cozy family gathering or simply indulging in a sweet treat for yourself, these tarts promise a touch of comfort and indulgence.
Thank you for reading this post, don't forget to subscribe!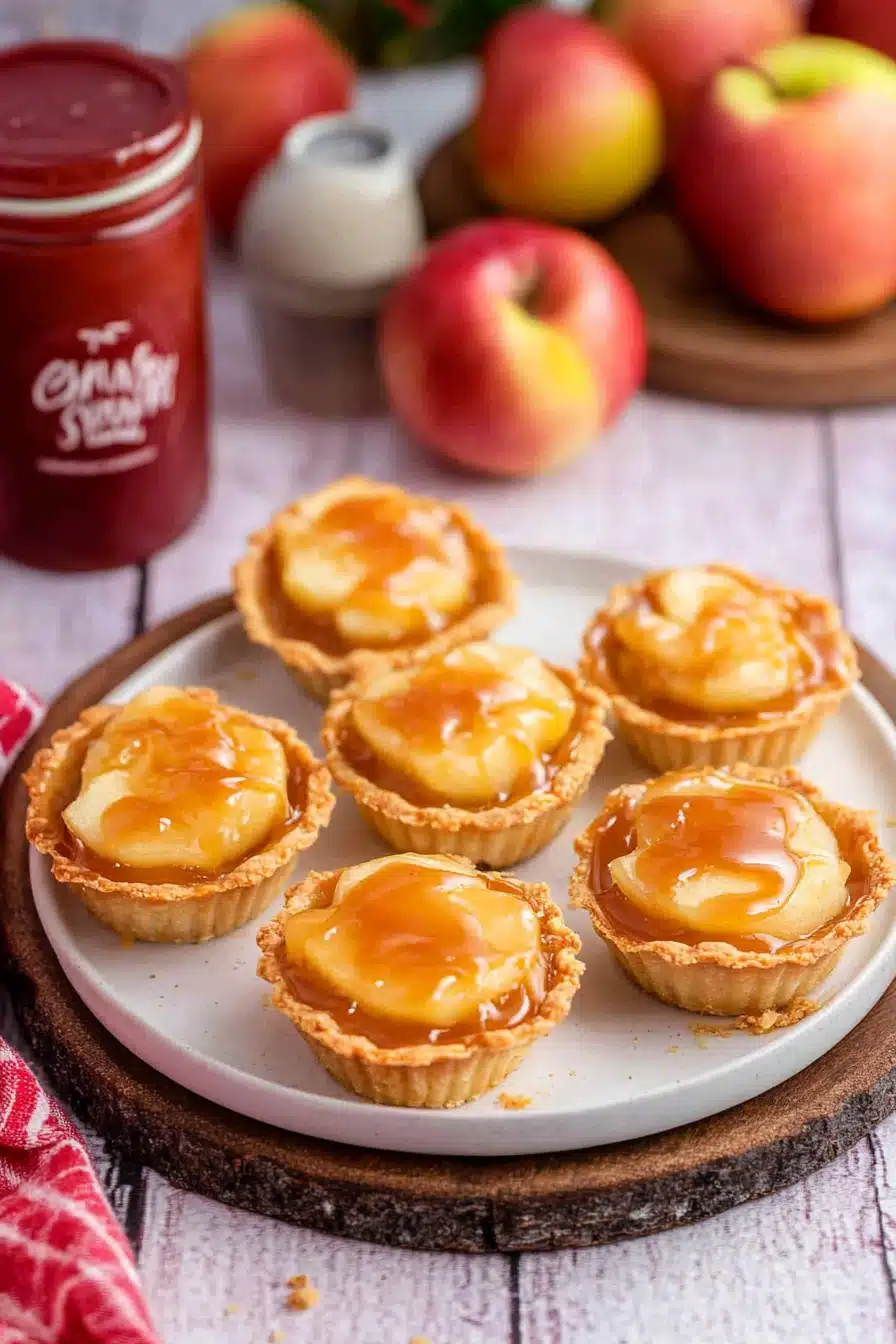
The first time I made these tarts was during a chilly autumn weekend spent at my grandmother’s house. As the leaves turned crimson and gold outside, we filled the kitchen with laughter and the warm scent of caramelizing sugar. Her secret touch of adding a dash of cinnamon brought this dish to life, making it a cherished family tradition that we now enjoy every fall.
Why You’ll Love This Recipe
This recipe stands out for its simplicity and crowd-pleasing nature. The combination of buttery crust and gooey caramel makes each bite a sweet symphony. Additionally, these tarts are easy to make in advance and transport, perfect for potlucks or picnics. Their individual serving sizes make them effortlessly elegant, ensuring everyone gets a perfect portion.
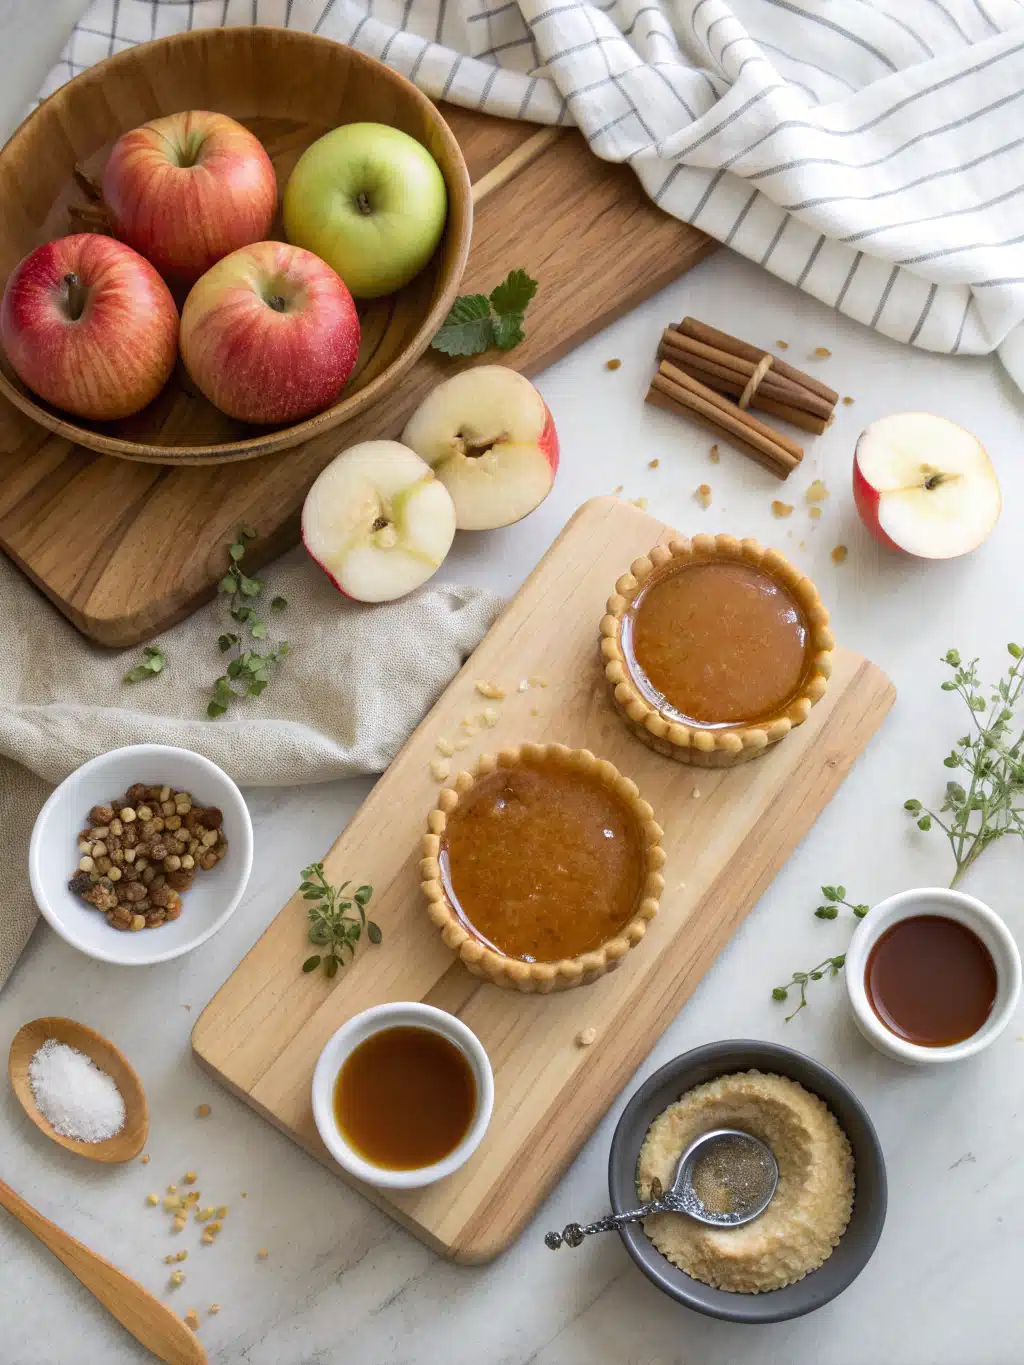
Ingredients Notes
For the best results, choose firm and tart apples like Granny Smith, which hold up well during baking. If you don’t have caramel sauce on hand, making a quick homemade one using Brown Sugar and cream is simple. For a dairy-free option, use coconut cream instead of heavy cream.
Recipe Steps
Step 1
Preheat your oven to 350°F (175°C) and line a baking sheet with parchment paper. This helps prevent sticking and ensures even baking.
Step 2
Prepare the crust by mixing flour, sugar, and salt in a bowl. Blend in cold, cubed butter until the mixture resembles coarse crumbs.
“Packed with flavor and so simple. Exactly what I wanted from this Caramel Apple Tarts!”
Step 3
Press the crust mixture into tart pans, ensuring it evenly covers the base and sides. Use a fork to prick the base to prevent bubbling.
Step 4
Peel, core, and slice the apples thinly. Toss them with lemon juice, sugar, and cinnamon to prevent browning and enhance flavor.
Step 5
Arrange Apple Slices over the crusts, drizzle with caramel sauce, and bake for 25-30 minutes until golden brown. Allow to cool slightly before serving.
Storage Options
These tarts can be stored in an airtight container at room temperature for up to two days. For longer storage, wrap them in plastic wrap and aluminum foil before freezing for up to two months. Reheat in the oven at 350°F (175°C) for 10 minutes to regain their freshly baked texture.
Variations & Substitutions
For a gluten-free option, substitute the flour with your preferred gluten-free baking mix. If you’re a fan of nuts, add chopped walnuts or pecans for a delightful crunch. To create a spicier version, consider adding a pinch of nutmeg or cardamom to the apple mixture.
Serving Suggestions
These tarts are best enjoyed warm, paired with a scoop of vanilla Ice Cream or a dollop of whipped cream. They make for a delightful dessert at holiday gatherings or a sweet finish to a homemade dinner with loved ones.
frequently asked questions
Can I prepare these tarts in advance?
Yes, you can prepare the crust and apple filling a day in advance. Store them separately in the refrigerator, then assemble and bake when needed. This way, the tarts stay fresh and crispy at the time of serving.
What type of apples is best for this recipe?
Granny Smith apples are excellent due to their tartness and firmness. However, if you prefer a sweeter taste, you can mix them with honeycrisp or golden delicious apples for added sweetness and texture.
How can I make this recipe vegan?
To make these tarts vegan, use coconut oil instead of butter in the crust and replace the caramel sauce with a store-bought or homemade vegan caramel sauce, typically made from coconut milk or almond milk.
“The Caramel Apple Tarts turned out amazing. My kids asked for seconds. Saving this one!”


