Oh, this cake. This is the one that brings back memories of my grandmother’s kitchen, filled with the comforting aroma of Brown Sugar and baking. It’s not just a cake; it’s a hug in edible form. I remember sneaking tastes of the batter when I was little, and even now, the smell of it baking makes me feel instantly calm and happy. If you’ve ever thought a butterscotch cake was too fussy or just not worth the effort, let me tell you, this recipe is a game-changer. It’s surprisingly simple, uses ingredients you probably already have, and the result? Pure magic. It’s like a warm, gooey caramel candy but in cake form, and honestly, it’s a hundred times better than any store-bought version I’ve ever tried. It’s seriously my go-to when I need a guaranteed crowd-pleaser, and it never, ever disappoints. This butterscotch cake is truly something special.
Thank you for reading this post, don't forget to subscribe!
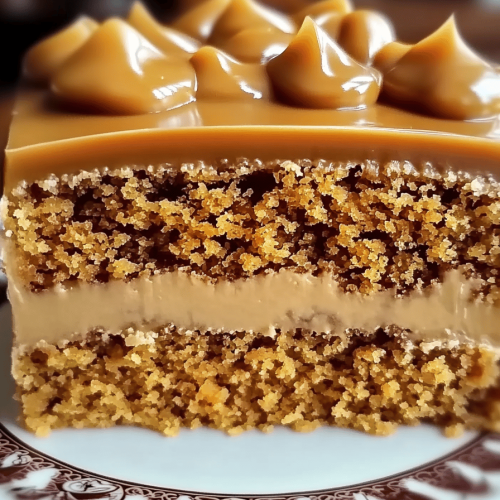
What is Butterscotch Cake?
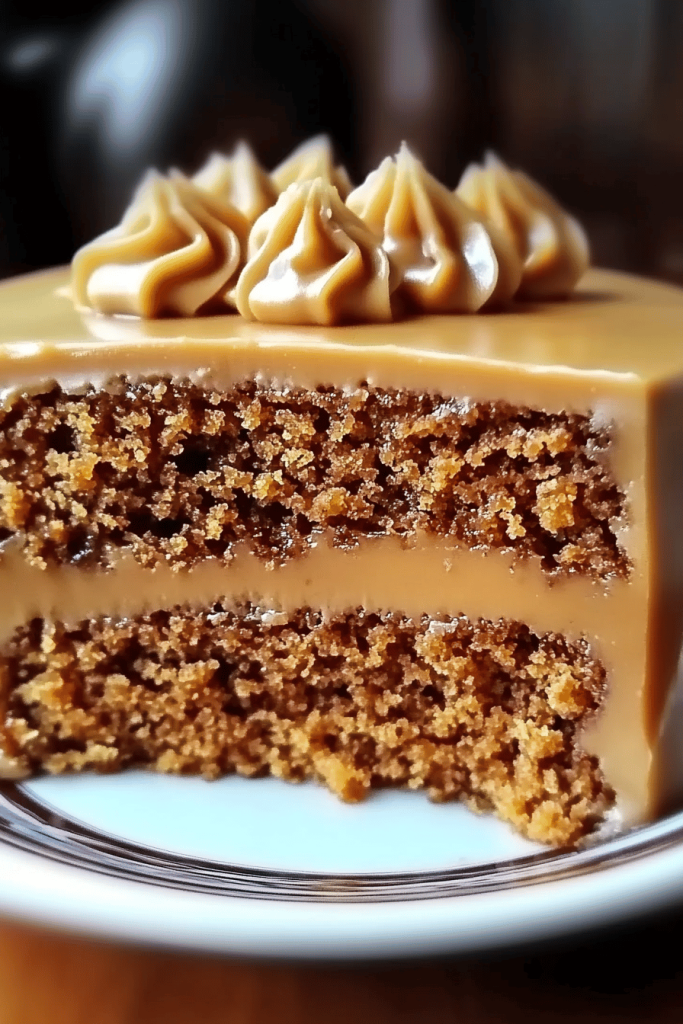
So, what exactly *is* this glorious butterscotch cake? At its heart, it’s a rich, moist cake infused with that irresistible butterscotch flavor. Think of it as the comforting essence of a butterscotch candy bar, transformed into a tender, flavorful cake. The “butterscotch” part comes from a beautiful combination of Brown Sugar and butter, which caramelizes and deepens in flavor as it bakes. It’s not overly sweet, but it has this wonderful depth that you just can’t get from plain vanilla or chocolate. It’s essentially a celebration of simple, beautiful ingredients coming together to create something truly extraordinary. It’s the kind of cake that makes you close your eyes with the first bite and just savour the moment. It’s familiar yet exciting, all at the same time.
Why you’ll love this recipe?
I’ve made a lot of cakes in my day, and I can honestly say this butterscotch cake is a true standout.
The Flavor is Out of This World: The Flavor is Out of This World: The Flavor is Out of This World: The Flavor is This is the big one, right? The flavor is just divine. It’s that perfect balance of sweet, buttery, and caramel notes that swirl around your taste buds. It’s not cloying; it’s sophisticated and incredibly satisfying. Every bite just melts in your mouth.
Surprisingly Simple to Make: Honestly, this is the part that shocks people. You don’t need any fancy techniques or equipment. It comes together in one bowl for the most part, and the steps are straightforward. I’ve made it on busy weeknights and it’s always a lifesaver. It proves that incredible flavor doesn’t have to mean complicated steps.
Budget-Friendly Brilliance: The ingredients are so humble! Brown Sugar, butter, flour, eggs… things you probably already have in your pantry. This means you can whip up a showstopper without breaking the bank. It’s proof that simple, quality ingredients can create something spectacular.
Versatile and Adaptable: This cake is fantastic on its own, but it’s also a brilliant canvas. The filling can be tweaked, the glaze can be varied, and it’s just as good served slightly warm as it is at room temperature. It’s perfect for a quiet afternoon tea or a grand celebration. For me, this butterscotch cake is the Ultimate Comfort bake.
How to Make This Butterscotch Cake
Quick Overview
This recipe is all about bringing together simple ingredients to create a symphony of butterscotch flavor. We’ll whisk together the wet and dry ingredients separately before combining them into a beautifully moist batter. A simple, luscious filling gets swirled in, and then it’s off to the oven for a magical transformation. Top it all off with a sweet, glossy glaze, and you’ve got perfection. It’s straightforward, requiring minimal fuss for maximum flavour impact.
Ingredients
Here’s what you’ll need to create this masterpiece. Don’t be intimidated by the list; it’s all pretty standard stuff!
For the Main Batter:
- 2 ¼ cups all-purpose flour
- 1 ½ teaspoons baking soda
- ½ teaspoon salt
- 1 cup (2 sticks) unsalted butter, softened
- 1 ¾ cups packed light brown sugar
- 2 large eggs, room temperature
- 1 teaspoon vanilla extract
- 1 cup buttermilk, room temperature
For the Filling:
- ½ cup packed light brown sugar
- ¼ cup unsalted butter
- ¼ cup heavy cream
- ½ teaspoon vanilla extract
For the Glaze:
- 1 cup powdered sugar
- 2-3 tablespoons milk or cream
- ½ teaspoon vanilla extract
Step-by-Step Instructions
Step 1: Preheat & Prep Pan
First things first, let’s get the oven ready. Preheat it to 350°F (175°C). Now, grab a 9×13 inch baking pan. Grease it really well with butter or cooking spray, and then dust it lightly with flour. Tap out any excess flour. This step is crucial to ensure your beautiful cake doesn’t stick. I always give mine an extra little rub with butter, just to be sure!
“New family favorite! This butterscotch cake was so flavorful and ridiculously easy. Crowd-pleaser for sure.”
Step 2: Mix Dry Ingredients
In a medium bowl, whisk together your flour, baking soda, and salt. Give it a good mix until everything is evenly distributed. This ensures the leavening agents are spread out, leading to a consistent rise. Set this aside.
Step 3: Mix Wet Ingredients
In a large bowl, cream together the softened butter and packed Brown Sugar. Beat them with an electric mixer (or a good old whisk and some elbow grease!) until the mixture is light and fluffy. This usually takes about 3-5 minutes. Then, beat in the eggs, one at a time, making sure to scrape down the sides of the bowl after each addition. Stir in the vanilla extract.
Step 4: Combine
Now, we alternate adding the dry ingredients and the buttermilk to the wet ingredients. Start by adding about a third of the dry ingredients to the butter mixture and mix until just combined. Then, add half of the buttermilk and mix again. Repeat this process: another third of the dry ingredients, the rest of the buttermilk, and finally, the remaining dry ingredients. Mix until just combined – don’t overmix! Overmixing can lead to a tough cake, and we want this to be tender and melt-in-your-mouth.
Step 5: Prepare Filling
While the batter is resting (or you can do this while the cake bakes, depending on your timing!), let’s make that luscious filling. In a small saucepan over medium heat, combine the ½ cup Brown Sugar, ¼ cup butter, and ¼ cup heavy cream. Stir constantly until the butter is melted and the sugar is dissolved. Bring it to a gentle simmer and cook for about 1-2 minutes, stirring, until it thickens slightly. Remove from heat and stir in the ½ teaspoon of vanilla extract. It should be smooth and glossy.
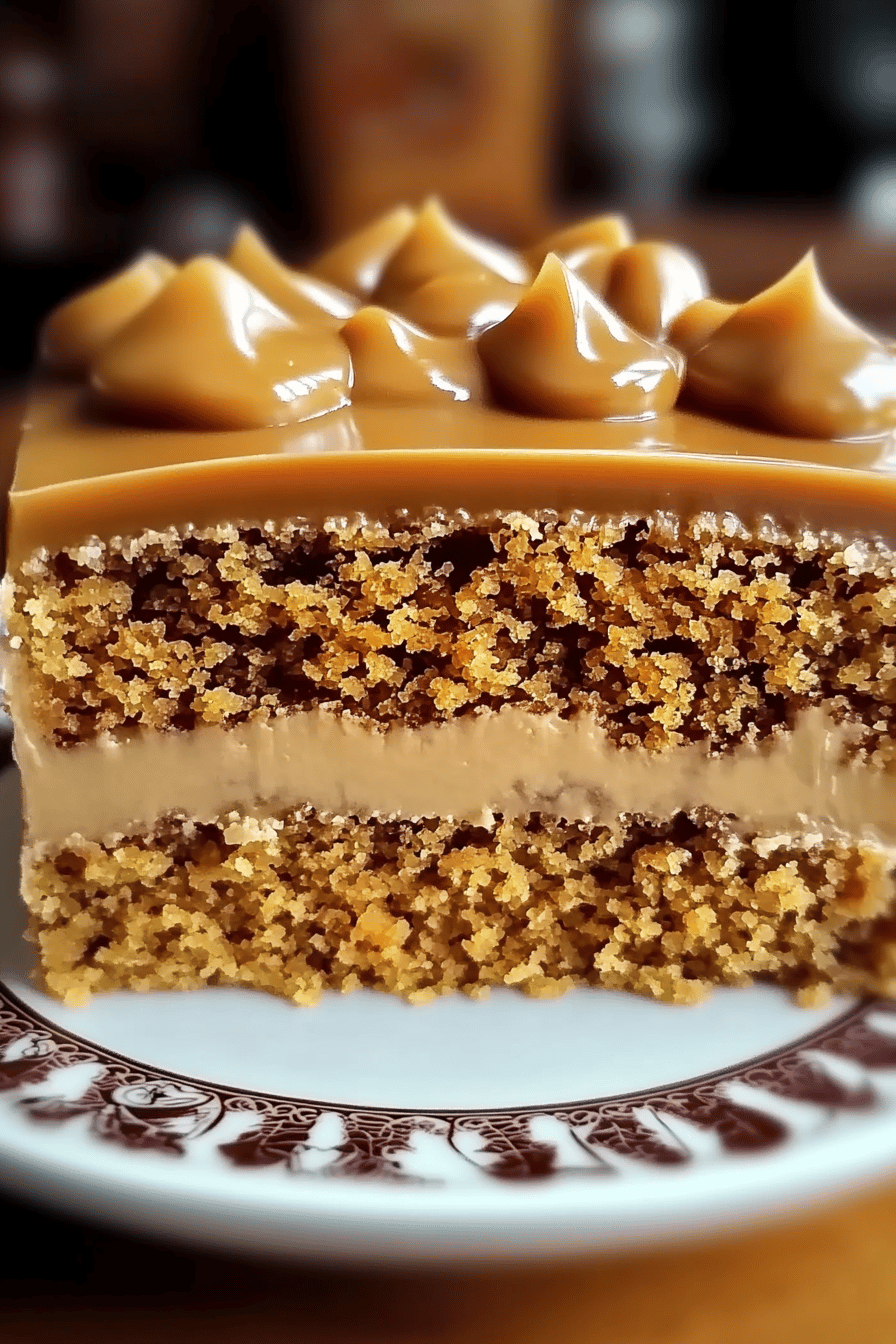
Step 6: Layer & Swirl
Pour about half of the Cake Batter into your prepared baking pan and spread it out evenly. Now, dollop spoonfuls of the warm butterscotch filling over the batter. Don’t worry about being precise; it’s going to swirl beautifully. Then, pour the remaining batter over the filling. If you want more swirl, you can gently drag a knife or a skewer through the batter a few times, creating those gorgeous marbled patterns. It looks so pretty!
Step 7: Bake
Pop the pan into your preheated oven. Bake for 30-40 minutes, or until a wooden skewer or toothpick inserted into the center of the cake comes out clean. Baking times can vary depending on your oven, so start checking around the 30-minute mark. The top should be golden brown and spring back lightly when touched.
Step 8: Cool & Glaze
Once it’s baked, let the cake cool in the pan on a wire rack for about 15-20 minutes. While it’s cooling, whisk together the powdered sugar, 2 tablespoons of milk/cream, and vanilla extract for the glaze. Add more milk or cream, a teaspoon at a time, until you reach your desired drizzling consistency. Once the cake has cooled slightly, drizzle the glaze all over the top. It will set slightly as it cools, creating a lovely finish.
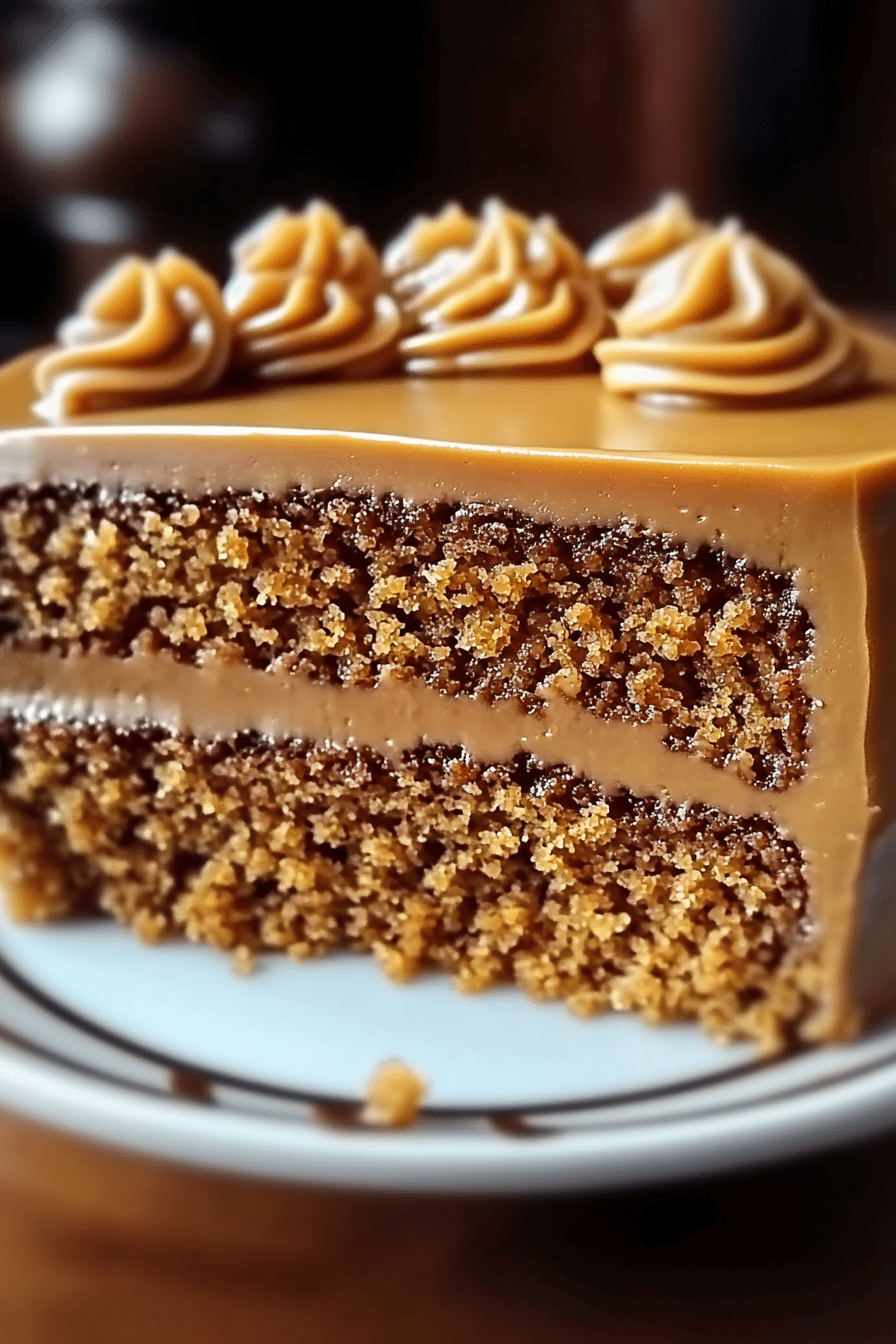
Step 9: Slice & Serve
Let the cake cool for at least another 30 minutes before slicing and serving. It’s delicious when it’s still a little warm, but it’s also fantastic at room temperature. Cut it into squares and prepare for happy sighs. The swirl effect is always such a lovely surprise when you cut into it!
What to Serve It With
This butterscotch cake is so versatile, it fits in perfectly for any occasion, or just when you need a little something sweet. Here are some of my favorite ways to enjoy it:
For Breakfast: Yep, I said breakfast! A small sliver of this cake with a strong cup of coffee is pure bliss. It’s not overly rich, so it feels decadent but still acceptable for a morning treat. Sometimes, I’ll even toast a piece lightly for a warm, gooey start to the day.
For Brunch: This cake shines at brunch. Arrange pretty slices on a tiered stand. It pairs beautifully with a mimosa or a sparkling cider. It adds a touch of elegance without being fussy, and it’s always a hit with guests. The warm caramel notes are just lovely with fresh fruit.
As Dessert: This is its natural habitat! Serve it slightly warm with a scoop of vanilla bean Ice Cream or a dollop of whipped cream. A drizzle of extra caramel sauce doesn’t hurt either. It’s a guaranteed winner after any meal. It’s sophisticated enough for company but comforting enough for a quiet night in.
For Cozy Snacks: My kids love this cake as an afternoon pick-me-up with a glass of cold milk. It’s the perfect antidote to a long day or a rainy afternoon. It just makes everything feel a little bit better.
Top Tips for Perfecting Your Butterscotch Cake
I’ve made this butterscotch cake more times than I can count, and I’ve picked up a few tricks along the way that I think will help you achieve Cake Perfection. These are the things I always do, and they make a real difference!
Room Temperature Ingredients are Key: This is a big one for baking, and it’s especially important for this butterscotch cake. Using room temperature butter, eggs, and buttermilk helps them emulsify properly, creating a smoother batter and a more tender cake. If you forget to take them out in advance, you can quickly warm eggs by placing them in a bowl of warm water for 5-10 minutes, and gently warm buttermilk in the microwave for just a few seconds.
Don’t Overmix the Batter: Seriously, I can’t stress this enough. Once you add the dry ingredients to the wet, mix only until they’re *just* incorporated. A few tiny streaks of flour are okay; they’ll disappear during baking. Overmixing develops the gluten in the flour too much, which leads to a tough, dense cake. We want light and airy here!
Perfect the Swirl: The swirl is what makes this cake visually stunning. Don’t be afraid to get a little creative! After dolloping the filling, you can use a butter knife, a skewer, or even a chopstick to gently swirl it into the batter. Make figure-eights or random loops. Just don’t overdo it, or you’ll end up with just brown batter.
Brown Sugar Matters: Make sure your brown sugar is fresh and moist. If it’s hard and clumpy, it won’t cream properly with the butter, affecting the texture and flavor. You can revive hardened brown sugar by placing it in a microwave-safe bowl with a damp paper towel for 15-20 seconds.
“Packed with flavor and so simple. Exactly what I wanted from this butterscotch cake!”
Baking Time Precision: Ovens can be fickle! Start checking your cake for doneness around the 30-minute mark. A clean toothpick test is your best friend here. If it comes out with wet batter, give it another 5 minutes. If it comes out with moist crumbs, it’s probably perfect. Avoid opening the oven door too often, as this can cause the cake to sink.
Glaze Consistency is Everything: The glaze is the finishing touch. For a thick, spoonable glaze, use less liquid. For a thin, drizzly glaze, add more liquid, a teaspoon at a time. It’s better to start with too little liquid and add more than the other way around. Taste as you go to ensure it’s sweet and delicious.
Storing and Reheating Tips
This butterscotch cake is so good, you’ll want to savor every bite, and luckily, it stores beautifully! Here’s how I keep mine fresh:
Room Temperature Storage: If you plan on eating the cake within 2-3 days, it’s perfectly fine to store it at room temperature. Make sure it’s completely cooled first. Cover it tightly with plastic wrap or aluminum foil, or place it in an airtight container. This prevents it from drying out. I usually keep mine on the counter for quick access!
Refrigerator Storage: For longer storage, up to about a week, keep it in the refrigerator. Again, make sure it’s fully cooled. Cover it well in an airtight container. The cake might firm up a bit in the fridge, which is totally normal. You can bring it back to room temperature before serving, or enjoy it cold.
Freezer Instructions: This cake freezes surprisingly well! Let it cool completely, then wrap it tightly in plastic wrap, followed by a layer of aluminum foil or a freezer-safe bag. It can be frozen for up to 2-3 months. To thaw, unwrap it and let it sit at room temperature for a few hours, or thaw it in the refrigerator overnight.
Glaze Timing: I find it best to glaze the cake *after* it has cooled but before storing it. If you’re planning to freeze it, you might consider glazing it *after* thawing to ensure the freshest finish. However, I’ve frozen it with the glaze on, and it’s still delicious!
Frequently Asked Questions
Final Thoughts
I truly believe this butterscotch cake is one of those recipes that will become a staple in your kitchen. It’s the perfect balance of comforting nostalgia and utterly delicious flavor. It’s proof that you don’t need complicated techniques or exotic ingredients to create something truly special. Whether you’re baking for a crowd, a special occasion, or just because you deserve a treat, this cake is guaranteed to bring smiles. It’s the kind of cake that makes people ask, “Wow, who made this?” and feel so proud when you say, “I did!” If you love the comforting flavors of caramel and butterscotch, this cake is your destiny. Give it a try, and I promise you won’t be disappointed. If you enjoyed this, you might also love my Classic Vanilla Bean Pound Cake or my Chocolate Molten Lava Cakes!
I can’t wait to hear how yours turns out! Please leave a comment below and let me know your thoughts, or share any variations you tried. Happy baking, everyone!
Butterscotch Cake
Ingredients
Main Ingredients
- 2.5 cups all-purpose flour
- 1.5 cups granulated sugar
- 2 teaspoons baking soda
- 1 teaspoon salt
- 1 cup unsalted butter, softened
- 0.5 cup brown sugar, packed
- 4 large eggs
- 1 teaspoon vanilla extract
- 1 cup buttermilk
Instructions
Preparation Steps
- Preheat oven to 350°F (175°C). Grease and flour two 9-inch round cake pans.
- In a large bowl, whisk together flour, granulated sugar, baking soda, and salt.
- In a separate bowl, cream together softened butter and brown sugar until light and fluffy.
- Beat in the eggs one at a time, then stir in the vanilla extract.
- Gradually add the dry ingredients to the wet ingredients, alternating with the buttermilk, beginning and ending with the dry ingredients. Mix until just combined.
- Divide the batter evenly between the prepared cake pans.
- Bake for 30-35 minutes, or until a wooden skewer inserted into the center comes out clean.
- Let the cakes cool in the pans for 10 minutes before inverting them onto a wire rack to cool completely.


