I remember standing in the kitchen, a tiny thing, watching my Grandma prepare Sunday dinner. The aroma of herbs and roasting chicken would fill our house, a scent that still, to this day, wraps me in a warm hug. Her baked chicken breast wasn’t just food; it was an event. It was a promise of comfort, family, and love. For years, I tried to replicate that magic, fiddling with marinades and oven temperatures, convinced it was some secret family alchemy. Then, one busy Tuesday night, when dinner felt like a monumental task, I stumbled upon a simpler, yet equally delicious way to get that perfect baked chicken breast. It’s become my go-to, the dish I whip up when I need something reliable, something that tastes like home, and honestly, something that makes me look like a kitchen rockstar without breaking a sweat. It’s a far cry from those dry, bland chicken breasts that often get a bad rap, and I can’t wait for you to try it.
Thank you for reading this post, don't forget to subscribe!What is your favorite baked chicken breast recipe?
So, what exactly makes this baked chicken breast recipe so special? Think of it as your culinary superhero for weeknights. It’s essentially incredibly flavorful, ridiculously moist chicken breasts that are baked to tender perfection in under 40 minutes, with minimal fuss. The magic lies in a super simple, yet incredibly effective, technique that locks in all the juices and infuses the meat with amazing flavor. It’s not about complicated marinades that take hours or fancy ingredients you can’t pronounce. It’s about smart, simple cooking that delivers maximum taste. I like to call it “effortless elegance” for your dinner table. It’s the kind of dish that makes your family think you slaved away all day, when in reality, you probably spent more time picking out what to watch on TV.
Why you’ll love this recipe?
Honestly, there are so many reasons this baked chicken breast recipe has earned a permanent spot in my cooking rotation, and I know you’ll feel the same. First off, the flavor is just out of this world. We’re talking juicy, tender chicken that’s infused with a subtle, savory goodness that makes every bite a delight. It’s not overpowering, just perfectly seasoned. Then there’s the simplicity – oh, the glorious simplicity! You don’t need to be a gourmet chef to nail this. The steps are straightforward, and the ingredients are things you likely already have in your pantry or can grab easily at any grocery store. This makes it incredibly cost-efficient, especially when you’re trying to feed a family without blowing your budget. And the versatility? It’s a dream! This chicken is fantastic on its own, but it also shines in salads, sandwiches, or served with a side of your favorite veggies. What I love most is that it’s a lifesaver on busy nights. When I get home late and the last thing I want to do is cook, this recipe is my saving grace. It delivers a satisfying, healthy meal without the stress. It’s a step up from your basic baked chicken, but honestly, it’s just as easy as making a simple salad. If you’ve struggled with dry, boring chicken breasts in the past, trust me, this is the recipe that will change your mind forever.
How do I make Baked Chicken Breast?
Quick Overview
The whole process is wonderfully straightforward. We’re talking about a quick prep where you season your chicken breasts generously, and then they bake in a hot oven until they’re perfectly cooked and incredibly juicy. No fuss, no complicated steps, just pure, delicious baked chicken breast. It’s designed for speed and flavor, meaning you get a fantastic meal on the table with minimal effort. It’s the kind of recipe that proves healthy eating can be absolutely delicious and totally achievable, even on your busiest days.
Ingredients
For the Chicken Breast:
4-6 boneless, skinless chicken breasts (about 6-8 ounces each) – I always look for ones that are relatively uniform in thickness so they cook evenly. If yours are super thick, you might want to lightly pound them to an even thickness, but it’s usually not necessary with this method.
2 tablespoons olive oil – Extra virgin is great, but any good quality olive oil will do.
1 teaspoon garlic powder – Or use fresh minced garlic if you’re feeling fancy, about 2 cloves.
1 teaspoon onion powder – Adds a lovely depth of flavor.
1 teaspoon dried Italian seasoning – Or a mix of dried oregano, thyme, and basil.
1/2 teaspoon paprika – For a little color and a hint of smokiness.
Salt and freshly ground black pepper, to taste – Don’t be shy with the salt and pepper!
Optional Flavor Boosters:
A pinch of cayenne pepper for a little kick.
A tablespoon of fresh chopped rosemary or thyme stirred into the oil.
A squeeze of lemon juice over the chicken just before baking.
Step-by-Step Instructions
Step 1: Preheat & Prep Pan
First things first, get your oven preheating to 400°F (200°C). While the oven is warming up, grab a baking dish or a rimmed baking sheet. I like to line my baking sheet with parchment paper or aluminum foil for super easy cleanup. Seriously, it’s a game-changer and makes dealing with any chicken drippings a breeze. If you’re using a baking dish, a little spray of cooking oil can prevent sticking.
“The baked chicken breast turned out amazing. My kids asked for seconds. Saving this one!”
Step 2: Mix Dry Ingredients
In a small bowl, combine the garlic powder, onion powder, Italian seasoning, paprika, salt, and pepper. If you’re adding any dried herbs or spices like cayenne, mix them in here too. This little step ensures all those delicious seasonings are evenly distributed later. You want a nice, uniform blend of savory goodness ready to coat your chicken.
Step 3: Mix Wet Ingredients
In a separate small bowl or directly in the bottom of your baking dish/on the baking sheet, add the olive oil. If you’re using fresh herbs like rosemary or thyme, now’s the time to give them a quick chop and stir them into the oil. This helps them release their fragrant oils before they hit the chicken.
Step 4: Combine
Pat your chicken breasts dry with paper towels. This is a crucial step for getting a nice sear and ensuring the seasoning sticks well. Place the dried chicken breasts into the baking dish or onto your prepared baking sheet. Drizzle the olive oil mixture over the chicken. Then, sprinkle the dry seasoning mix evenly over both sides of each chicken breast. Use your hands to really rub the oil and seasonings into the chicken, making sure every nook and cranny is coated. This is where the flavor really starts to build!
Step 5: Prepare Filling
This step isn’t for a filling in the traditional sense, but it’s about preparing the chicken for optimal baking. Ensure each piece is well-coated and resting comfortably in the pan. If you’re using lemon juice, you can squeeze it over the chicken now, or wait until it’s out of the oven.
Step 6: Layer & Swirl
There’s no layering or swirling needed for this simple baked chicken breast! Just ensure the chicken breasts are in a single layer in your baking dish or on the sheet pan, not overlapping too much. This allows them to cook evenly and get a nice little crust on the outside. If your chicken breasts are quite different in size, you can arrange the smaller ones towards the edges of the pan where it might cook a little faster.
Step 7: Bake
Place the baking dish or sheet pan into your preheated oven. Bake for 25-30 minutes. The exact time will depend on the thickness of your chicken breasts. The best way to tell if it’s done is to use a meat thermometer. You’re looking for an internal temperature of 165°F (74°C) in the thickest part of the breast. If you don’t have a thermometer, you can also slice into the thickest part – the juices should run clear, and the meat should be opaque white all the way through. I often find myself peeking in around the 25-minute mark to check on it.
Step 8: Cool & Glaze
Once the chicken reaches the perfect temperature, carefully remove it from the oven. Let it rest in the pan for about 5-10 minutes before slicing. This resting period is super important! It allows the juices to redistribute throughout the meat, ensuring every bite is as moist and flavorful as possible. If you’re adding a final drizzle of lemon juice or any other finishing touches, do it now while it’s still warm.
Step 9: Slice & Serve
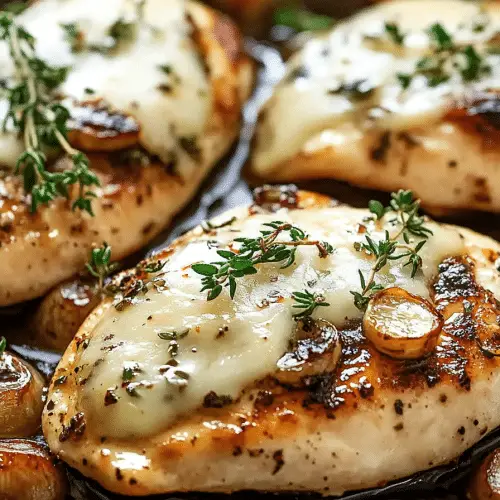
After resting, you can slice your baked chicken breast against the grain into nice, thick pieces, or serve them whole. It looks absolutely beautiful and smells incredible. The meat should be tender and moist, easily falling apart with a fork. It’s ready to be the star of your meal!
“Packed with flavor and so simple. Exactly what I wanted from this baked chicken breast!”
What to Serve It With
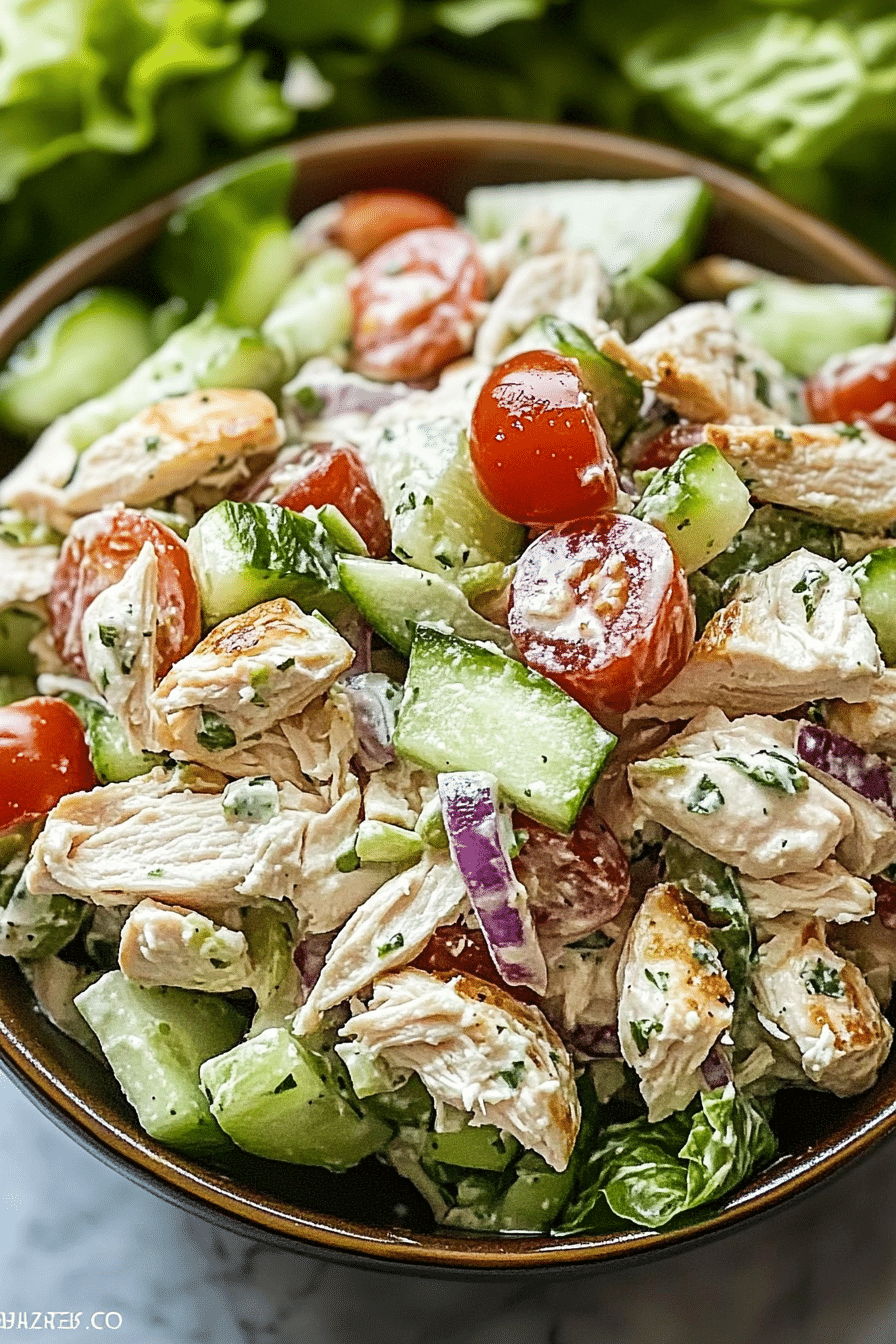
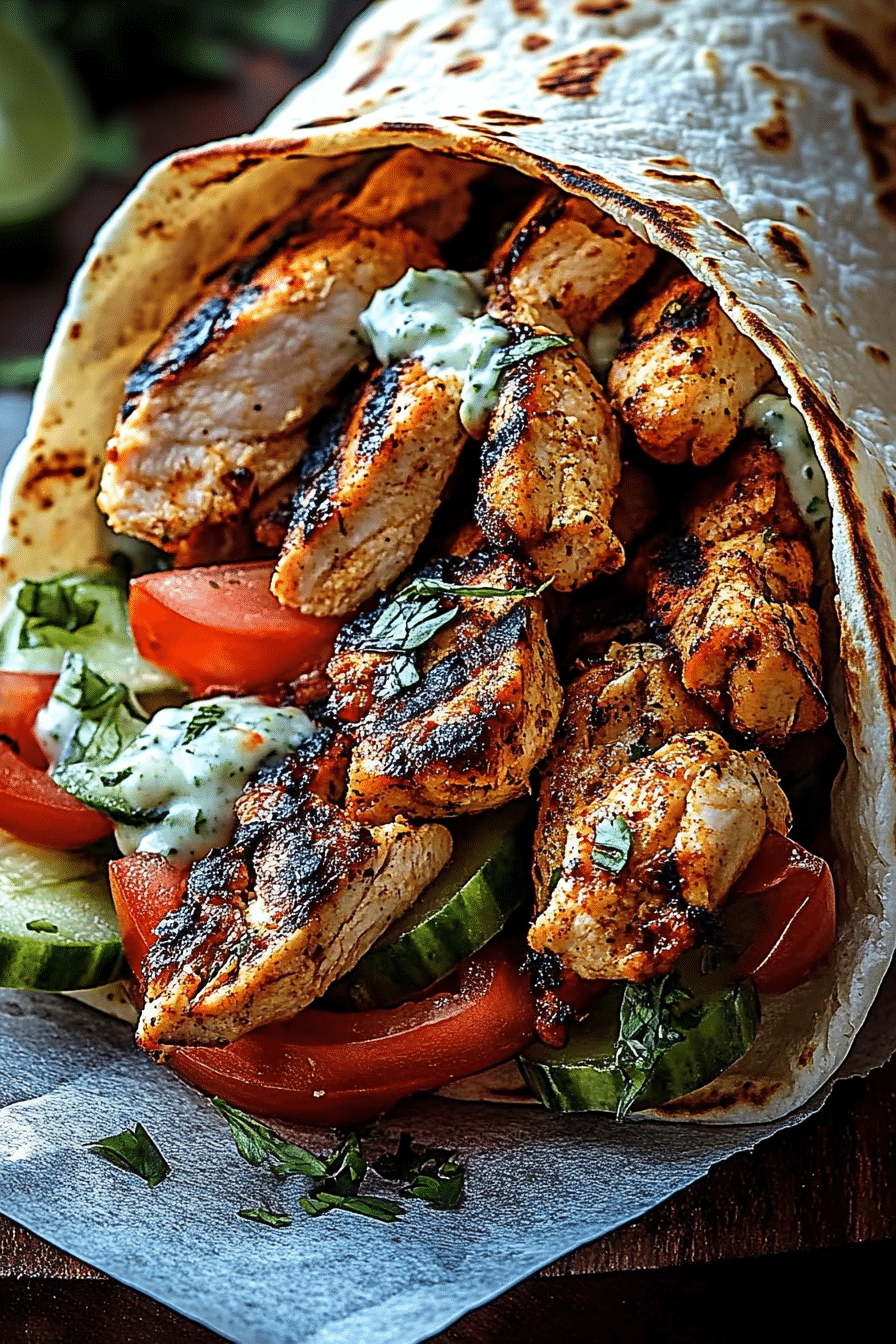
This versatile baked chicken breast is a true chameleon when it comes to side dishes. For a quick and easy breakfast on the go, I love slicing it up and adding it to an omelet or scrambled eggs. It adds protein and a savory kick that’s so much more interesting than plain eggs. For a more leisurely weekend brunch, it pairs wonderfully with fluffy pancakes or waffles, offering a savory counterpoint to the sweetness. Think of it as a more sophisticated alternative to bacon! As a main course for dinner, the options are endless. It’s fantastic served alongside roasted vegetables like broccoli or asparagus, creamy mashed potatoes, or a simple side salad. For a lighter option, shredding the cooked chicken and tossing it into a big, vibrant salad is always a winner. My kids also love it tucked into warm tortillas for simple chicken tacos. It’s a weeknight hero that can be dressed up or down depending on the occasion. You can even chop it up and mix it with a little mayo and celery for an incredibly easy chicken salad sandwich filling – perfect for lunches!
Top Tips for Perfecting Your Baked Chicken Breast
Over the years, I’ve picked up a few tricks that really elevate this simple baked chicken breast to its best potential. First, let’s talk about the chicken itself. Always try to use chicken breasts that are similar in size and thickness. If you have one really thick breast and a few thinner ones, the thicker one might still be a little undercooked when the thinner ones are perfectly done, or vice versa. My little trick is to place the thicker breasts between two pieces of plastic wrap and gently pound them with a rolling pin or the flat side of a meat mallet until they’re an even thickness, maybe about ¾ to 1 inch thick. This isn’t about making them super thin, just evening them out for consistent cooking. Secondly, the resting period is non-negotiable! I know it’s tempting to dive right in, but letting the chicken rest for 5-10 minutes after baking allows those precious juices to redistribute back into the meat. If you cut into it too soon, all that moisture will just spill out onto the plate, leaving you with dry chicken. Trust me, I’ve learned this the hard way many times! When it comes to seasoning, don’t be afraid to get creative. While the Italian seasoning blend is fantastic, I’ve also had great results with just salt, pepper, and a bit of smoked paprika. For a spicier kick, add a pinch of cayenne pepper to the dry mix. If you love garlic, feel free to use fresh minced garlic instead of powder; just be aware it might brown a bit faster. For baking, make sure your oven is truly preheated. An oven that’s not hot enough won’t give you that lovely slight crust on the outside. I also always place my baking dish or sheet pan on the middle rack to ensure even heat circulation all around the chicken. If you find your chicken is browning too quickly on top before it’s cooked through, you can loosely tent it with foil for the last 10-15 minutes of baking. Lastly, don’t overcook it! Chicken breast can go from perfectly cooked to dry and rubbery in a matter of minutes. Using a meat thermometer is the most reliable way to ensure it’s just right. Aim for that 165°F (74°C) internal temperature, and pull it out as soon as it hits that mark.
Storing and Reheating Tips
This baked chicken breast is fantastic for meal prep, which is a lifesaver for me! Once it’s completely cooled, store it in an airtight container. At room temperature, cooked chicken is only safe to leave out for a maximum of two hours, so it’s best to get it put away promptly. In the refrigerator, it will stay fresh and delicious for about 3 to 4 days. I usually store it whole, but if you know you’ll be using it for sandwiches or salads, slicing or shredding it beforehand can make things even quicker. If you plan to freeze it, wrap the cooled chicken tightly in plastic wrap, then in aluminum foil, or place it in a freezer-safe bag. It can be kept in the freezer for up to 2-3 months. When you’re ready to reheat refrigerated chicken, the best way to keep it moist is to gently warm it in a covered dish in the oven at around 325°F (160°C) for about 10-15 minutes, or until heated through. You can also microwave it, but be careful not to overheat it, as it can become tough. For frozen chicken, it’s best to thaw it overnight in the refrigerator before reheating using the oven method. If you’re in a real hurry, you can carefully reheat it from frozen in the oven, but it will take longer. My personal favorite way to reheat it is to slice it thinly and warm it up in a skillet with a splash of broth or water to help keep it juicy.
Frequently Asked Questions
Final Thoughts
I really hope you give this baked chicken breast recipe a try. It’s become such a staple in my kitchen because it’s foolproof, delicious, and incredibly versatile. It proves that you don’t need complicated techniques or fancy ingredients to make a truly satisfying meal. It’s the kind of recipe that brings a little bit of calm to a busy day and a whole lot of flavor to your plate. If you love this simple approach to chicken, you might also enjoy my recipe for Lemon Herb Roasted Chicken Thighs, which offers a similar effortless elegance. Or, for a different kind of weeknight wonder, check out my Sheet Pan Sausage and Veggies. I can’t wait to hear what you think! Please leave a comment below and let me know how yours turned out, or if you have any fun twists you tried. Happy baking!
Baked Chicken Breast
Ingredients
Main Ingredients
- 4 pieces boneless, skinless chicken breasts
- 2 tablespoons olive oil
- 1 teaspoon paprika
- 0.5 teaspoon garlic powder
- 0.5 teaspoon onion powder
- 0.25 teaspoon black pepper
- 1 teaspoon salt
Instructions
Preparation Steps
- Preheat oven to 400°F (200°C).
- Pat the chicken breasts dry with paper towels. This helps create a better sear.
- In a small bowl, combine olive oil, paprika, garlic powder, onion powder, black pepper, and salt.
- Rub the spice mixture all over the chicken breasts, ensuring they are evenly coated.
- Place the seasoned chicken breasts on a baking sheet lined with parchment paper or in a baking dish.
- Bake for 20-25 minutes, or until the internal temperature reaches 165°F (74°C) and the chicken is no longer pink in the center.
- Let the chicken rest for 5 minutes before slicing and serving.