## The Ultimate Baked Caramelized Onion Dip: A Crowd-Pleasing Appetizer
Thank you for reading this post, don't forget to subscribe!If you’re on the hunt for an appetizer that will disappear in minutes at your next gathering, look no further! This baked caramelized onion dip is the answer. With its deeply savory and subtly sweet flavor profile, coupled with a luxuriously creamy texture, it’s a guaranteed crowd-pleaser. Best of all, it’s surprisingly easy to make, using simple ingredients you likely already have in your kitchen. Get ready to elevate your appetizer game with this addictive dip!
My journey with this recipe began at a neighborhood potluck. One bite of a similar dip, and I was hooked! The host, a generous family friend, shared her version with me, and it’s been a cherished part of our family gatherings ever since. My kids adore the creamy consistency, and my spouse can’t resist the perfect balance of sweet and savory notes. It’s more than just a recipe; it’s a source of joy and warm memories around our table. I’ve tweaked it over the years to reach perfection, and I’m so excited to share my perfected version with you.
### Why This Caramelized Onion Dip Will Become Your New Go-To
This isn’t just another dip recipe; it’s a flavor explosion waiting to happen. Here’s why you’ll absolutely love it:
* **Unforgettable Flavor:** The slow-cooked, caramelized onions create a depth of flavor that’s simply irresistible. Paired with the creamy tang of the cheese, it’s a symphony of tastes that will leave your guests wanting more.
* **Effortless Elegance:** Despite its sophisticated flavor, this dip is incredibly easy to make. Minimal prep time and simple steps make it perfect for busy hosts.
* **Versatile Delight:** Whether it’s a casual get-together, a game-day celebration, or a cozy night in, this dip fits the bill. Its versatility makes it a winner for any occasion.
* **Pantry-Friendly:** You probably already have most of the ingredients in your pantry and refrigerator. No need for a special trip to the grocery store!
* **Adaptable:** This recipe is easily customizable to suit your preferences and dietary needs. I’ll share some delicious variations later in this post.
## Mastering the Art of Caramelized Onion Dip
Let’s dive into the secrets of creating the perfect baked caramelized onion dip. From ingredient selection to cooking techniques, I’ll guide you through each step to ensure your dip is a resounding success.
### Ingredient Spotlight: The Key to Flavor
The quality of your ingredients directly impacts the flavor of the final dish. Here’s a closer look at the key players:
* **Onions:** Yellow onions are the star of the show. Their natural sweetness intensifies as they caramelize, creating that signature flavor. Look for firm, unblemished onions for the best results. While yellow onions are preferred, you can experiment with other varieties like Vidalia for an even sweeter flavor or red onions for a slightly sharper bite.
* **Cream Cheese:** Full-fat cream cheese provides the rich, creamy base for the dip. Make sure it’s softened to room temperature for easy mixing. For a tangier flavor, consider using Neufchâtel cheese, which has a similar texture but slightly less fat.
* **Sour Cream:** Sour cream adds a touch of tanginess and moisture to the dip. For a lighter option, you can substitute plain Greek yogurt.
* **Mozzarella Cheese:** Shredded mozzarella cheese creates a delicious, melty topping. You can use low-moisture mozzarella for a less watery dip. Feel free to experiment with other cheeses like Gruyère, provolone, or even a smoked Gouda for a unique flavor twist.
* **Olive Oil:** Use a good-quality olive oil for caramelizing the onions. The flavor of the oil will subtly enhance the overall taste of the dip.
* **Seasonings:** Simple seasonings like salt and pepper are all you need to enhance the natural flavors of the ingredients.
### Step-by-Step Guide: From Prep to Perfection
Follow these easy steps to create your own irresistible baked caramelized onion dip:
#### Step 1: Caramelizing the Onions
Begin by slicing the onions thinly. In a large pan over medium heat, add olive oil and the onions. Cook slowly, stirring occasionally, for about 25 minutes until they turn golden brown and caramelized.
“The Baked Caramelized Onion Dip turned out amazing. My kids asked for seconds. Saving this one!”
**Pro Tip:** Patience is key when caramelizing onions. Don’t rush the process! The slow, gentle cooking is what brings out their natural sweetness. If the onions start to stick to the pan, add a splash of water or broth to deglaze the pan and prevent burning.
#### Step 2: Preparing the Cheese Base
Preheat your oven to 375°F (190°C). While the onions are caramelizing, allow the Cream Cheese to soften in a mixing bowl at room temperature.
**Why soften the cream cheese?** Softened cream cheese blends seamlessly with the other ingredients, creating a smooth and creamy dip.
#### Step 3: Combining the Flavors
Add the caramelized onions to the softened Cream Cheese. Mix in the sour cream and half of the shredded mozzarella. Stir until everything is well combined.
**Don’t overmix!** Overmixing can result in a dense dip. Gently fold the ingredients together until just combined.
#### Step 4: Baking to Golden Perfection
Transfer the mixture into an oven-safe dish. Sprinkle the remaining mozzarella on top evenly to create a cheesy crust as it bakes.
**Choose the right dish:** An 8×8 inch baking dish is ideal for this recipe. You can also use a cast-iron skillet for a rustic presentation.
#### Step 5: The Grand Finale
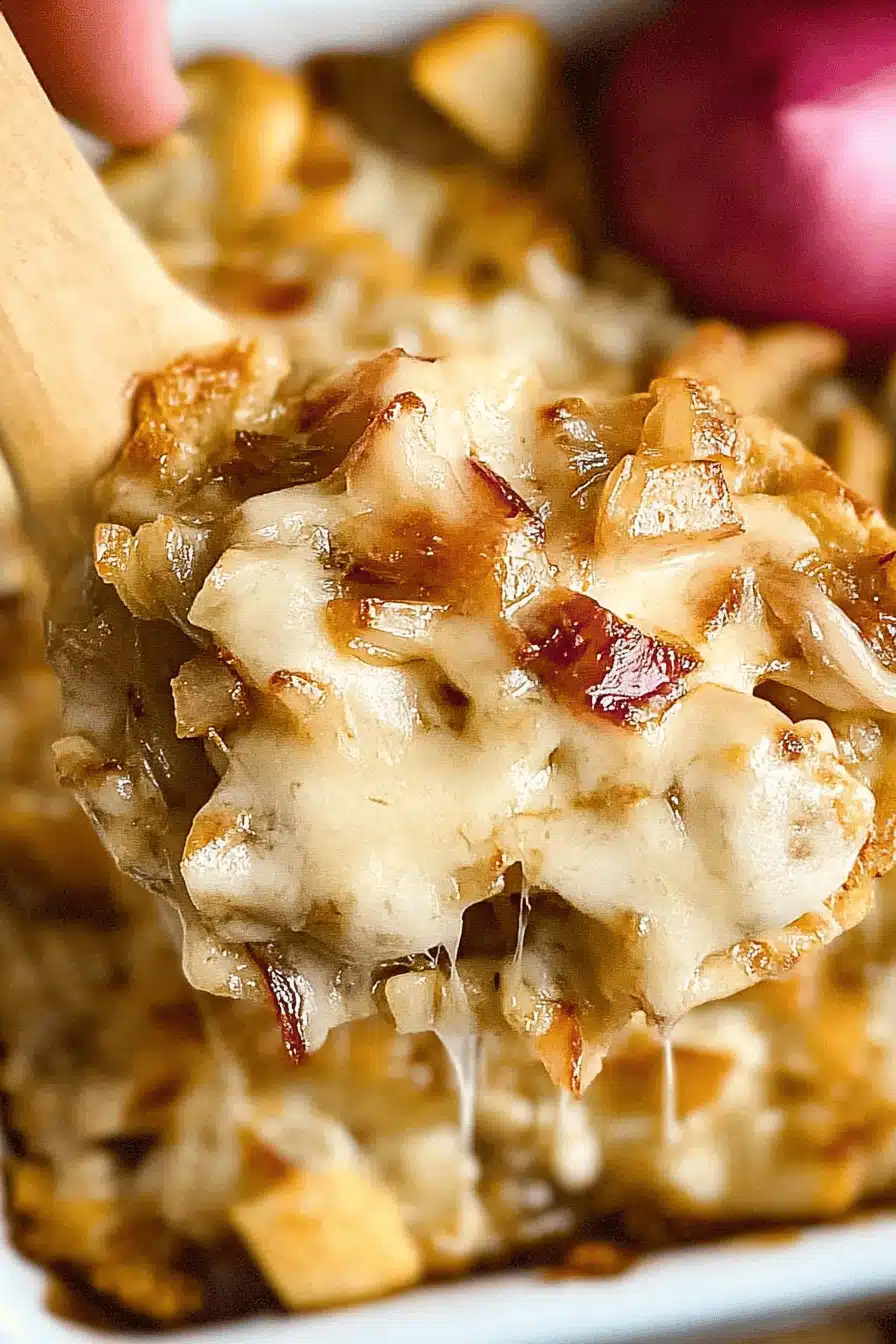
Bake in the preheated oven for 20 minutes or until the cheese on top is bubbling and golden brown. Remove from the oven and let it cool slightly before serving.
**Resting is important:** Allowing the dip to cool slightly before serving allows the flavors to meld together and the cheese to set slightly.
## Storing and Reheating: Making the Most of Your Dip
### Storage Options
To store leftovers, transfer the dip into an airtight container and refrigerate for up to three days. To reheat, simply place in a microwave-safe dish and heat in the microwave until warmed through. For freezing, wrap the dip tightly and store for up to two months. Thaw overnight in the fridge before reheating.
**Freezing Tips:** For best results when freezing, divide the dip into smaller portions. This will allow for quicker thawing and reheating.
### Variations and Substitutions: Customize Your Dip
For a spicier twist, consider adding finely chopped jalapeños to the dip mixture before baking. If you’re catering to a vegan diet, substitute dairy ingredients with plant-based alternatives like vegan Cream Cheese and almond-based sour cream. You can also introduce different cheese varieties, such as Gruyère or smoked cheese, for a distinct flavor profile.
**Other Delicious Additions:**
* **Bacon:** Crispy bacon bits add a smoky, savory element.
* **Garlic:** Roasted garlic cloves enhance the depth of flavor.
* **Herbs:** Fresh thyme, rosemary, or chives add a touch of freshness.
* **Wine:** A splash of dry white wine during the caramelization process adds complexity.
“Packed with flavor and so simple. Exactly what I wanted from this Baked Caramelized Onion Dip!”
### Serving Suggestions: Pairing Perfection
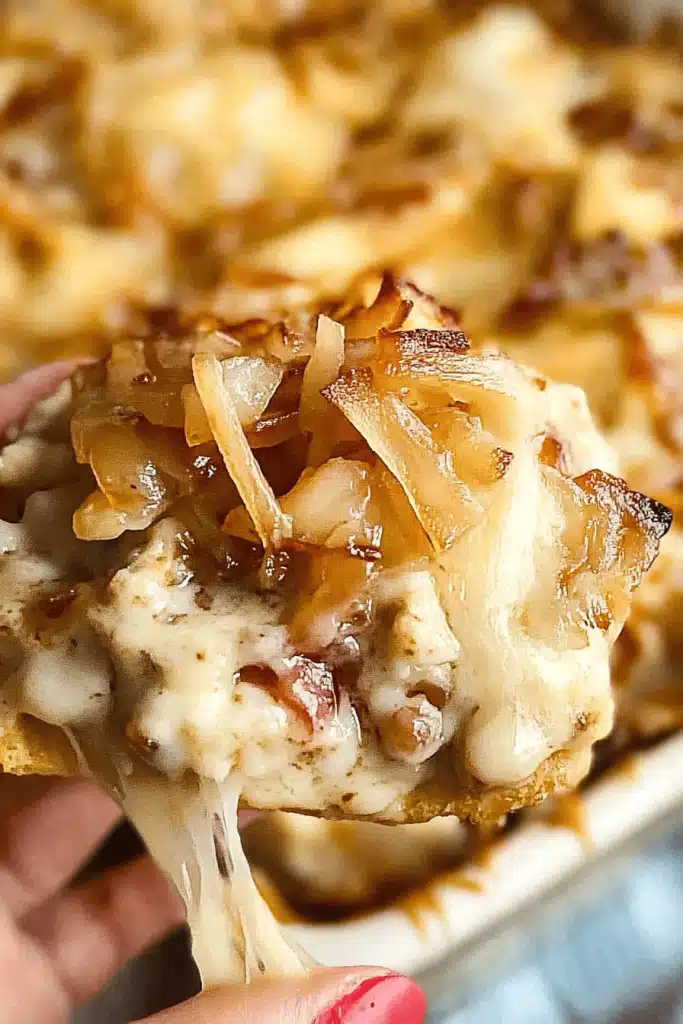
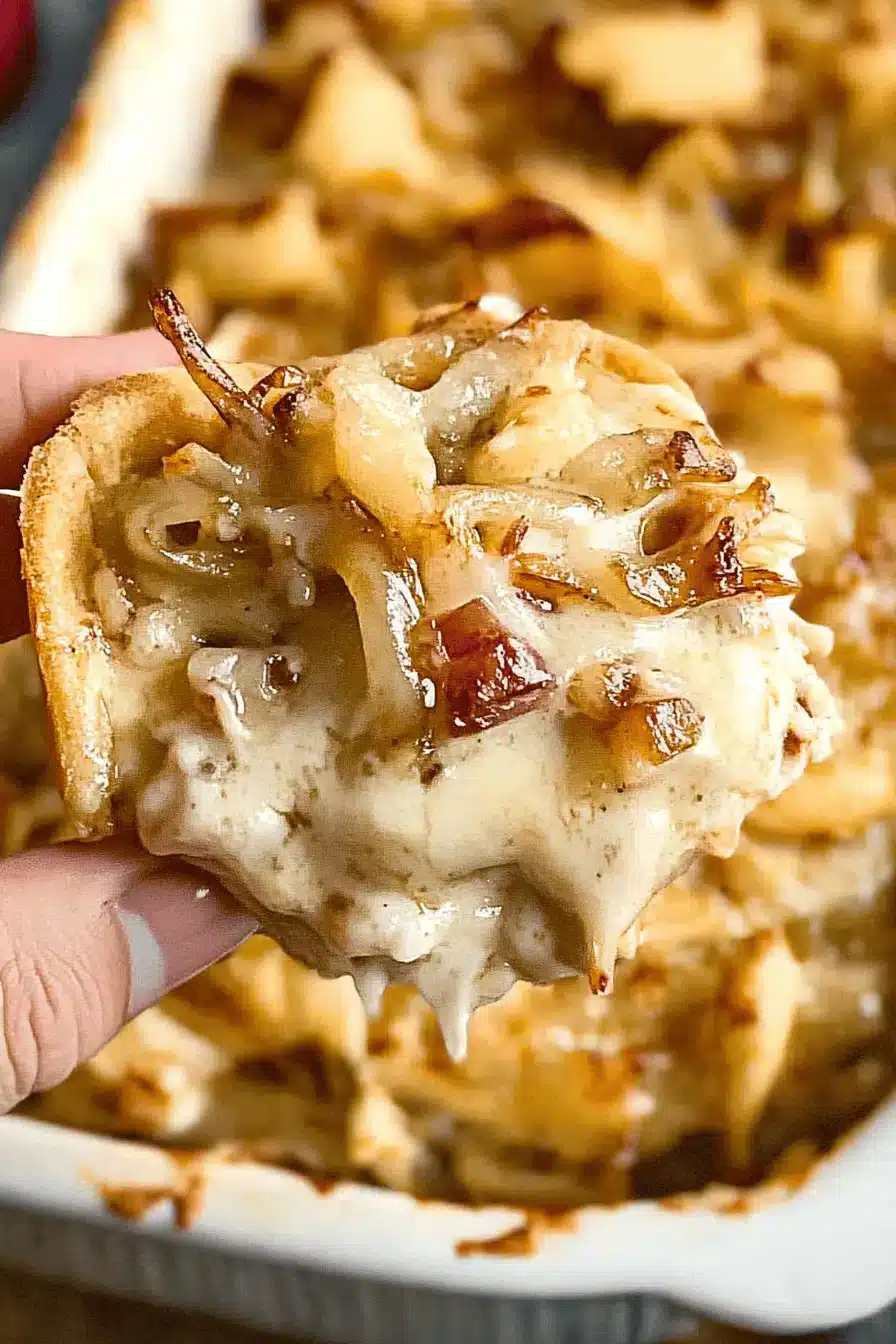
This dip pairs perfectly with crispy pita chips, fresh vegetable sticks, or even as a spread on toasted baguette slices. It’s best served warm, making it an excellent choice for cozy holiday gatherings, gamedays, or outdoor barbeques.
**Beyond the Basics:**
* **Crackers:** Offer a variety of crackers, such as water crackers, whole-wheat crackers, and cheese crackers.
* **Vegetables:** Serve with an assortment of fresh vegetables like carrots, celery, cucumbers, and bell peppers.
* **Bread:** Toasted baguette slices, crostini, or even pretzel bread are great options.
* **As a Spread:** Use it as a spread on sandwiches, burgers, or wraps for an extra layer of flavor.
### Frequently Asked Questions: Your Burning Questions Answered
Can I make this dip ahead of time? Absolutely, you can prepare and assemble the dip a day in advance and keep it in the fridge. When ready to serve, simply bake as directed and enjoy fresh and hot.
How do I prevent the onions from burning while caramelizing? Caramelizing onions is a slow process that requires patience. Keep the heat on medium-low and stir occasionally to prevent them from burning. If they start to brown too quickly, lower the heat and add a splash of water to deglaze the pan.
Is it possible to make a lighter version of this dip? Yes, for a lighter version, use reduced-fat Cream Cheese and sour cream or substitute sour cream with plain Greek yogurt. This will reduce the overall calorie content without compromising too much on flavor.
**More FAQs:**
* **Can I use a different type of onion?** While yellow onions are recommended, you can experiment with other varieties like Vidalia or red onions.
* **Can I add garlic to the dip?** Absolutely! Roasted garlic adds a delicious depth of flavor.
* **How long will the dip last in the refrigerator?** The dip will last for up to three days in the refrigerator.
* **Can I freeze the dip?** Yes, you can freeze the dip for up to two months.
This Baked Caramelized Onion Dip is more than just a recipe; it’s an experience. It’s the joy of sharing delicious food with loved ones, the satisfaction of creating something truly special, and the warmth of knowing you’ve made a lasting impression. So, gather your ingredients, follow my tips, and get ready to create a dip that will have everyone begging for the recipe!
How to Whip Up the Best Baked Caramelized Onion Dip!
Ingredients
Main Ingredients
- 16 oz block cream cheese softened
- 4 pieces yellow onions sliced thin
- 4 pieces shallots sliced thin
- 8 cloves garlic minced
- 16 slices bacon cooked until crispy
- 2 cups sour cream
- 1 cup mayo
- 4 teaspoons Worcestershire sauce
- 4 teaspoons balsamic vinegar
- 2 tablespoons fresh thyme minced or 1 ½ tsp dried thyme
- 12 oz gruyere cheese shredded
- 2 cups mozzarella shredded
- 1 cup parmesan cheese freshly grated or shredded
- 12 oz French fried onions
- salt and pepper to taste
Instructions
Preparation Steps
- Add bacon to a large oven-safe skillet over low heat. Cook until crispy, then set aside on a paper towel-lined plate. Reserve 1 tablespoon of bacon grease in the pan.
- In the same pan over medium-low heat, add 1 tablespoon of butter. Once melted, add sliced onions and shallots. Cook until caramelized, about 30 minutes, stirring frequently and adding splashes of water as needed to prevent burning.
- Preheat the oven to 375 degrees. In a large bowl, blend together cream cheese, sour cream, mayo, Worcestershire, black pepper, and a pinch of salt using a hand mixer. Fold in half of the gruyere, mozzarella, parmesan, and half of the cooked bacon.
- Once the onions are caramelized, stir in minced garlic and thyme, cooking until fragrant, about 1 minute. Stir in balsamic vinegar and remove from heat.
- Add the warm onion mixture to the creamy blend and stir to combine. Taste and adjust seasoning if necessary.
- Transfer mixture back to the skillet or to an 8×8 baking dish. Spread in an even layer. Top with remaining bacon, cheeses, and crispy French fried onions. Cover with foil and bake for 25 minutes.
- Remove foil and bake uncovered for another 15 minutes or until bubbly and golden brown. Serve with your choice of crackers or bread.


