Oh, these Peanut Butter Cookies. If there’s one cookie that holds a special place in my heart, it’s these. I remember my grandma baking them every single Sunday when I was a kid. The entire house would smell like warm, toasty peanut butter and sugar, and I’d swear I could hear the oven timer from my bedroom! Now, whenever I whip up a batch, it’s like a little trip back in time. They’re not complicated, they don’t require any fancy ingredients you can’t find at your local grocery store, and honestly, they’re the perfect answer to that late-night craving when you just need something sweet but don’t want to commit to a whole dessert. They’re so wonderfully classic, yet somehow always feel special. If you’re a fan of simple, soul-warming baked goods, you’re going to adore these peanut butter cookies. They’re a step up from your average drop cookie, with a little something extra that makes them truly unforgettable. They’re like a warm hug in cookie form, and everyone who tries them seems to fall a little bit in love.
Thank you for reading this post, don't forget to subscribe!
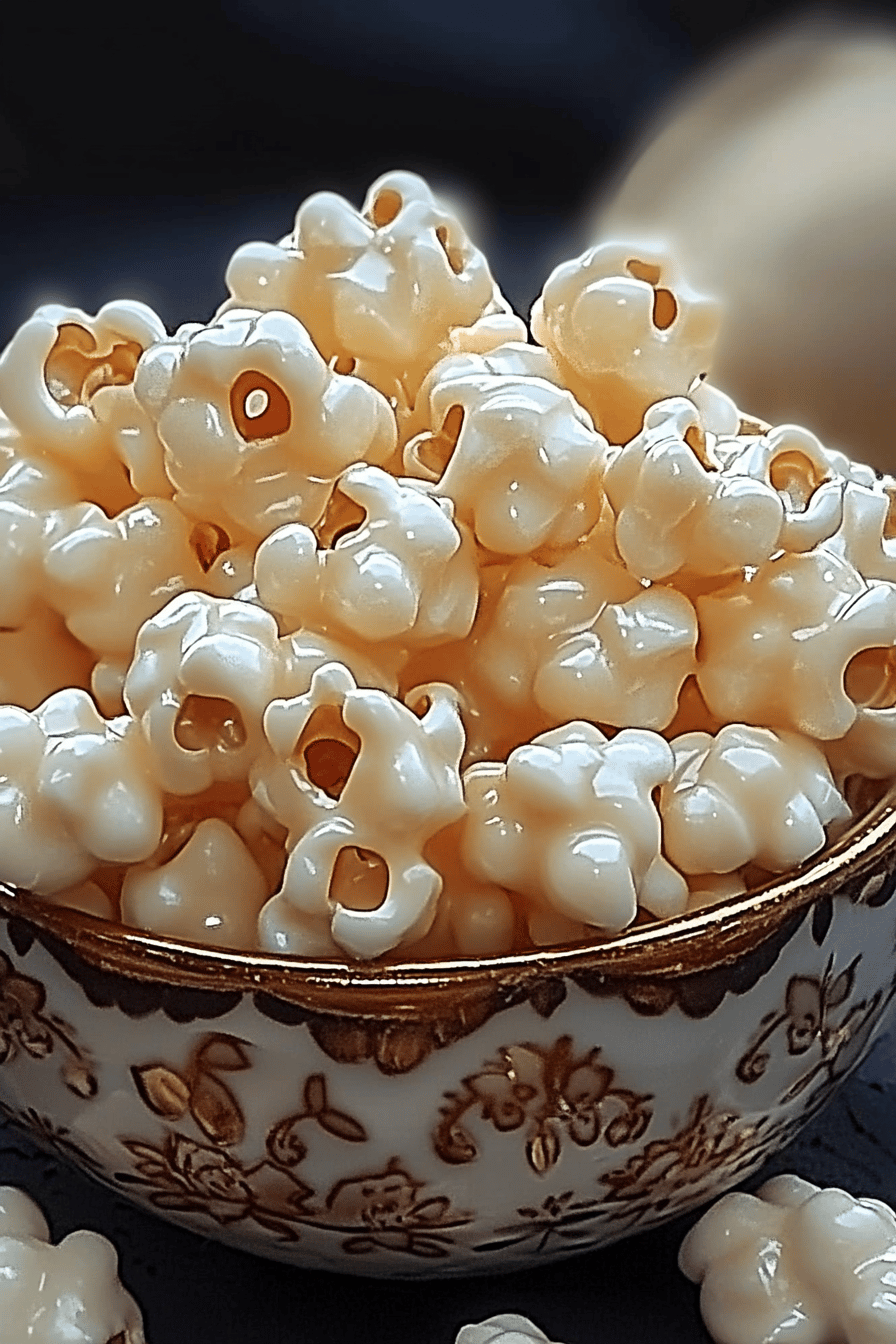
What are some of the best peanut butter cookies?
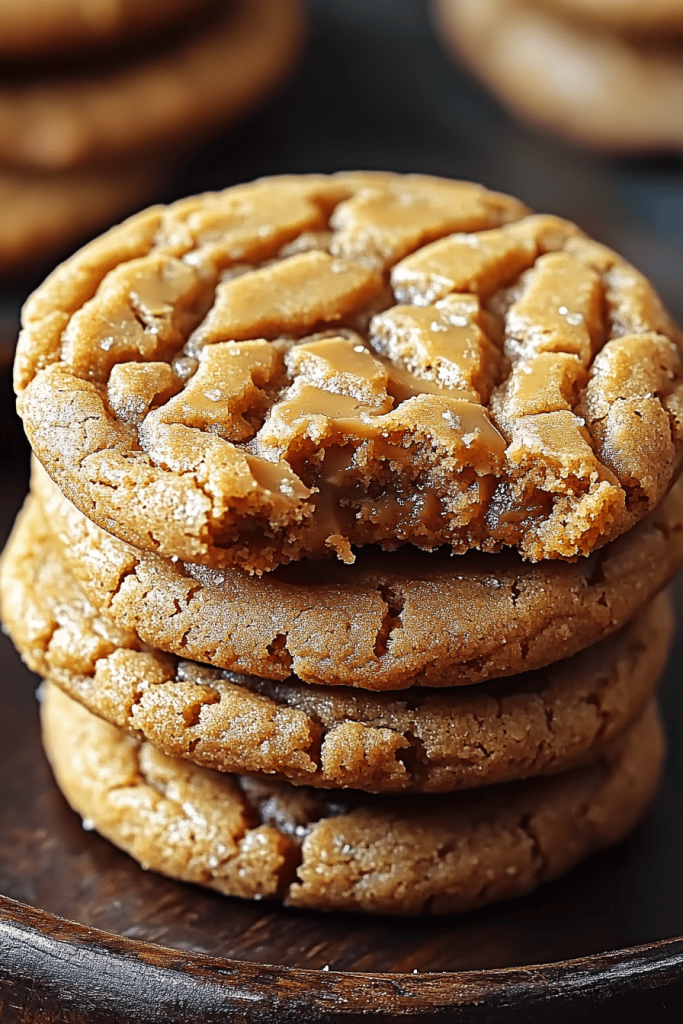
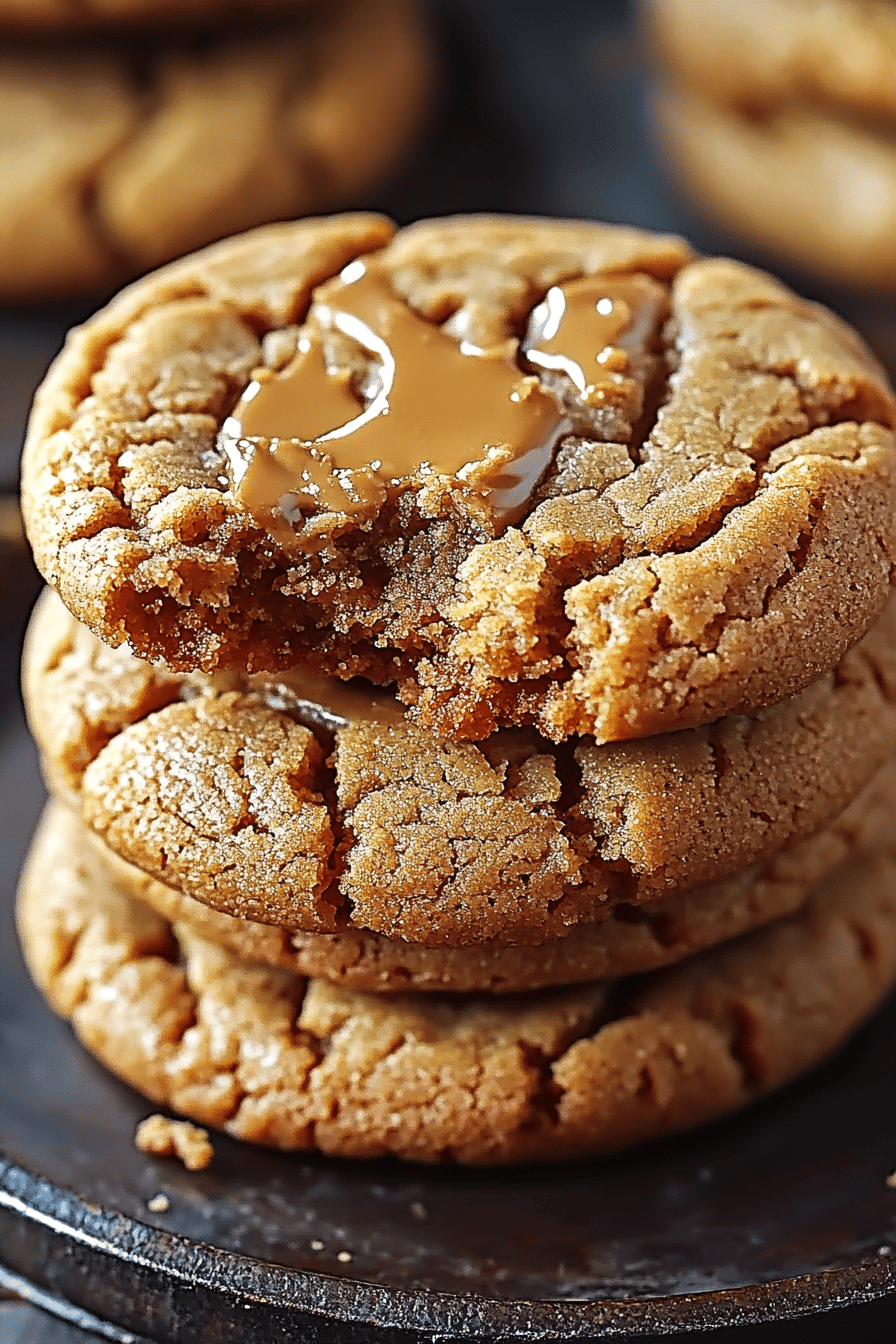
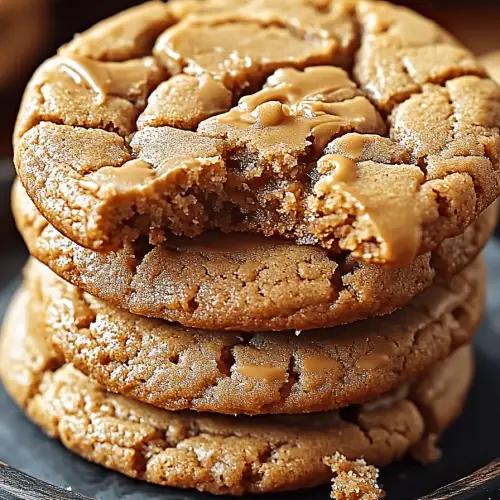
So, what exactly makes these Peanut Butter cookies so darn special? Think of them as the elevated, slightly more sophisticated cousin of your basic peanut butter cookie. We’re talking about a cookie that’s wonderfully soft and chewy in the center, with just the slightest crisp on the edges. The flavor is pure, unadulterated peanut butter goodness, balanced perfectly with the sweetness of sugar. It’s that iconic peanut butter flavor you know and love, but amplified just a touch. The texture is truly key here – it’s not crumbly, it’s not too dense, it’s just that perfect, satisfying chew that makes you want to reach for another one before you’ve even finished the first. It’s essentially the ideal peanut butter cookie, perfected over years of baking, tasting, and a little bit of experimenting to get it just right. It’s the kind of cookie that reminds you of simpler times, but with a flavor that’s so good, it feels entirely of the moment.
Why you’ll love this recipe?
I love Peanut Butter cookies. I know you will too. I’m going to love this recipe.flavor is just out of this world. It’s that rich, nutty, slightly sweet taste that’s so comforting and satisfying. It’s not just peanut butter; it’s *real* peanut butter flavor that shines through in every single bite. Then there’s the simplicity. I’m all about recipes that deliver big on taste without a lot of fuss, and this one is a lifesaver on busy weeknights or when unexpected guests pop over. You probably have most of the ingredients in your pantry right now! And speaking of ingredients, this recipe is incredibly cost-efficientWhat are some of the best budget-friendly ingredients for making cookies?versatility. While they’re amazing on their own, you can totally jazz them up. I’ve added a little swirl of chocolate, some chopped peanuts on top, or even a tiny pinch of sea salt to really make them pop. They’re a guaranteed hit for bake sales, school lunches, or just an afternoon pick-me-up. Compared to some other cookies, like a more involved chocolate chip or a fussy shortbread, these peanut butter cookies are so forgiving and consistently delicious. My kids ask for these all the time, and honestly, so do I!
How to Make These Dreamy Peanut Butter Cookies
Quick Overview
Making these delightful Peanut Butter cookies is surprisingly straightforward. You’ll cream together your butter, sugars, and peanut butter until light and fluffy, then add in your eggs and vanilla. Next, you’ll gently mix in your dry ingredients to form a soft dough. The magic happens when you roll them into balls, press them with a fork for that classic criss-cross pattern, and bake them until they’re perfectly golden. It’s a simple, no-fuss process that results in cookies that are unbelievably good. The texture is always just right – chewy, tender, and packed with peanut butter flavor. What makes this method special is how it ensures that perfect balance of chewiness and softness. It’s the kind of recipe that makes you feel like a baking pro, even if you’re just starting out.
Ingredients
Here’s what you’ll need to make these absolute show-stoppers:
For the Main Batter:
1 cup (2 sticks) unsalted butter, softened: Make sure it’s truly softened, not melted. This is key for getting that light and airy texture when creaming. I always use unsalted so I can control the salt level myself.
1 cup packed light brown sugar: This gives us that wonderful chewiness and caramel notes.
1/2 cup granulated sugar: For sweetness and a bit of structure.
1 cup Creamy Peanut Butter: Use your favorite kind! I usually go for standard creamy peanut butter, not the natural kind that separates too much, as it can affect the texture.
2 large eggs: Room temperature is best. If you forget to take them out, pop them in a bowl of warm water for about 5-10 minutes.
1 teaspoon vanilla extract: Don’t skip this! It really rounds out the flavor.
2 1/2 cups all-purpose flour: Spooned and leveled, not scooped.
1 teaspoon baking soda: This helps them spread just a little and get that perfect texture.
1/2 teaspoon salt: If your peanut butter is unsalted, you’ll definitely want this. If it’s salted, you might want to reduce it slightly or omit it, depending on your preference.
For the Classic Criss-Cross:
A fork! That’s it. We’re going for that iconic look that tells everyone, “Yep, these are peanut butter cookies!”
Optional, but highly recommended!
“I don’t know if I’ve ever eaten a better Peanut butter cookies. The rub alone is wonderful, but the sauce??? Over the top!”
For a Sprinkle of Magic:
A pinch of flaky sea salt for topping, right after they come out of the oven. It sounds fancy, but trust me, it makes a world of difference, cutting through the sweetness beautifully.
Step-by-Step Instructions
Step 1: Preheat & Prep Pan
First things first, let’s get your oven ready. Preheat it to 375°F (190°C). While the oven is heating up, grab a couple of baking sheets and line them with parchment paper. This is a lifesaver for easy cleanup and ensures your cookies won’t stick. You can also use silicone baking mats if you have them.
Step 2: Mix Dry Ingredients
In a medium bowl, whisk together your flour, baking soda, and salt. Whisking them together ensures that the baking soda and salt are evenly distributed throughout the flour, which is super important for consistent cookie texture and rise. You want to avoid any pockets of salt or baking soda!
Step 3: Mix Wet Ingredients
In a large bowl, cream together the softened butter, brown sugar, and granulated sugar using an electric mixer (a stand mixer with a paddle attachment or a hand mixer works great). Beat until the mixture is light and fluffy, about 2-3 minutes. This step incorporates air, which is crucial for tender cookies. Then, beat in the peanut butter until well combined. Add the eggs, one at a time, beating well after each addition, and then stir in the vanilla extract.
Step 4: Combine
Gradually add the dry ingredients to the wet ingredients, mixing on low speed or by hand until just combined. Be careful not to overmix here! Overmixing can develop the gluten in the flour too much, leading to tough cookies. You want to mix until you no longer see streaks of flour. The dough will be soft and slightly sticky.
Step 5: Prepare Filling (Not applicable for this specific recipe as it’s a direct bake cookie)**
This recipe is for a classic peanut butter cookie, so there’s no separate filling to prepare! The delicious peanut butter flavor is baked right into the dough.
Step 6: Layer & Swirl (Not applicable for this specific recipe as it’s a direct bake cookie)**
No layering or swirling needed for these traditional peanut butter cookies. We’re going straight for that iconic pressed look.
Step 7: Bake
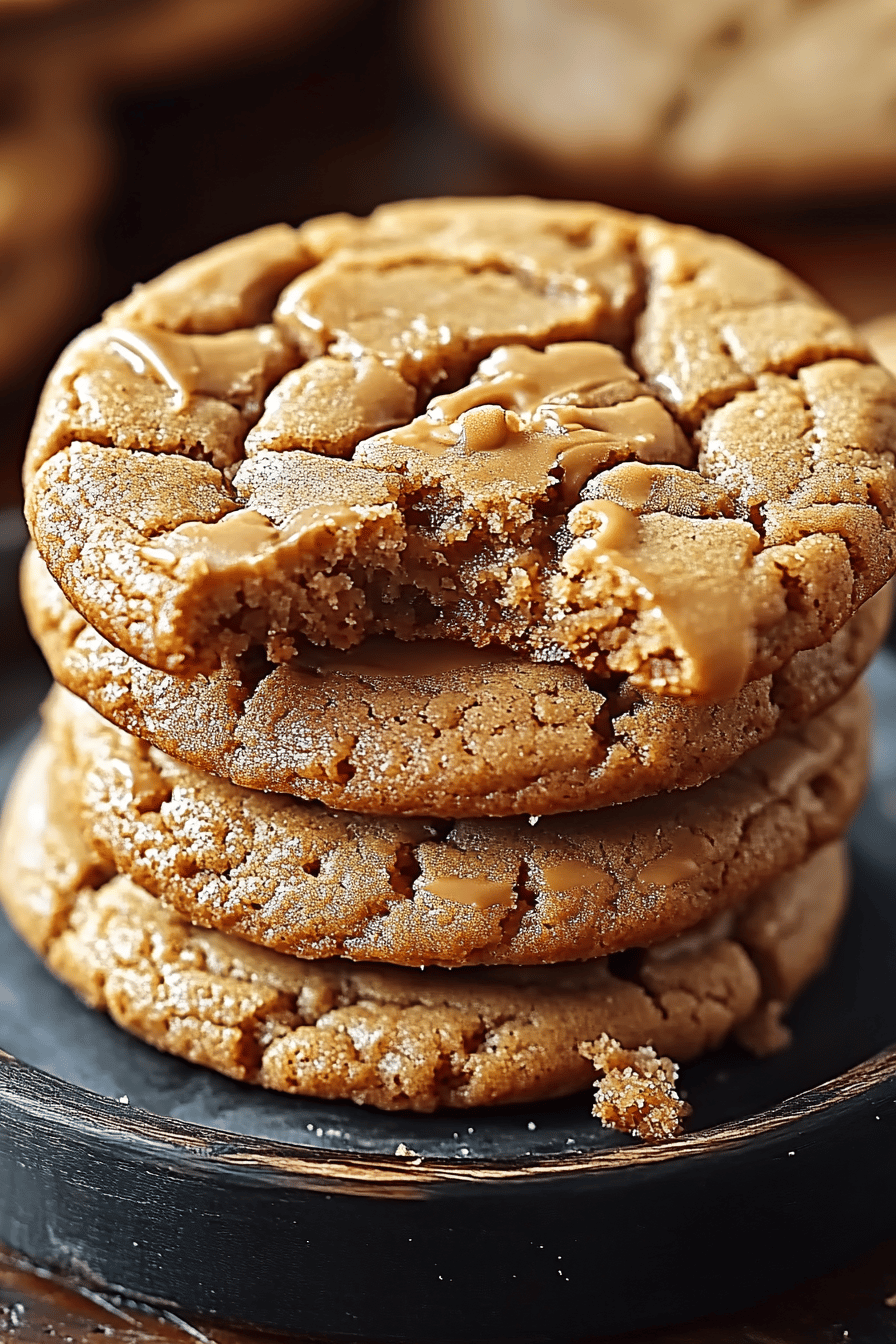
Roll the dough into about 1 to 1.5-inch balls. Place them about 2 inches apart on your prepared baking sheets. Now for that classic look: use the tines of a fork dipped lightly in flour (to prevent sticking) to gently press down on each cookie in a criss-cross pattern. Bake for 9-12 minutes, or until the edges are lightly golden brown and the centers look slightly underbaked. They’ll continue to cook a bit as they cool on the baking sheet. Don’t overbake if you want them chewy!
Step 8: Cool & Glaze (Optional Glaze)**
“The Peanut butter cookies turned out amazing. My kids asked for seconds. Saving this one!”
Let the cookies cool on the baking sheets for 2-3 minutes before carefully transferring them to a wire rack to cool completely. If you’re adding that sprinkle of flaky sea salt, do it while the cookies are still warm from the oven. They really do shine with just a little pinch of salt on top!
Step 9: Slice & Serve
Once completely cooled, these peanut butter cookies are ready to be devoured! They’re best enjoyed at room temperature. Arrange them on a plate, maybe with a glass of milk (the ultimate pairing!), and watch them disappear.
What to Serve It With
These peanut butter cookies are wonderfully versatile and can be enjoyed in so many ways, making them a staple in my kitchen! For breakfast, they’re surprisingly delightful with a hot cup of coffee. The slightly sweet, nutty flavor is a perfect complement to a morning brew. I sometimes even crumble one over my yogurt for a little extra crunch and flavor. For brunch, they add a comforting touch to the table. I like to arrange them in a nice serving dish alongside other pastries or fruit. A chilled glass of fresh orange juice or a mimosa pairs beautifully. As dessert, they’re an absolute classic. They’re fantastic on their own after a meal, or you can get creative. Imagine them served with a scoop of vanilla bean ice cream – pure bliss! For cozy snacks, they’re unbeatable. On a rainy afternoon, there’s nothing better than curling up with a good book and one of these cookies and a warm mug of tea or hot chocolate. My family traditions often involve these cookies after dinner, served with a tall glass of cold milk for the kids and maybe a small coffee for the grown-ups. They’re also amazing sandwiched with a bit of fudge frosting or even a thin layer of Nutella if you’re feeling adventurous!
Top Tips for Perfecting Your Peanut Butter Cookies
I’ve made these peanut butter cookies more times than I can count, and through trial and error (and lots of delicious tasting!), I’ve picked up a few tricks that I think you’ll find super helpful. When it comes to the cookie dough, the most important thing is not to overmix once you add the flour. Mix just until the streaks of flour disappear. Overmixing develops the gluten too much, which can lead to tough, dense cookies instead of the soft, chewy ones we’re after. Also, make sure your butter and eggs are at room temperature; this helps them emulsify properly, creating a smoother dough and a better cookie texture overall. For that classic peanut butter flavor, don’t skimp on the quality of your peanut butter. A standard creamy peanut butter works best here. Natural peanut butters can sometimes make the dough a bit too oily or lead to a greasier cookie, so stick with the classic creamy variety for the most reliable results. When it comes to the baking process, keep an eye on them! Ovens can vary, and you want those edges to be just lightly golden, with the centers still looking a little soft. They will continue to bake on the hot baking sheet for a few minutes after you take them out, so pulling them out when they look *just* done is the secret to that perfect chewy center. If you find your cookies are spreading too much, try chilling the dough for about 30 minutes before baking. This can help firm up the butter and reduce spread. For the iconic criss-cross, lightly flouring your fork will prevent it from sticking to the dough, ensuring you get those nice, clear lines. And don’t forget that pinch of flaky sea salt on top right when they come out of the oven – it truly elevates the flavor by cutting through the sweetness and enhancing the nutty notes of the peanut butter. It’s a small step that makes a big impact!
Storing and Reheating Tips
Keeping these peanut butter cookies tasting fresh and delicious is easy peasy! For room temperature storage, once they’ve cooled completely, store them in an airtight container. They’ll stay wonderfully soft and chewy for about 3-4 days. I like to layer them between sheets of parchment paper if I’m stacking them to prevent them from sticking together. If your kitchen tends to be warm, storing them in the fridge might be a better option to prevent them from getting too soft or oily. For refrigerator storage, place them in an airtight container or a zip-top bag. They’ll keep their best quality for about a week. When you’re ready to enjoy them again, you can eat them straight from the fridge, or if you prefer them softer, let them sit out at room temperature for about 15-20 minutes. If you want to make a big batch and freeze some for later, they freeze beautifully! Wrap individual cookies or stacks of cookies tightly in plastic wrap, then place them in a freezer-safe bag or container. They’ll keep well in the freezer for up to 2-3 months. To thaw, simply unwrap them and let them come to room temperature. The glaze timing advice is simple: if you’re glazing these cookies, it’s best to do it just before serving or storing them at room temperature. If you freeze them with a glaze, the glaze might get a little sticky or slightly altered in texture upon thawing, so it’s often best to glaze after they’ve been thawed. I’ve tested this, and while they still taste good, the visual appeal is best when glazed fresh!
Frequently Asked Questions
Final Thoughts
So there you have it – my absolute favorite peanut butter cookies! I truly believe this recipe is a keeper. It’s the perfect blend of simplicity, comfort, and incredible flavor that makes it a winner every single time. Whether you’re a seasoned baker or just starting out, you’ll be amazed at how easy it is to create these delicious treats. They’re more than just cookies; they’re little moments of joy, perfect for sharing with loved ones or savoring all by yourself. If you’ve enjoyed this recipe, you might also love my Classic Chocolate Chip Cookies or my Chewy Oatmeal Raisin Cookies – they’re all part of that comforting, home-baked goodness I adore. I can’t wait to hear what you think of these peanut butter cookies! Please leave a comment below to share your experience, or tag me in your photos on social media – I love seeing your creations! Happy baking, and may your cookie jar always be full!
Peanut butter cookies
Ingredients
Main Ingredients
- 0.5 cup unsalted butter, softened
- 0.5 cup creamy peanut butter
- 0.5 cup granulated sugar
- 0.5 cup packed brown sugar
- 1 large egg
- 1 teaspoon vanilla extract
- 1.5 cup all-purpose flour
- 0.5 teaspoon baking soda
- 0.25 teaspoon salt
Instructions
Preparation Steps
- Preheat oven to 350°F (175°C). Line baking sheets with parchment paper.
- In a large bowl, cream together the softened butter and peanut butter until smooth.0.5 cup unsalted butter, softened
- Add the granulated sugar and brown sugar to the butter mixture and beat until well combined.0.5 cup unsalted butter, softened
- Beat in the egg and vanilla extract until combined.0.5 cup unsalted butter, softened
- In a separate medium bowl, whisk together the flour, baking soda, and salt.0.5 cup unsalted butter, softened
- Gradually add the dry ingredients to the wet ingredients, mixing until just combined. Do not overmix.0.5 cup unsalted butter, softened
- Roll dough into 1-inch balls and place them on the prepared baking sheets.
- Using a fork, press a crisscross pattern onto the top of each cookie.
- Bake for 10-12 minutes, or until the edges are lightly golden brown and the centers are still slightly soft.
- Let the cookies cool on the baking sheets for a few minutes before transferring them to a wire rack to cool completely.