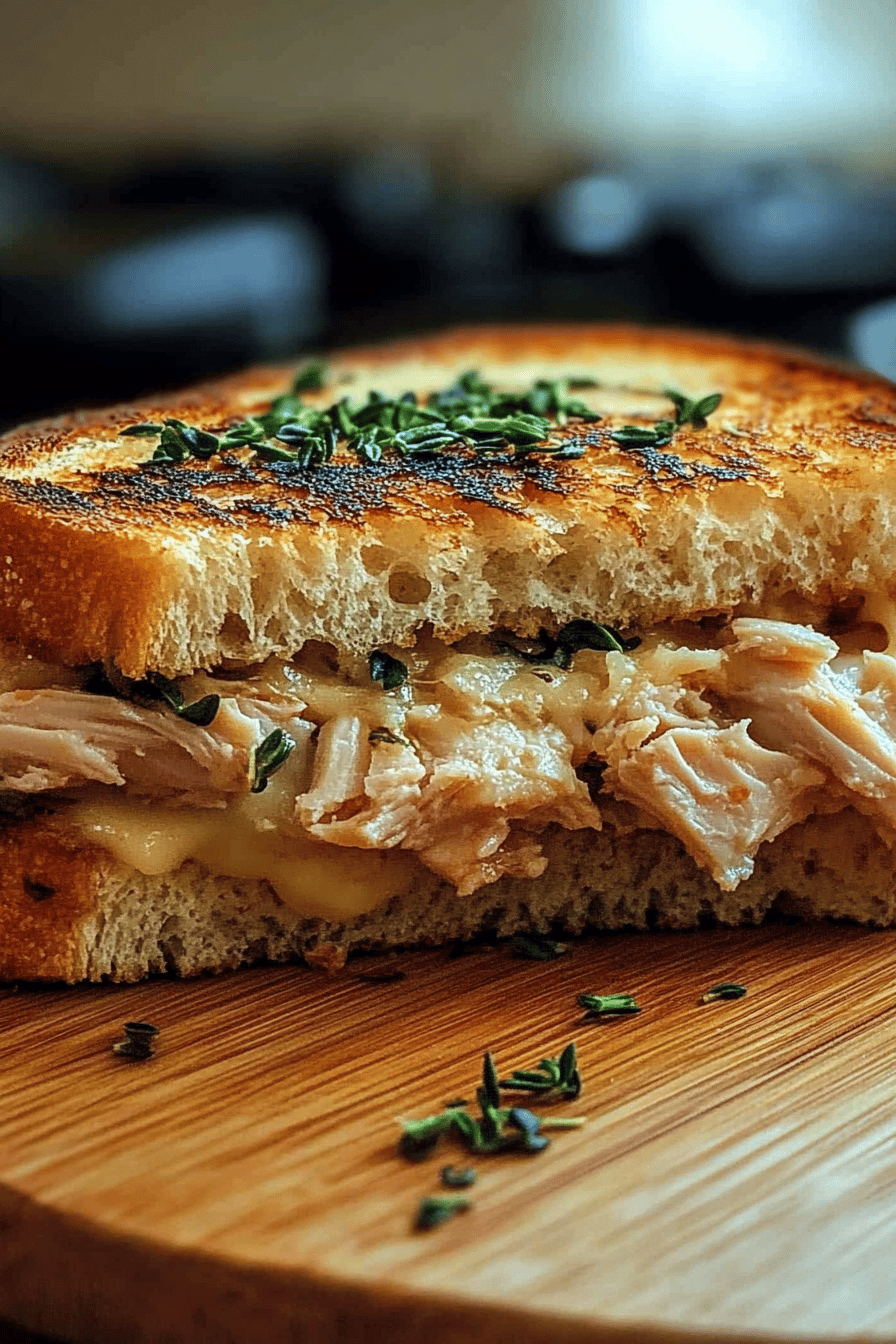
Oh, tuna melts. Just saying the words brings back a flood of memories, doesn’t it? For me, it’s those rainy afternoons after school, my mom in the kitchen, the sizzle of butter on the griddle, and that unmistakable, comforting aroma filling the house. It’s a classic for a reason, a simple sandwich that punches way above its weight in flavor and pure, unadulterated comfort. While there are a million ways to make a tuna sandwich, turning it into a Grilled Cheese-style marvel is where the magic truly happens. This isn’t just any tuna melt recipe; this is the one that’s become a staple in my kitchen, the one my family devours, and the one I turn to when I need something quick, delicious, and deeply satisfying. Forget those sad, soggy versions you might have encountered; we’re talking golden-brown perfection with a gooey, cheesy, tuna-filled center. It’s like a warm hug in sandwich form, and honestly, who doesn’t need that sometimes?
Thank you for reading this post, don't forget to subscribe!
What is the ultimate tuna melt?
So, what exactly makes this “ultimate” tuna melt recipe stand out from the crowd? At its heart, it’s a beloved classic: canned tuna mixed with creamy mayonnaise, often with a little something extra for zing, then nestled between slices of bread and grilled until golden and toasty, with plenty of melted cheese oozing out. Think of it as a sophisticated upgrade to your basic Tuna Salad sandwich, taking it from a quick lunch to a gourmet experience right in your own kitchen. The “melt” part is key – that glorious transformation when the cheese becomes a gooey, luscious blanket, binding everything together with the tuna filling. It’s that simple, yet utterly transformative, process that elevates a humble sandwich into something truly special. It’s a dish that feels both familiar and exciting, a true comfort food champion.
Why you’ll love this recipe?
There are so many reasons why this tuna melt recipe has earned a permanent spot in my recipe box, and I’m betting it will in yours too. First off, let’s talk about the flavor explosion. It’s this incredible balance of rich, savory tuna, the tang of mayonnaise, a hint of acidity from pickles or relish, all wrapped up in buttery, toasted bread and crowned with perfectly melted cheese. Every bite is a symphony of textures and tastes. Then there’s the sheer simplicity. Honestly, you can whip this up in less time than it takes to decide what to order for takeout, making it a lifesaver on busy weeknights or when you just need a quick, satisfying meal. And let’s not forget the budget-friendliness! Tuna, bread, and cheese are pantry staples that won’t break the bank, yet they create something that tastes incredibly indulgent. What I love most, though, is its versatility. You can customize the filling to your heart’s content, and the serving suggestions are endless – from a simple side salad to a hearty soup. It’s a dependable, delicious meal that always hits the spot. If you love a good Grilled Cheese or a classic tuna salad, you’ll absolutely adore this elevated version. It’s the best of both worlds, really.
How do you make a tuna melt?
Quick Overview
The process is delightfully straightforward, making it incredibly approachable even for beginner cooks. We’re talking about simple steps: preparing a flavorful tuna salad, assembling your sandwich with your favorite bread and cheese, and then grilling it to golden, melty perfection. The key is in the details – using the right ingredients and giving it just enough time on the heat to achieve that ideal crisp exterior and gooey interior. It’s a fuss-free method that guarantees a fantastic result every single time. You’ll be amazed at how something so simple can be so incredibly delicious.
Ingredients
For the Tuna Filling:
2 cans (5-6 ounces each) solid white albacore tuna in water, drained very well
1/4 cup mayonnaise (use your favorite kind! I prefer a good quality, full-fat mayo for the best creaminess.)
2 tablespoons finely chopped celery (for that essential crunch!)
1 tablespoon finely chopped red onion or shallot (adds a nice mild bite)
“The tuna melt recipe turned out amazing. My kids asked for seconds. Saving this one!”
1 tablespoon sweet pickle relish or finely chopped dill pickles (adds sweetness and tang – adjust to your preference!)
1 teaspoon Dijon mustard (or a little more mayo if you’re not a mustard fan)
Salt and freshly ground black pepper to taste
Optional: a pinch of smoked paprika for a hint of smokiness
For Assembling the Sandwich:
8 slices of your favorite bread (sourdough, challah, or a good quality white bread work wonderfully)
4-6 slices of cheese (cheddar, Swiss, Gruyere, or a blend are fantastic choices!)
2-3 tablespoons unsalted butter, softened (for spreading on the bread)
Step-by-Step Instructions
Step 1: Prep the Tuna
First things first, make sure your tuna is thoroughly drained. I like to gently press out as much liquid as possible with the back of a fork or even wrap it in a paper towel and squeeze. This prevents a watery filling, which is a common pitfall! In a medium bowl, flake the drained tuna with a fork until it’s nicely broken up but not mushy. You want some texture.
Step 2: Mix the Filling
Add the mayonnaise, finely chopped celery, finely chopped red onion (or shallot), relish (or pickles), and Dijon mustard to the bowl with the tuna. If you’re feeling adventurous, now’s the time to add that pinch of smoked paprika. Stir everything together gently until it’s well combined and creamy. Don’t overmix; you still want to see those little bits of tuna and veggies. Taste and season with salt and freshly ground Black Pepper. Remember, canned tuna can sometimes be salty, so taste before you go too heavy on the salt!
Step 3: Assemble the Sandwiches
Lay out your slices of bread. You’ll need two slices for each sandwich. Generously spread softened butter on one side of each slice of bread. This is the side that will hit the pan and get that beautiful golden crust. On the unbuttered side of four of the bread slices, layer your cheese. Then, spoon a generous amount of your prepared tuna filling over the cheese. Top the tuna filling with another slice of cheese, and then place the remaining buttered bread slices on top, butter-side up, to complete your sandwiches.
Step 4: Grill to Golden Perfection
Heat a large skillet or griddle over medium heat. Once the pan is warm, carefully place your assembled sandwiches onto the hot surface. You might need to cook these in batches depending on the size of your pan. Cook for about 3-5 minutes per side, or until the bread is a beautiful golden brown and the cheese is melted and gooey. Keep an eye on the heat; you don’t want the bread to burn before the cheese has a chance to melt. If the bread is browning too quickly, reduce the heat slightly.
“I don’t know if I’ve ever eaten a better tuna melt recipe. The rub alone is wonderful, but the sauce??? Over the top!”
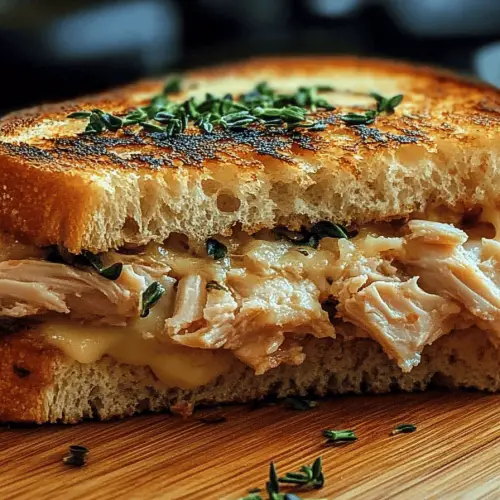
Step 5: Check for Meltiness
Gently press down on the top of the sandwich with your spatula to ensure even cooking and help the cheese melt. You’ll know it’s ready when the cheese starts to ooze out the sides and the bottom is perfectly toasted. This part is crucial for that quintessential tuna melt experience!
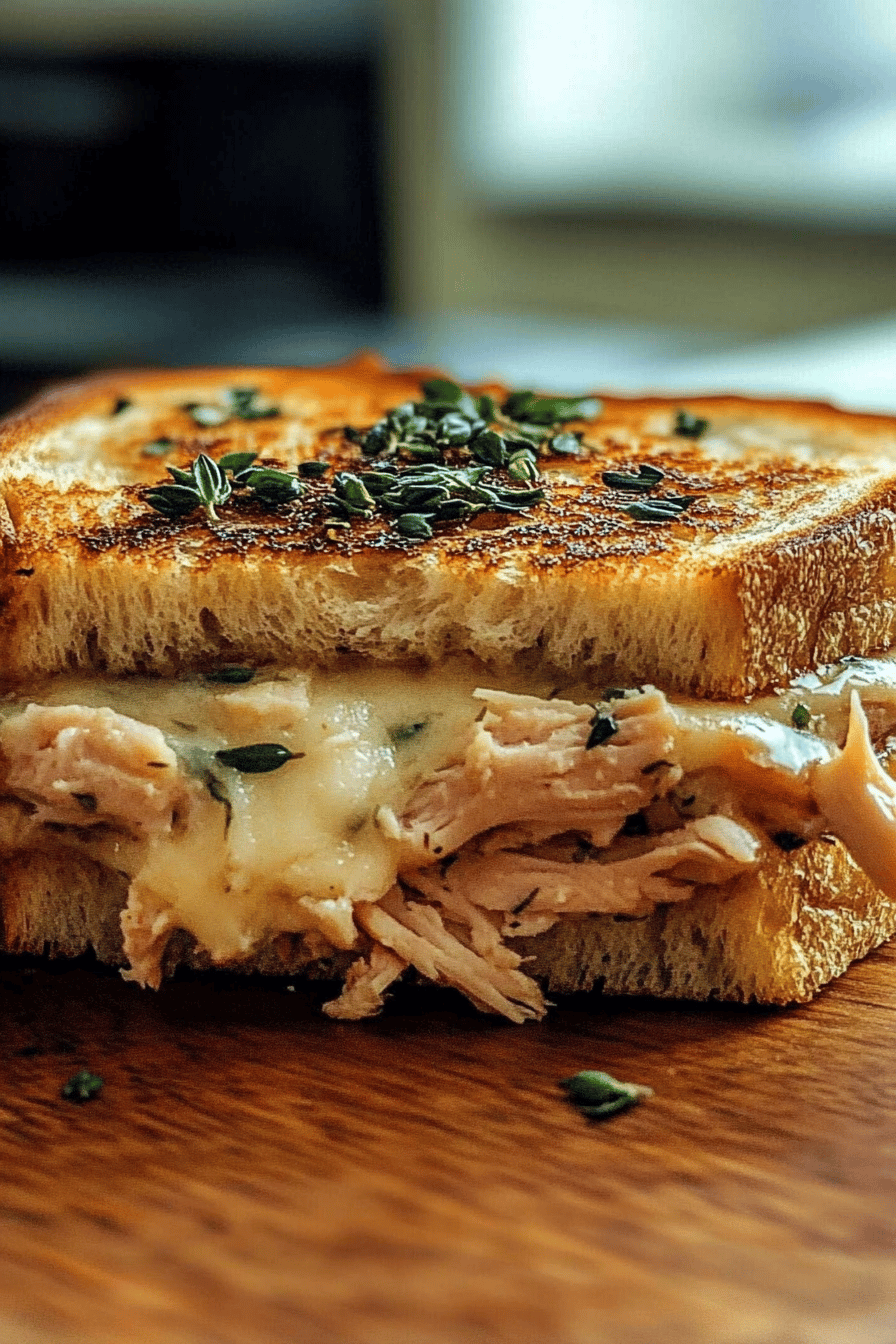
Step 6: Slice and Serve
Once both sides are golden brown and the cheese is wonderfully melty, carefully remove the sandwiches from the skillet. Let them rest for just a minute or two – this helps the cheese set slightly so it doesn’t all run out when you cut into it. Slice each sandwich in half, diagonally if you’re feeling fancy, and serve immediately while they’re hot and wonderfully gooey. The smell alone is enough to make your mouth water!
What to Serve It With
This ultimate tuna melt recipe is so versatile, it’s practically a meal on its own, but it truly shines when paired with the right companions. For a classic, comforting breakfast or brunch, I love serving it alongside a simple, bright green salad with a light vinaigrette. The freshness cuts through the richness of the sandwich beautifully. If you’re feeling a bit more indulgent, a warm bowl of tomato soup is an absolute classic pairing for any good grilled sandwich, and this tuna melt is no exception. The creamy, tangy soup is the perfect dip for those cheesy, tuna-filled bites. For a cozy snack or a lighter lunch, a side of crisp potato chips or some crunchy pickles adds a delightful contrast in texture. I’ve also found it pairs surprisingly well with a light, crisp coleslaw – the slight sweetness and creaminess are a lovely match for the savory tuna. Honestly, the possibilities are endless, and it always feels like a treat, no matter how you serve it!
Top Tips for Perfecting Your Tuna Melt
After making countless tuna melts over the years, I’ve picked up a few tricks that really make a difference. First, about the tuna: truly draining it is non-negotiable. Soggy tuna salad makes for a sad, greasy sandwich. I often press the drained tuna between layers of paper towels until almost dry. For the mayonnaise, don’t be afraid to use a good quality one; it makes a world of difference in flavor and texture. I’ve experimented with light mayo, and while it works, it just doesn’t have that same luxurious creaminess. When it comes to the mix-ins, finely chopping is key. You want subtle pops of flavor and crunch, not big chunks. I’ve learned that over-chopping the onion can make it too sharp, so a fine dice is perfect. As for the cheese, layering it both under and on top of the tuna filling is my secret to maximum cheesiness and ensuring everything stays together. And for that perfect golden crust? Use softened butter, not melted. It spreads more evenly and creates a more consistent, beautiful browning. Don’t rush the grilling process; medium heat is your friend. It allows the cheese to melt thoroughly without burning the bread. If your bread is browning too fast, turn the heat down and be patient. Trust me on this one!
Storing and Reheating Tips
Now, if by some miracle you have leftover tuna melt (which rarely happens in my house!), storing it properly is key to enjoying it later. The best way to store an assembled tuna melt is to let it cool completely, then wrap it tightly in plastic wrap or place it in an airtight container. It’ll stay good in the refrigerator for about 1-2 days. When you’re ready to reheat, the goal is to get that crisp exterior back. The stovetop is your best bet! Place the sandwich in a skillet over medium-low heat, with a tiny bit of butter or oil if you like, and grill it gently on both sides until it’s heated through and the bread is crisp again. This method brings it back to life wonderfully. If you’re in a real pinch, you can try reheating it in a toaster oven or even a conventional oven set to a low temperature (around 300°F or 150°C) for a few minutes, but be cautious to avoid drying it out or burning the bread. Microwaving isn’t ideal as it tends to make the bread a bit soggy, but if that’s your only option, do it in short bursts and maybe even pop it in a hot pan afterwards to crisp it up.
Frequently Asked Questions
Final Thoughts
There you have it – my go-to recipe for the ultimate tuna melt. It’s more than just a sandwich; it’s a memory, a comfort, and a testament to how simple ingredients can come together to create something truly magical. I hope you give this tuna melt recipe a try and find as much joy in making and eating it as my family and I do. It’s the perfect antidote to a busy day, a rainy afternoon, or just when you’re craving something utterly delicious and satisfying. If you try it, I’d absolutely love to hear how it turns out! Drop a comment below and tell me your favorite cheese pairing or any delicious twists you add. And don’t forget to share your creations with your friends – because good food is always better when it’s shared! Happy cooking!
tuna melt recipe
Ingredients
Main Ingredients
- 0.5 cup canned tuna drained
- 0.25 cup mayonnaise
- 1 tablespoon celery finely chopped
- 0.5 tablespoon red onion finely chopped
- 0.5 teaspoon lemon juice
- 4 slices bread
- 2 slices cheddar cheese
- 2 tablespoon butter softened
Instructions
Preparation Steps
- In a medium bowl, combine the drained tuna, mayonnaise, chopped celery, chopped red onion, and lemon juice. Mix well.
- Spread butter on one side of each slice of bread.
- Place two slices of bread, butter-side down, in a non-stick skillet over medium heat.
- Top each slice of bread with one slice of cheddar cheese and half of the tuna mixture.
- Place the remaining two slices of bread on top, butter-side up.
- Cook for 3-4 minutes per side, or until the bread is golden brown and the cheese is melted and gooey.
- Serve immediately.